Page 1
2 3 4
5 6 7
8 9 10
11 12 13
14 15 16
17 18 19
20 21 22
23 24 25
26 27 28
29 30 31
32 33
The Land
Cruiser Restoration Project
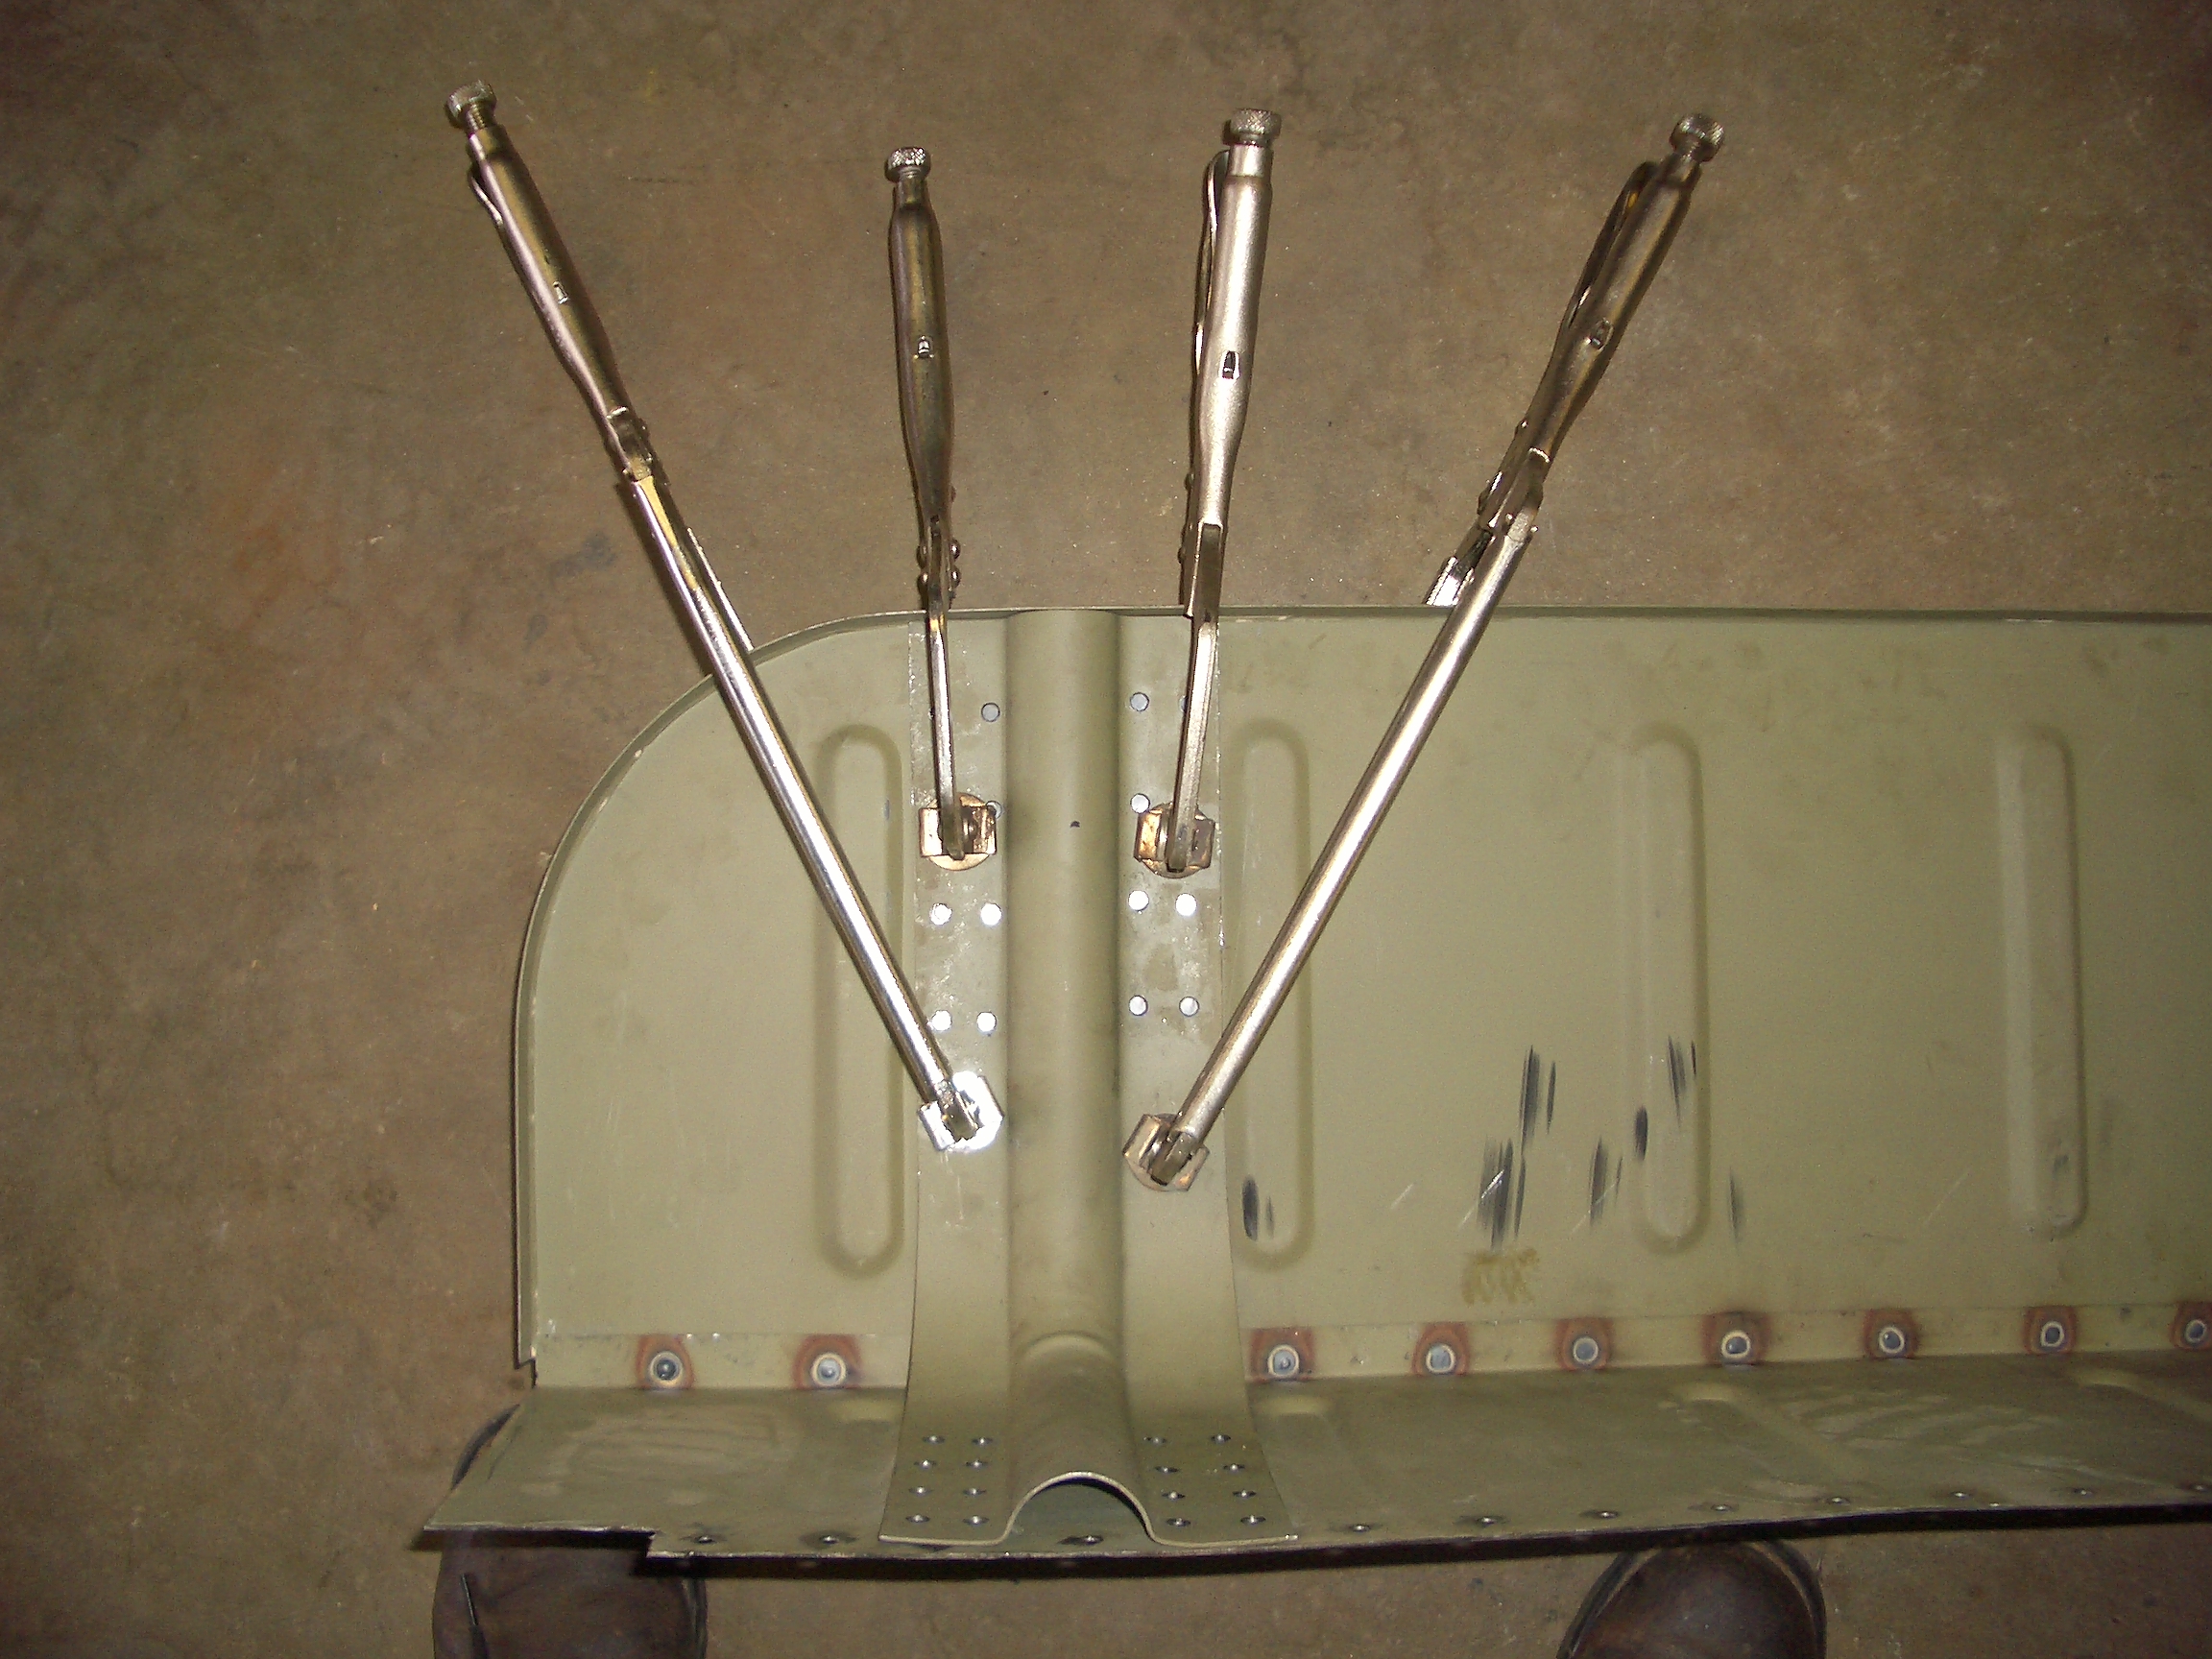
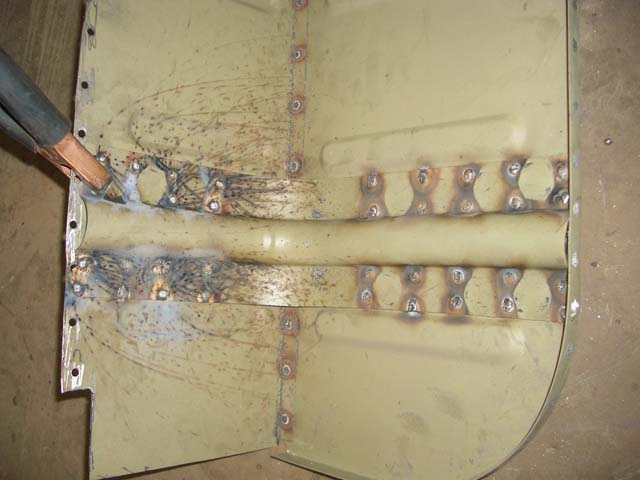
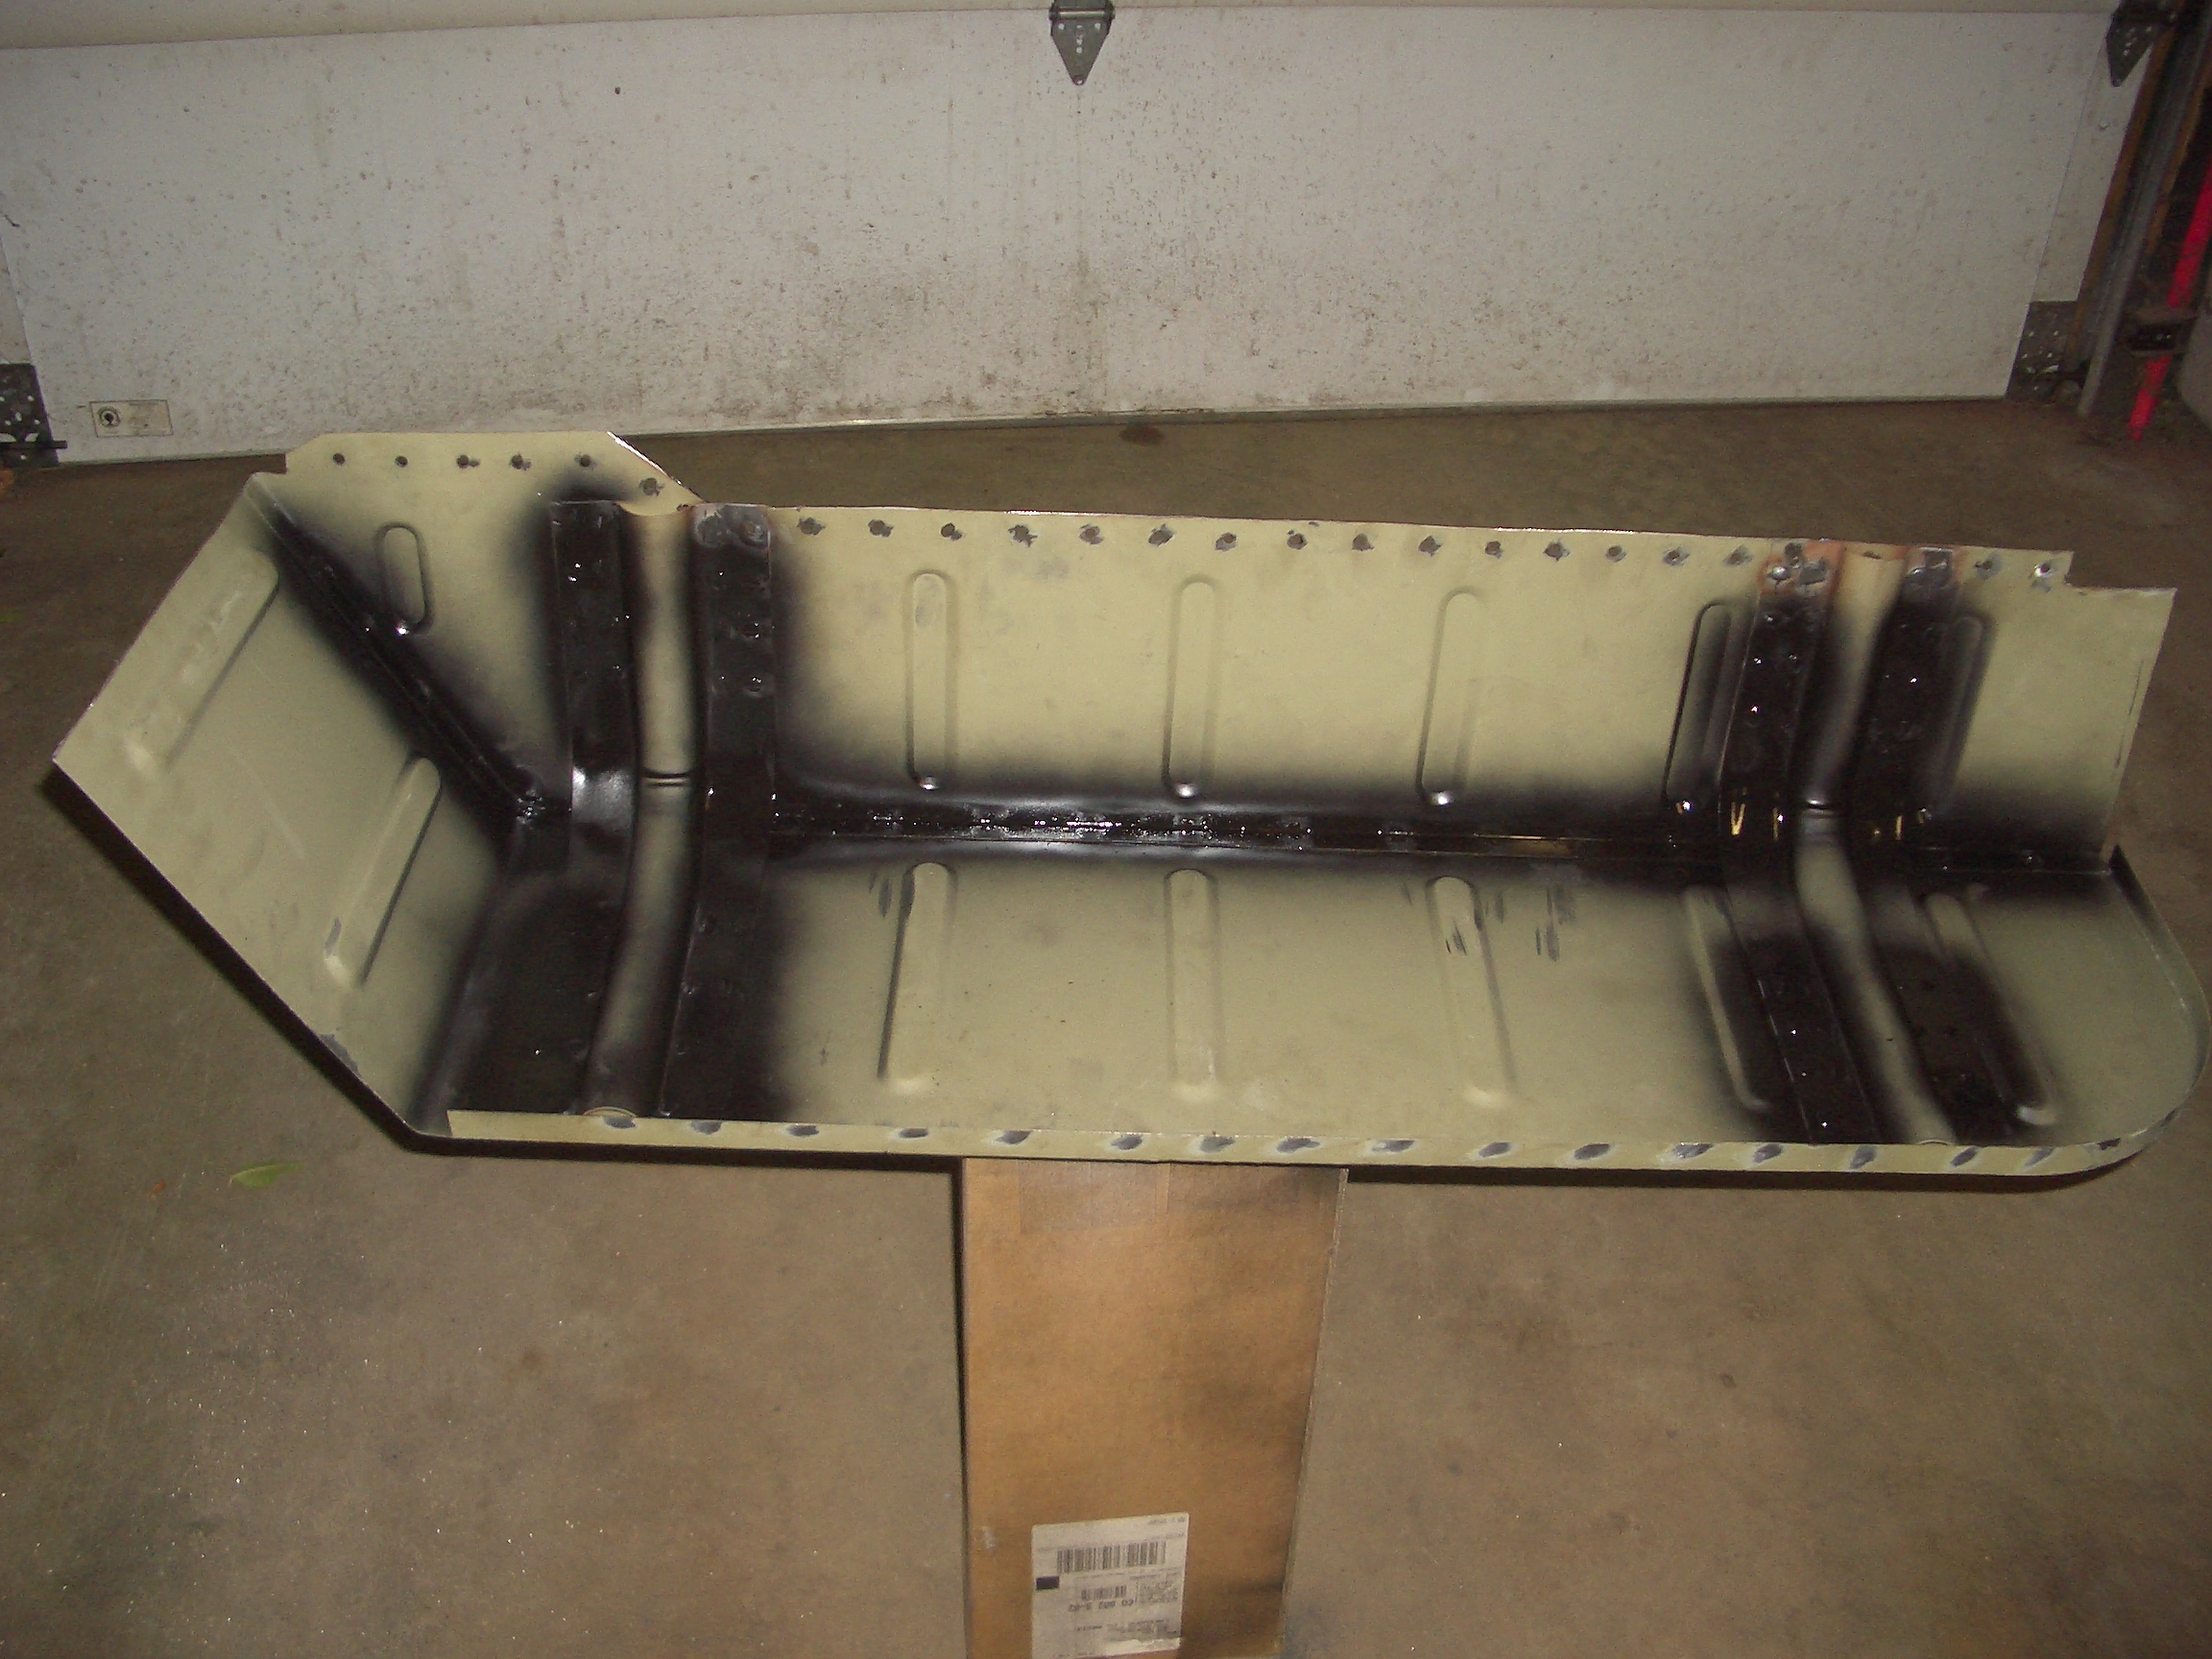
With the quarter panels welded in, the next step would be assembling the fender wells. After bending the fender well top, I clamped it to the inside panel.
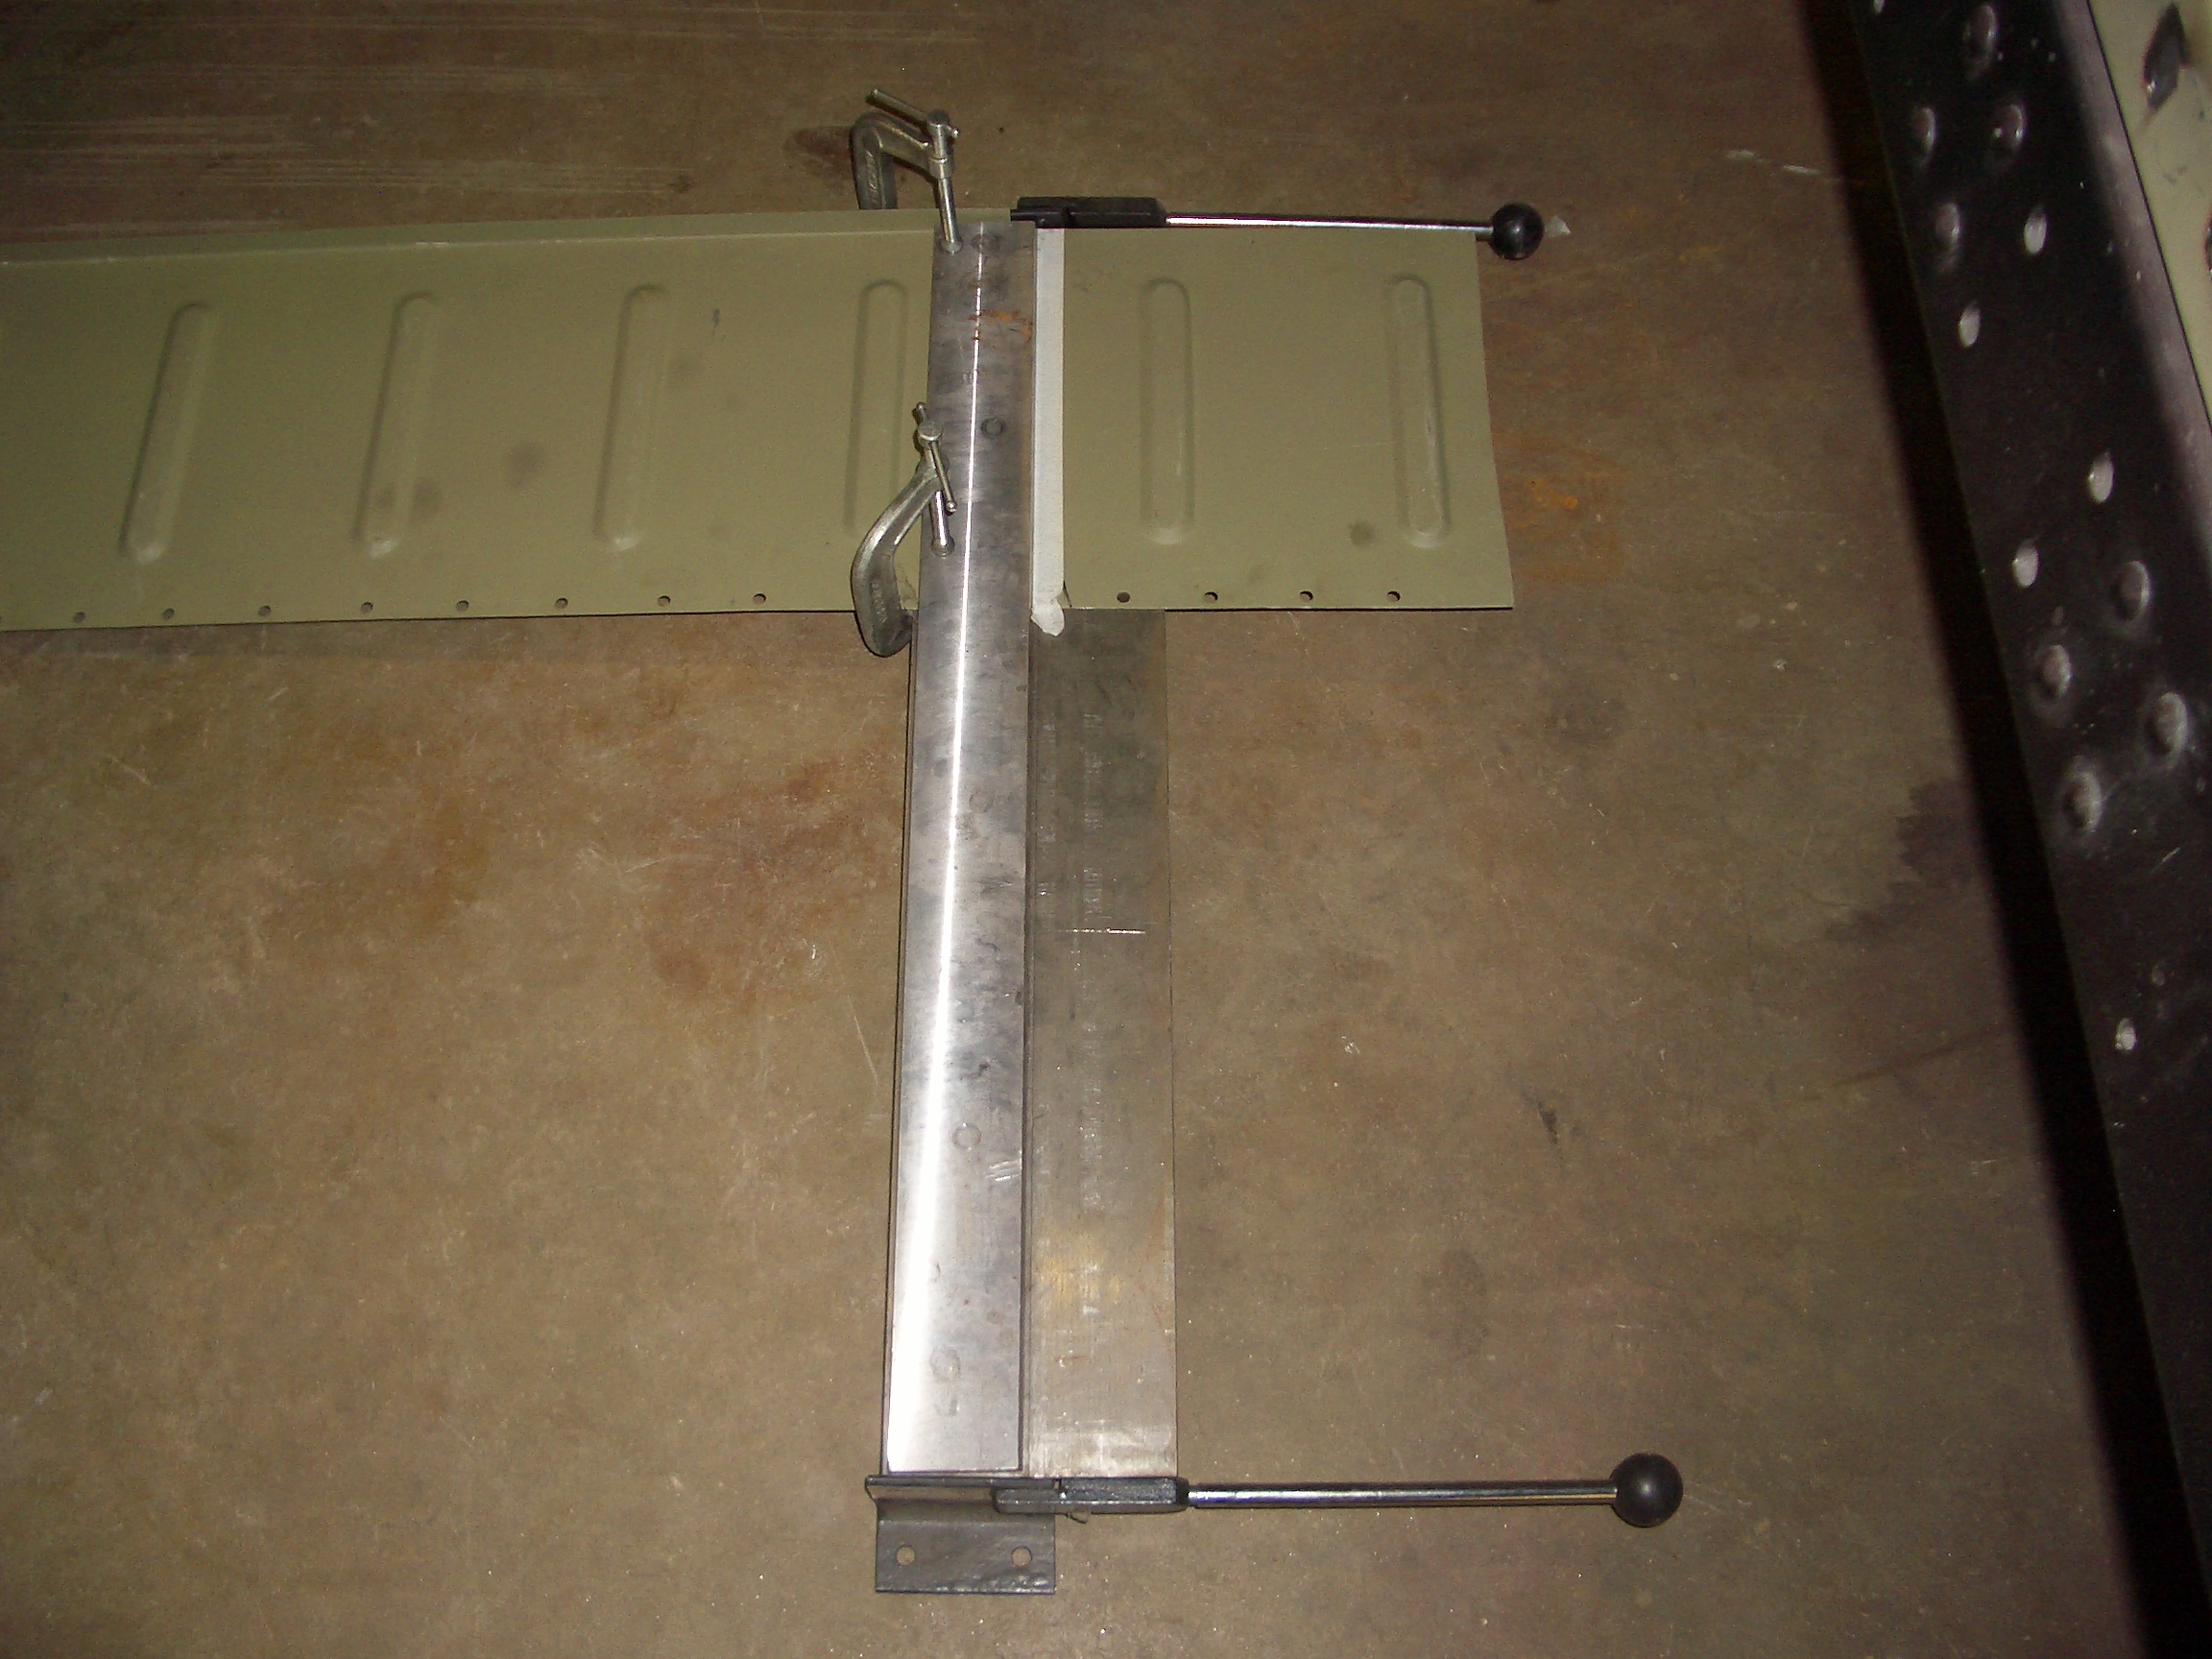


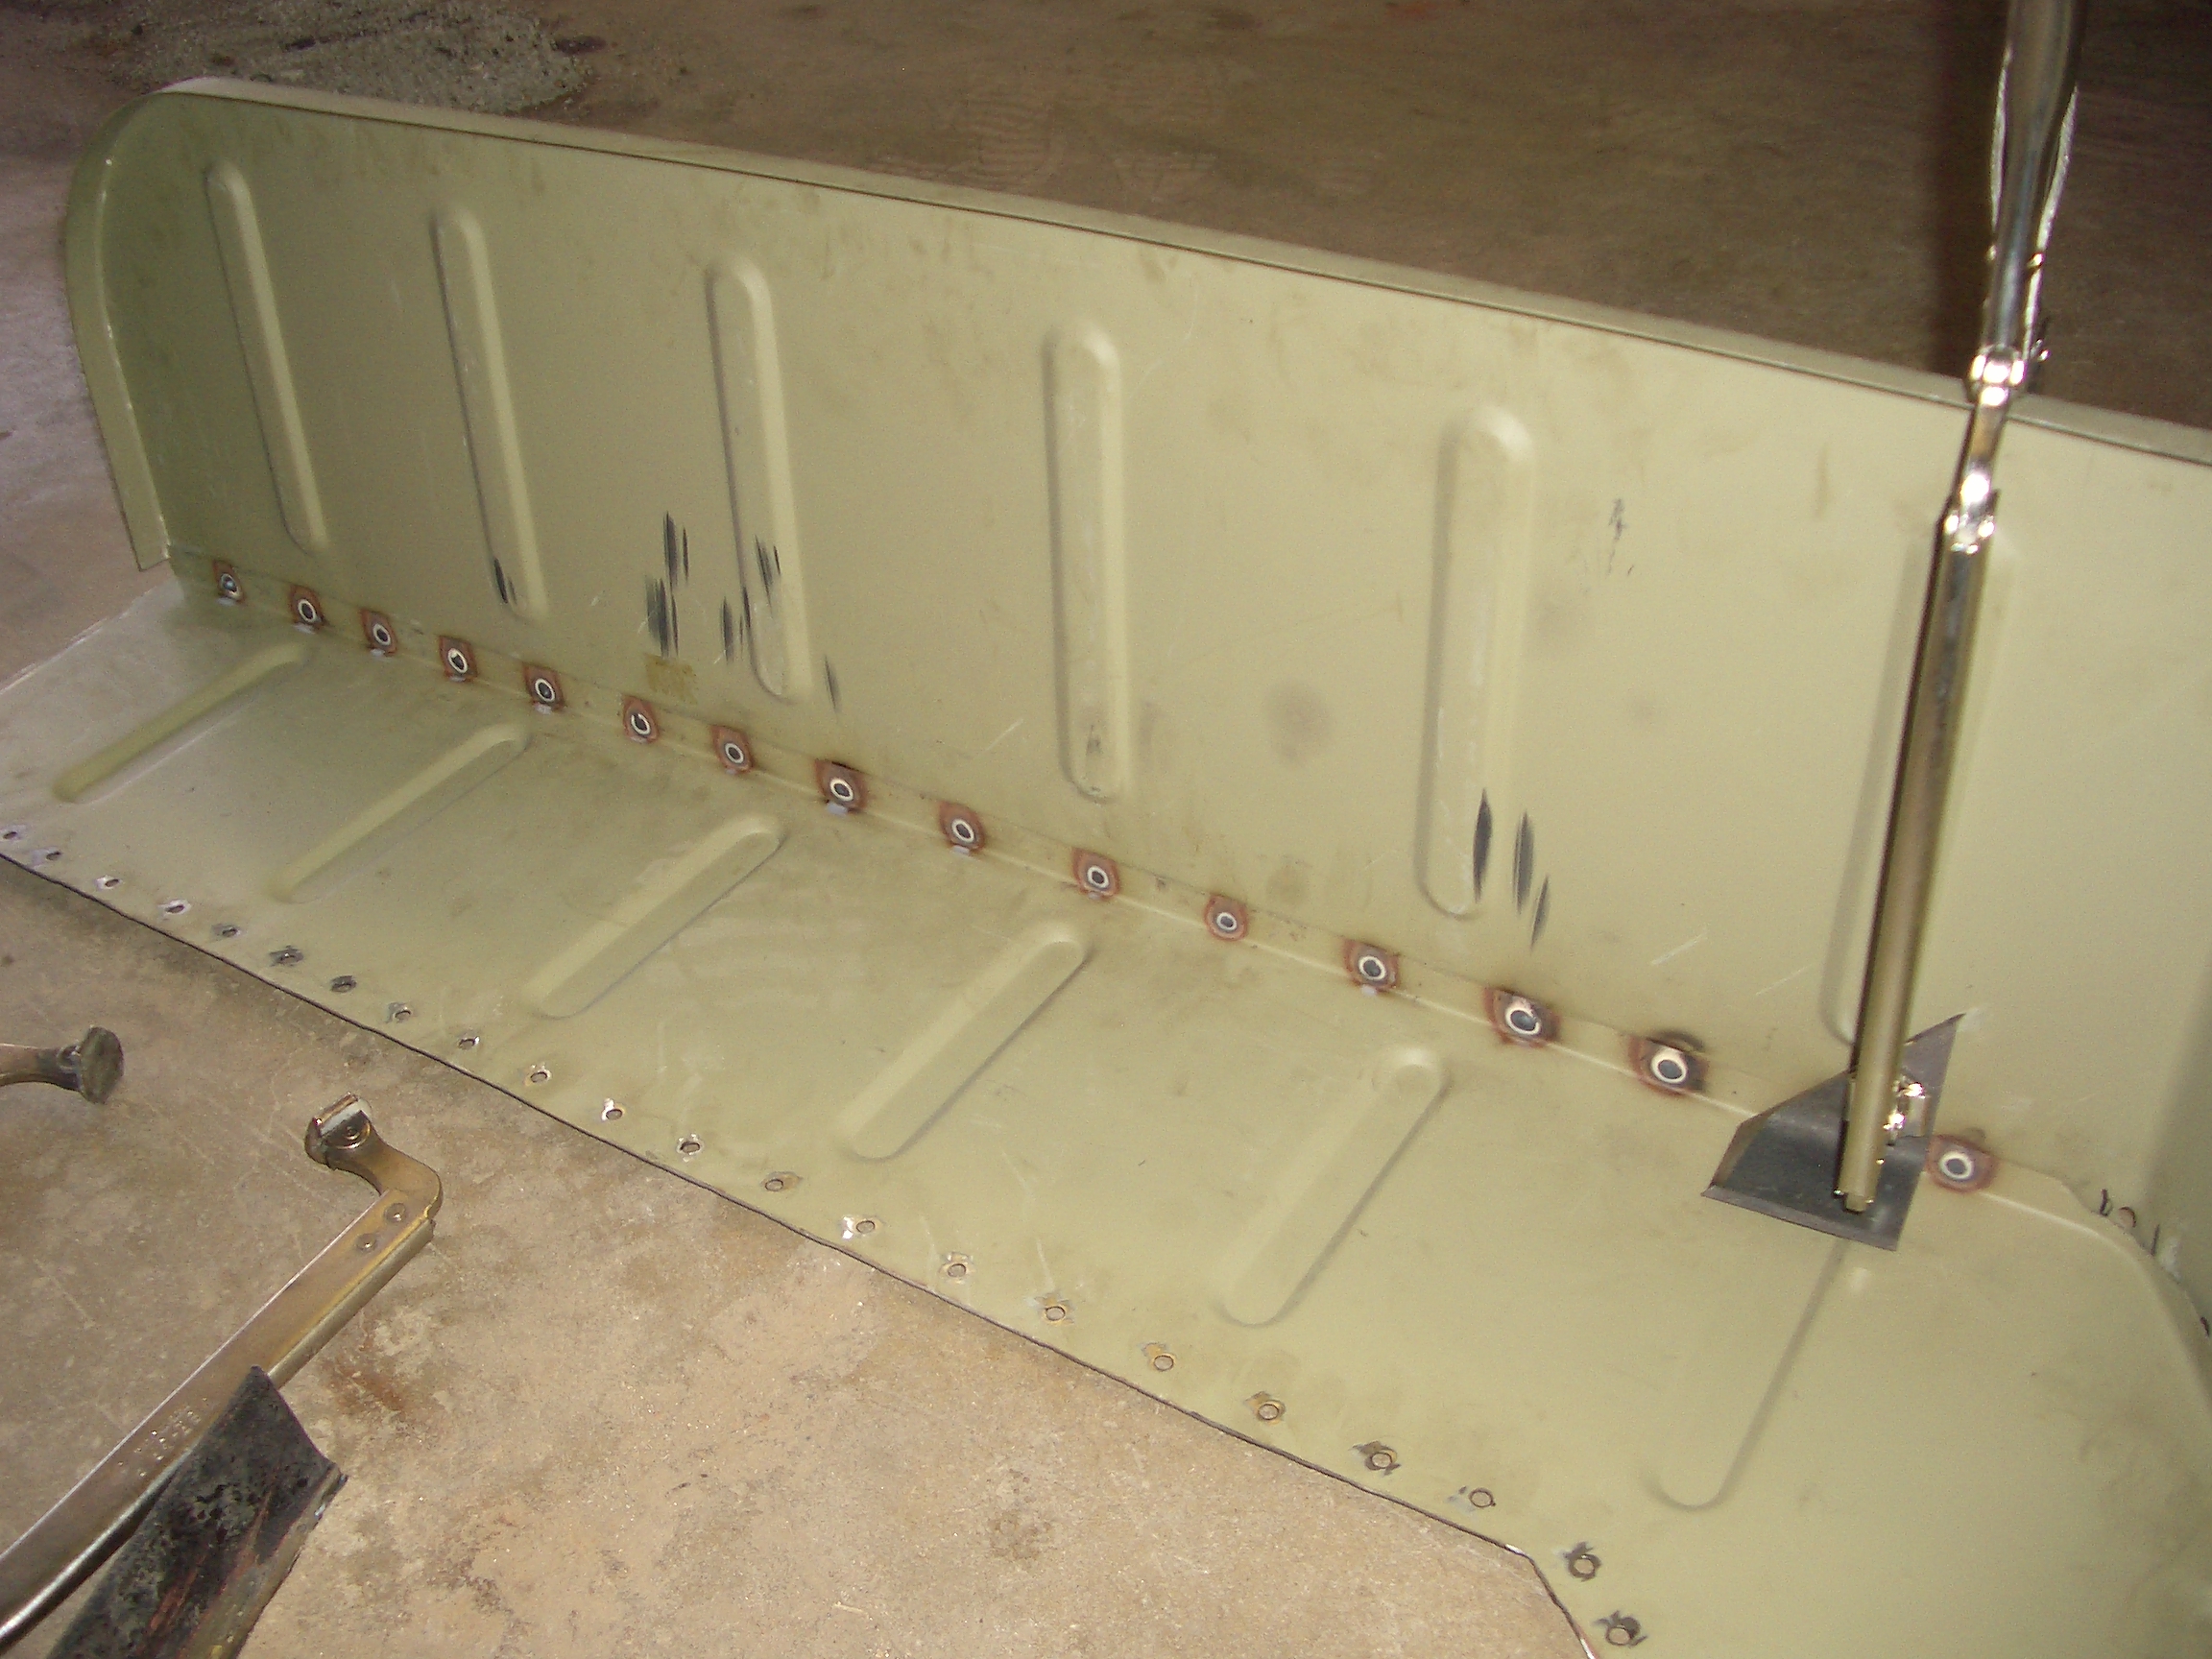
As with the other pieces, I drilled holes to weld into to simulate the factory resistance welds.
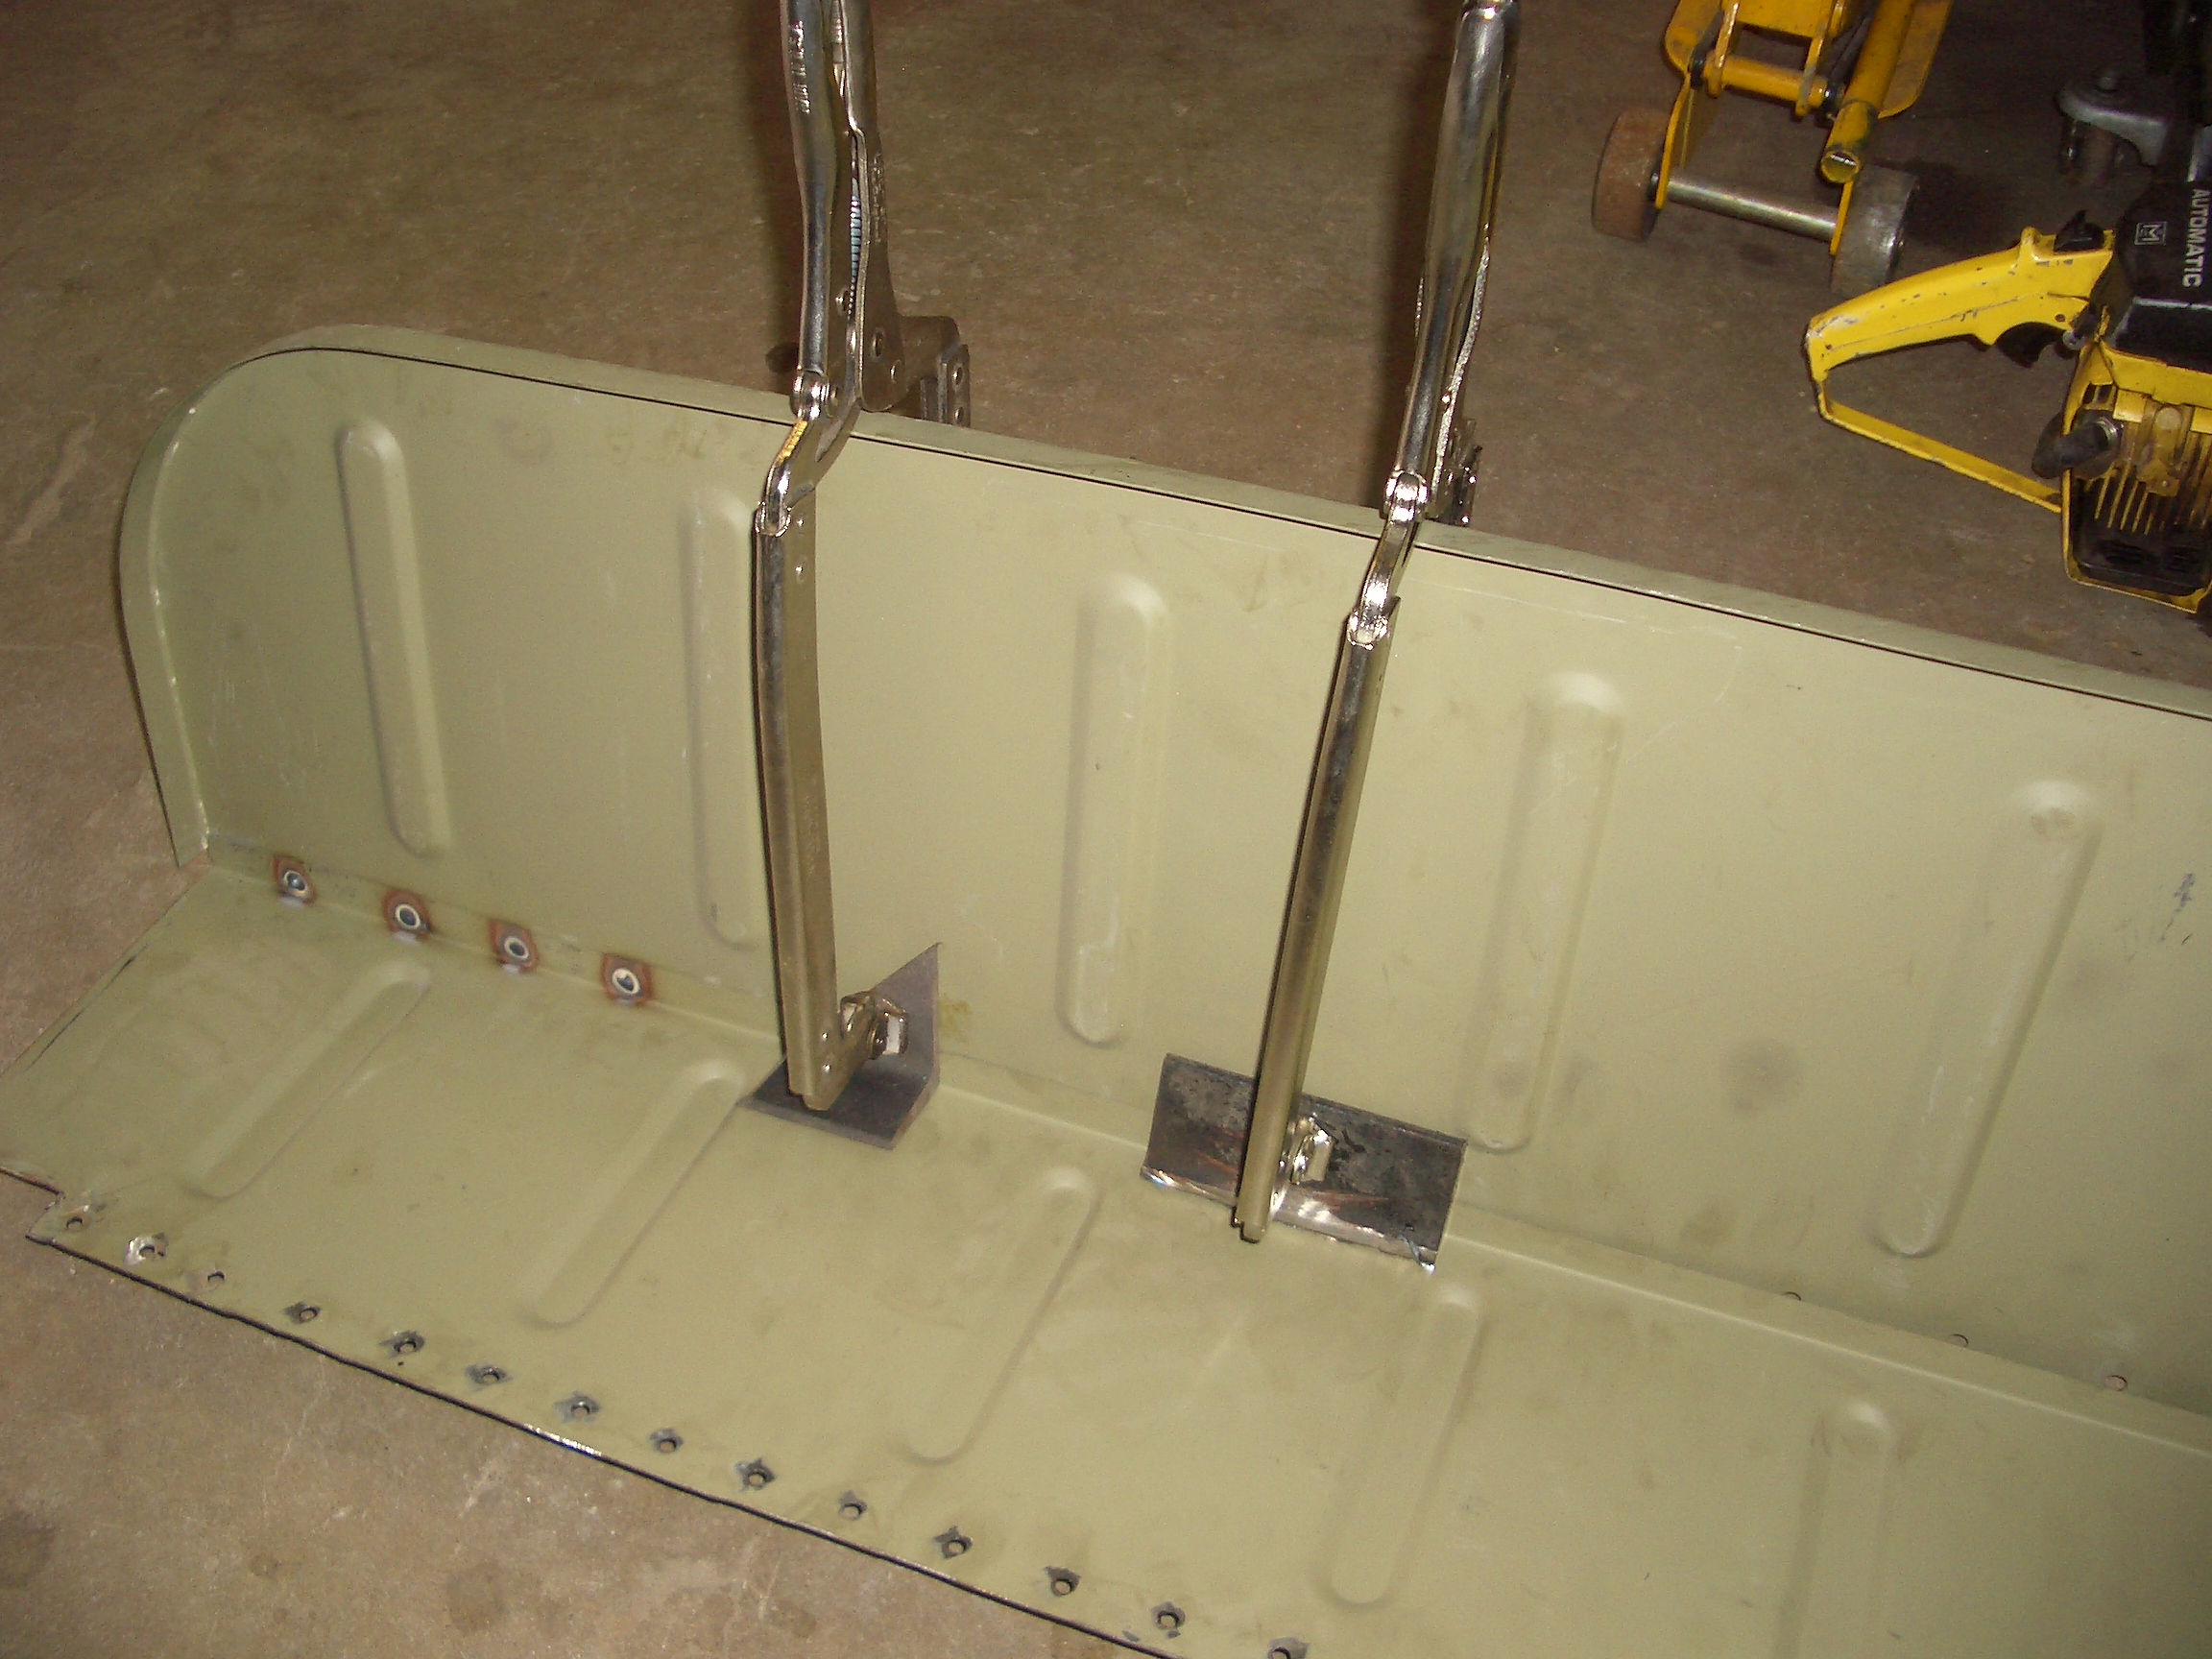

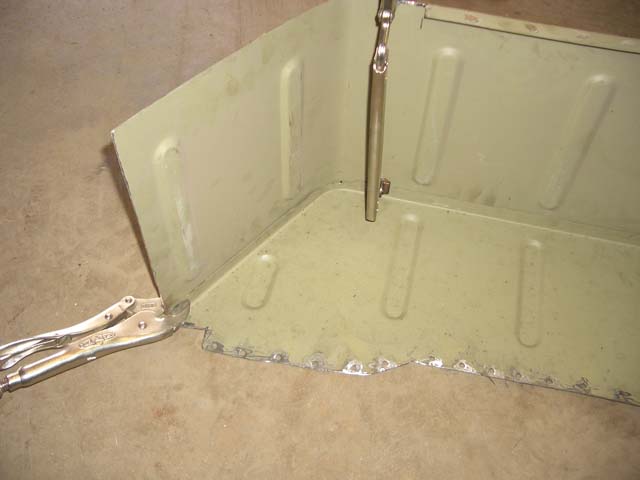
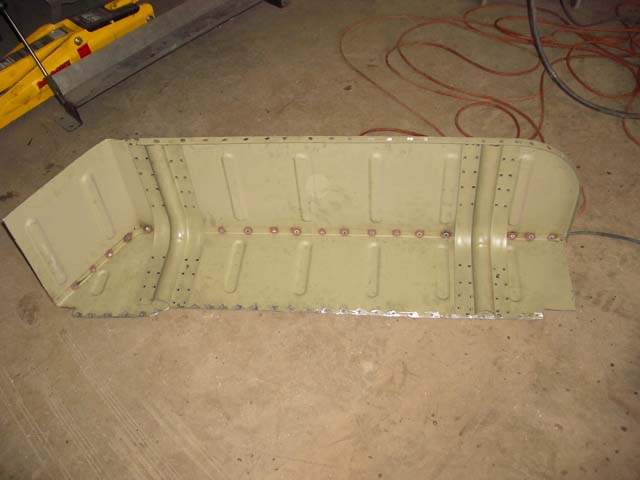
Next up are the reinforcing angles. This is where the factory roll bar mounts to.
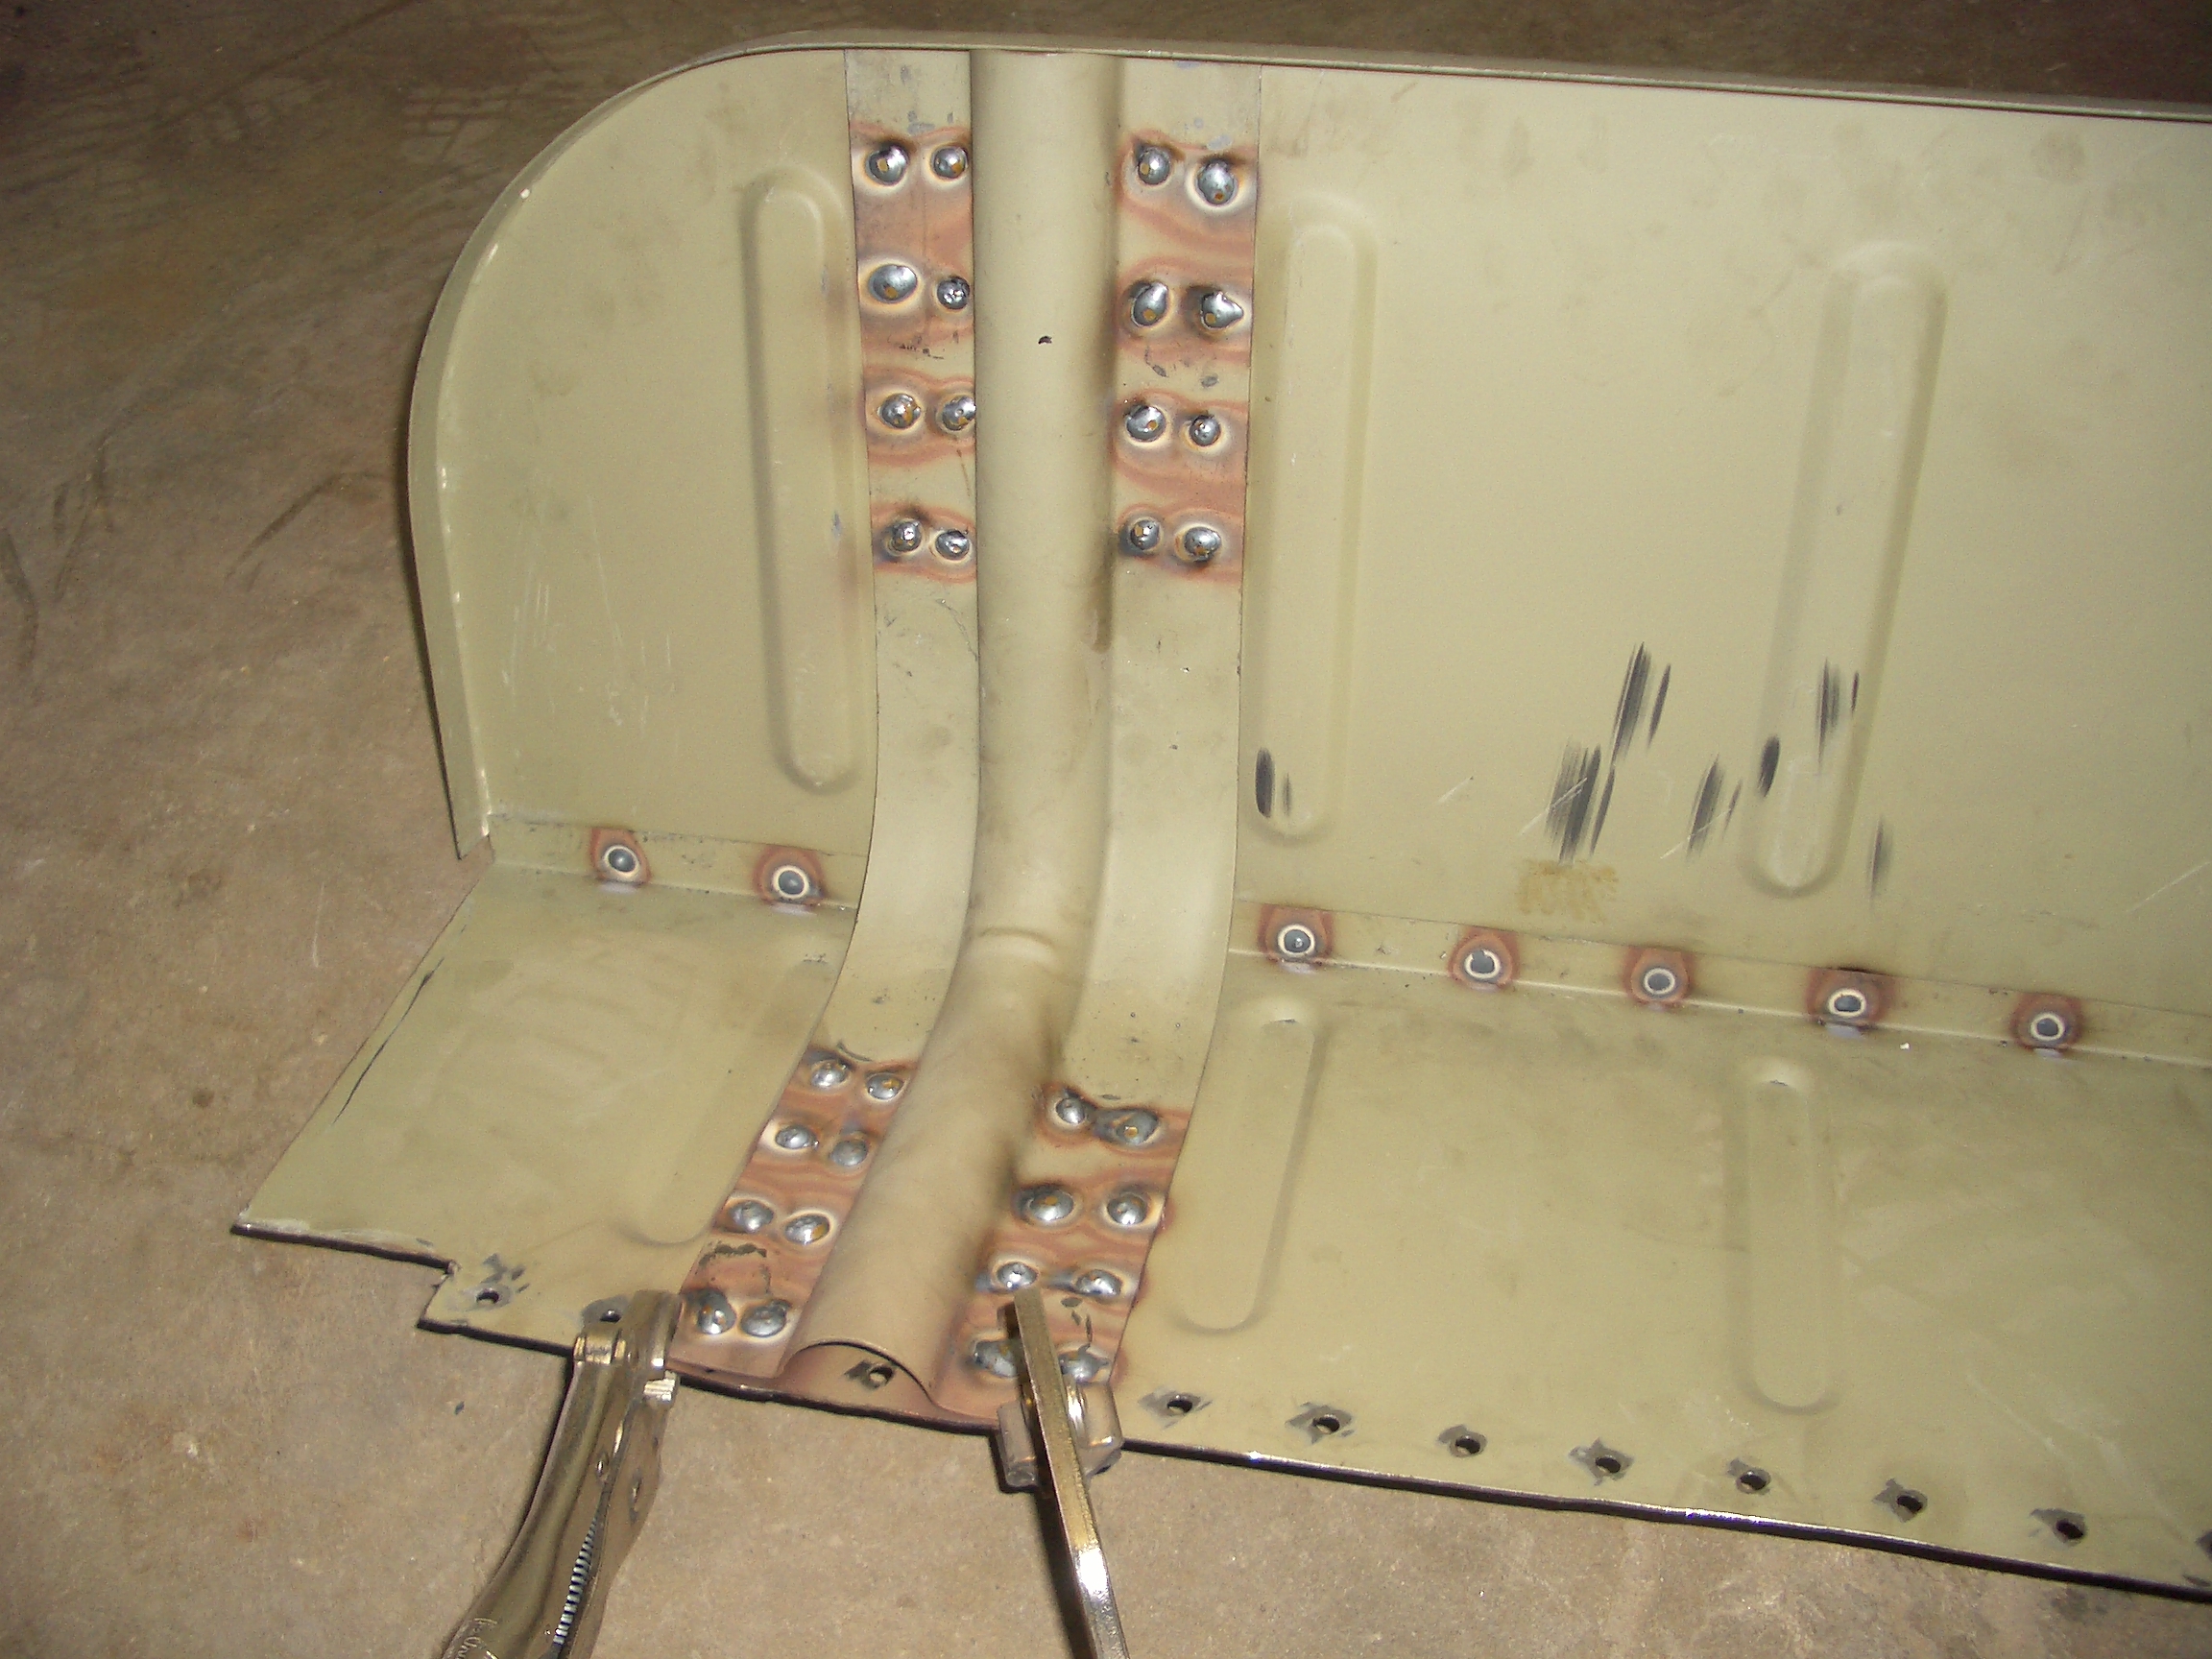

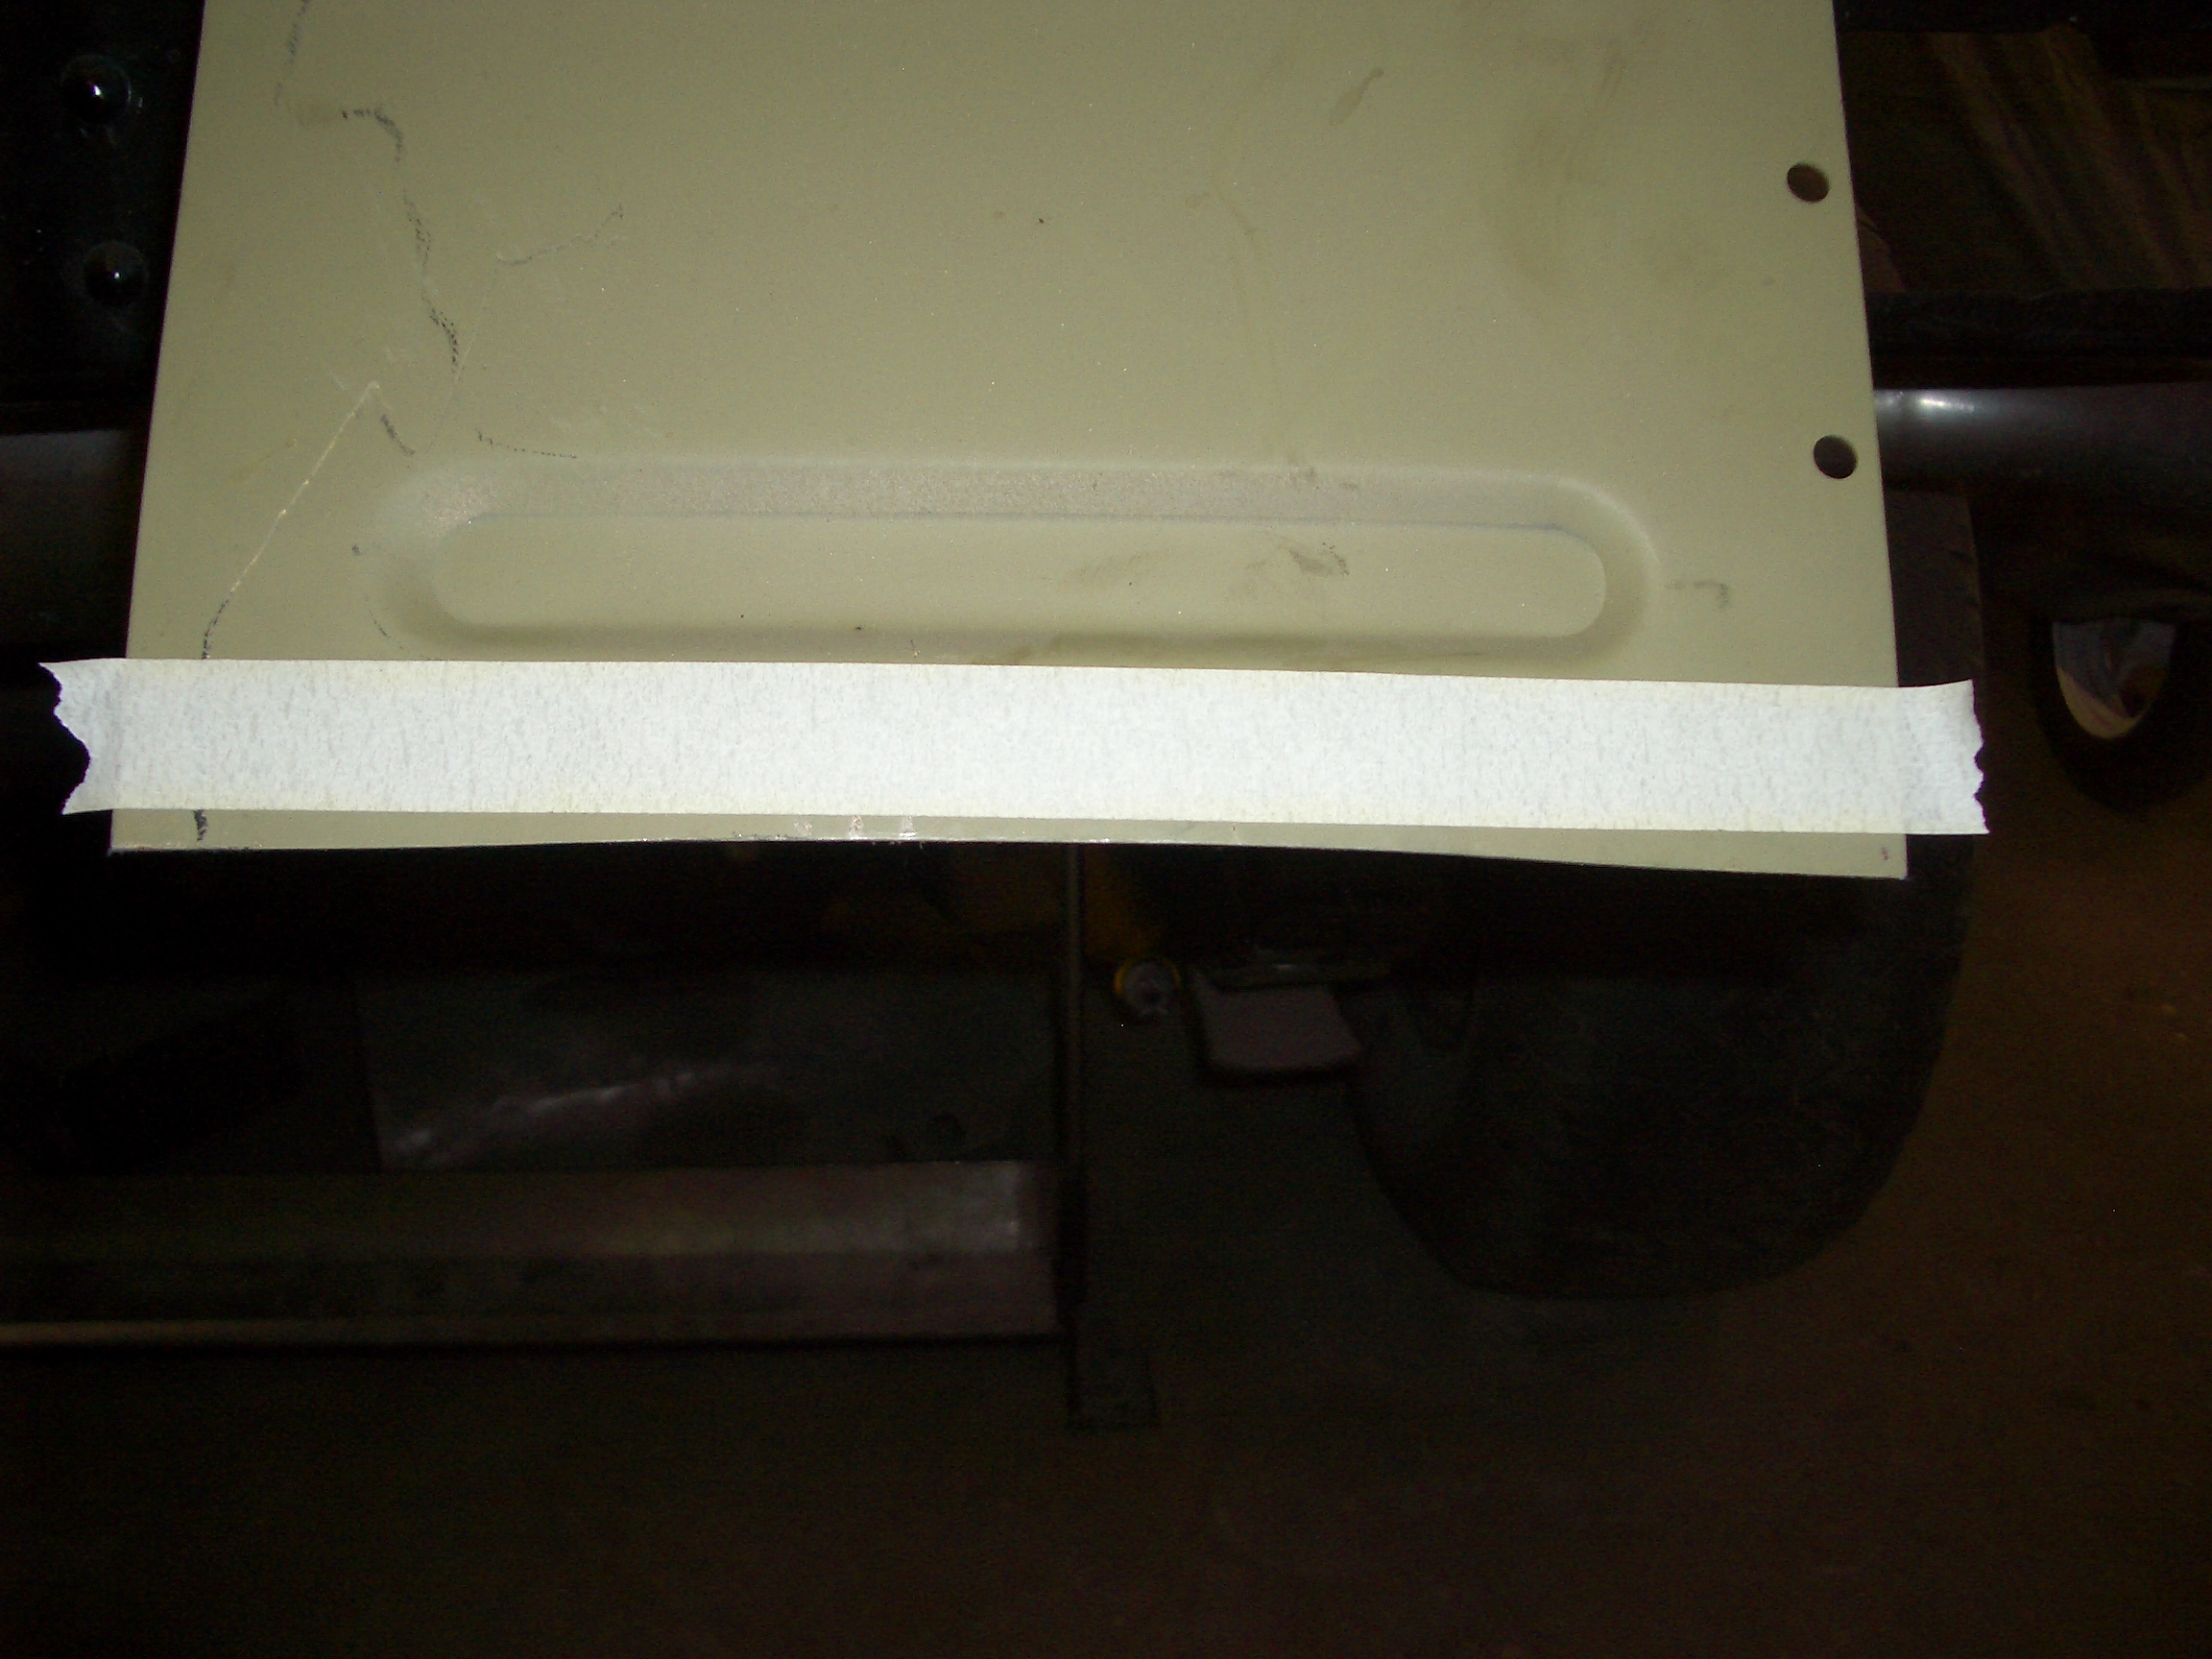
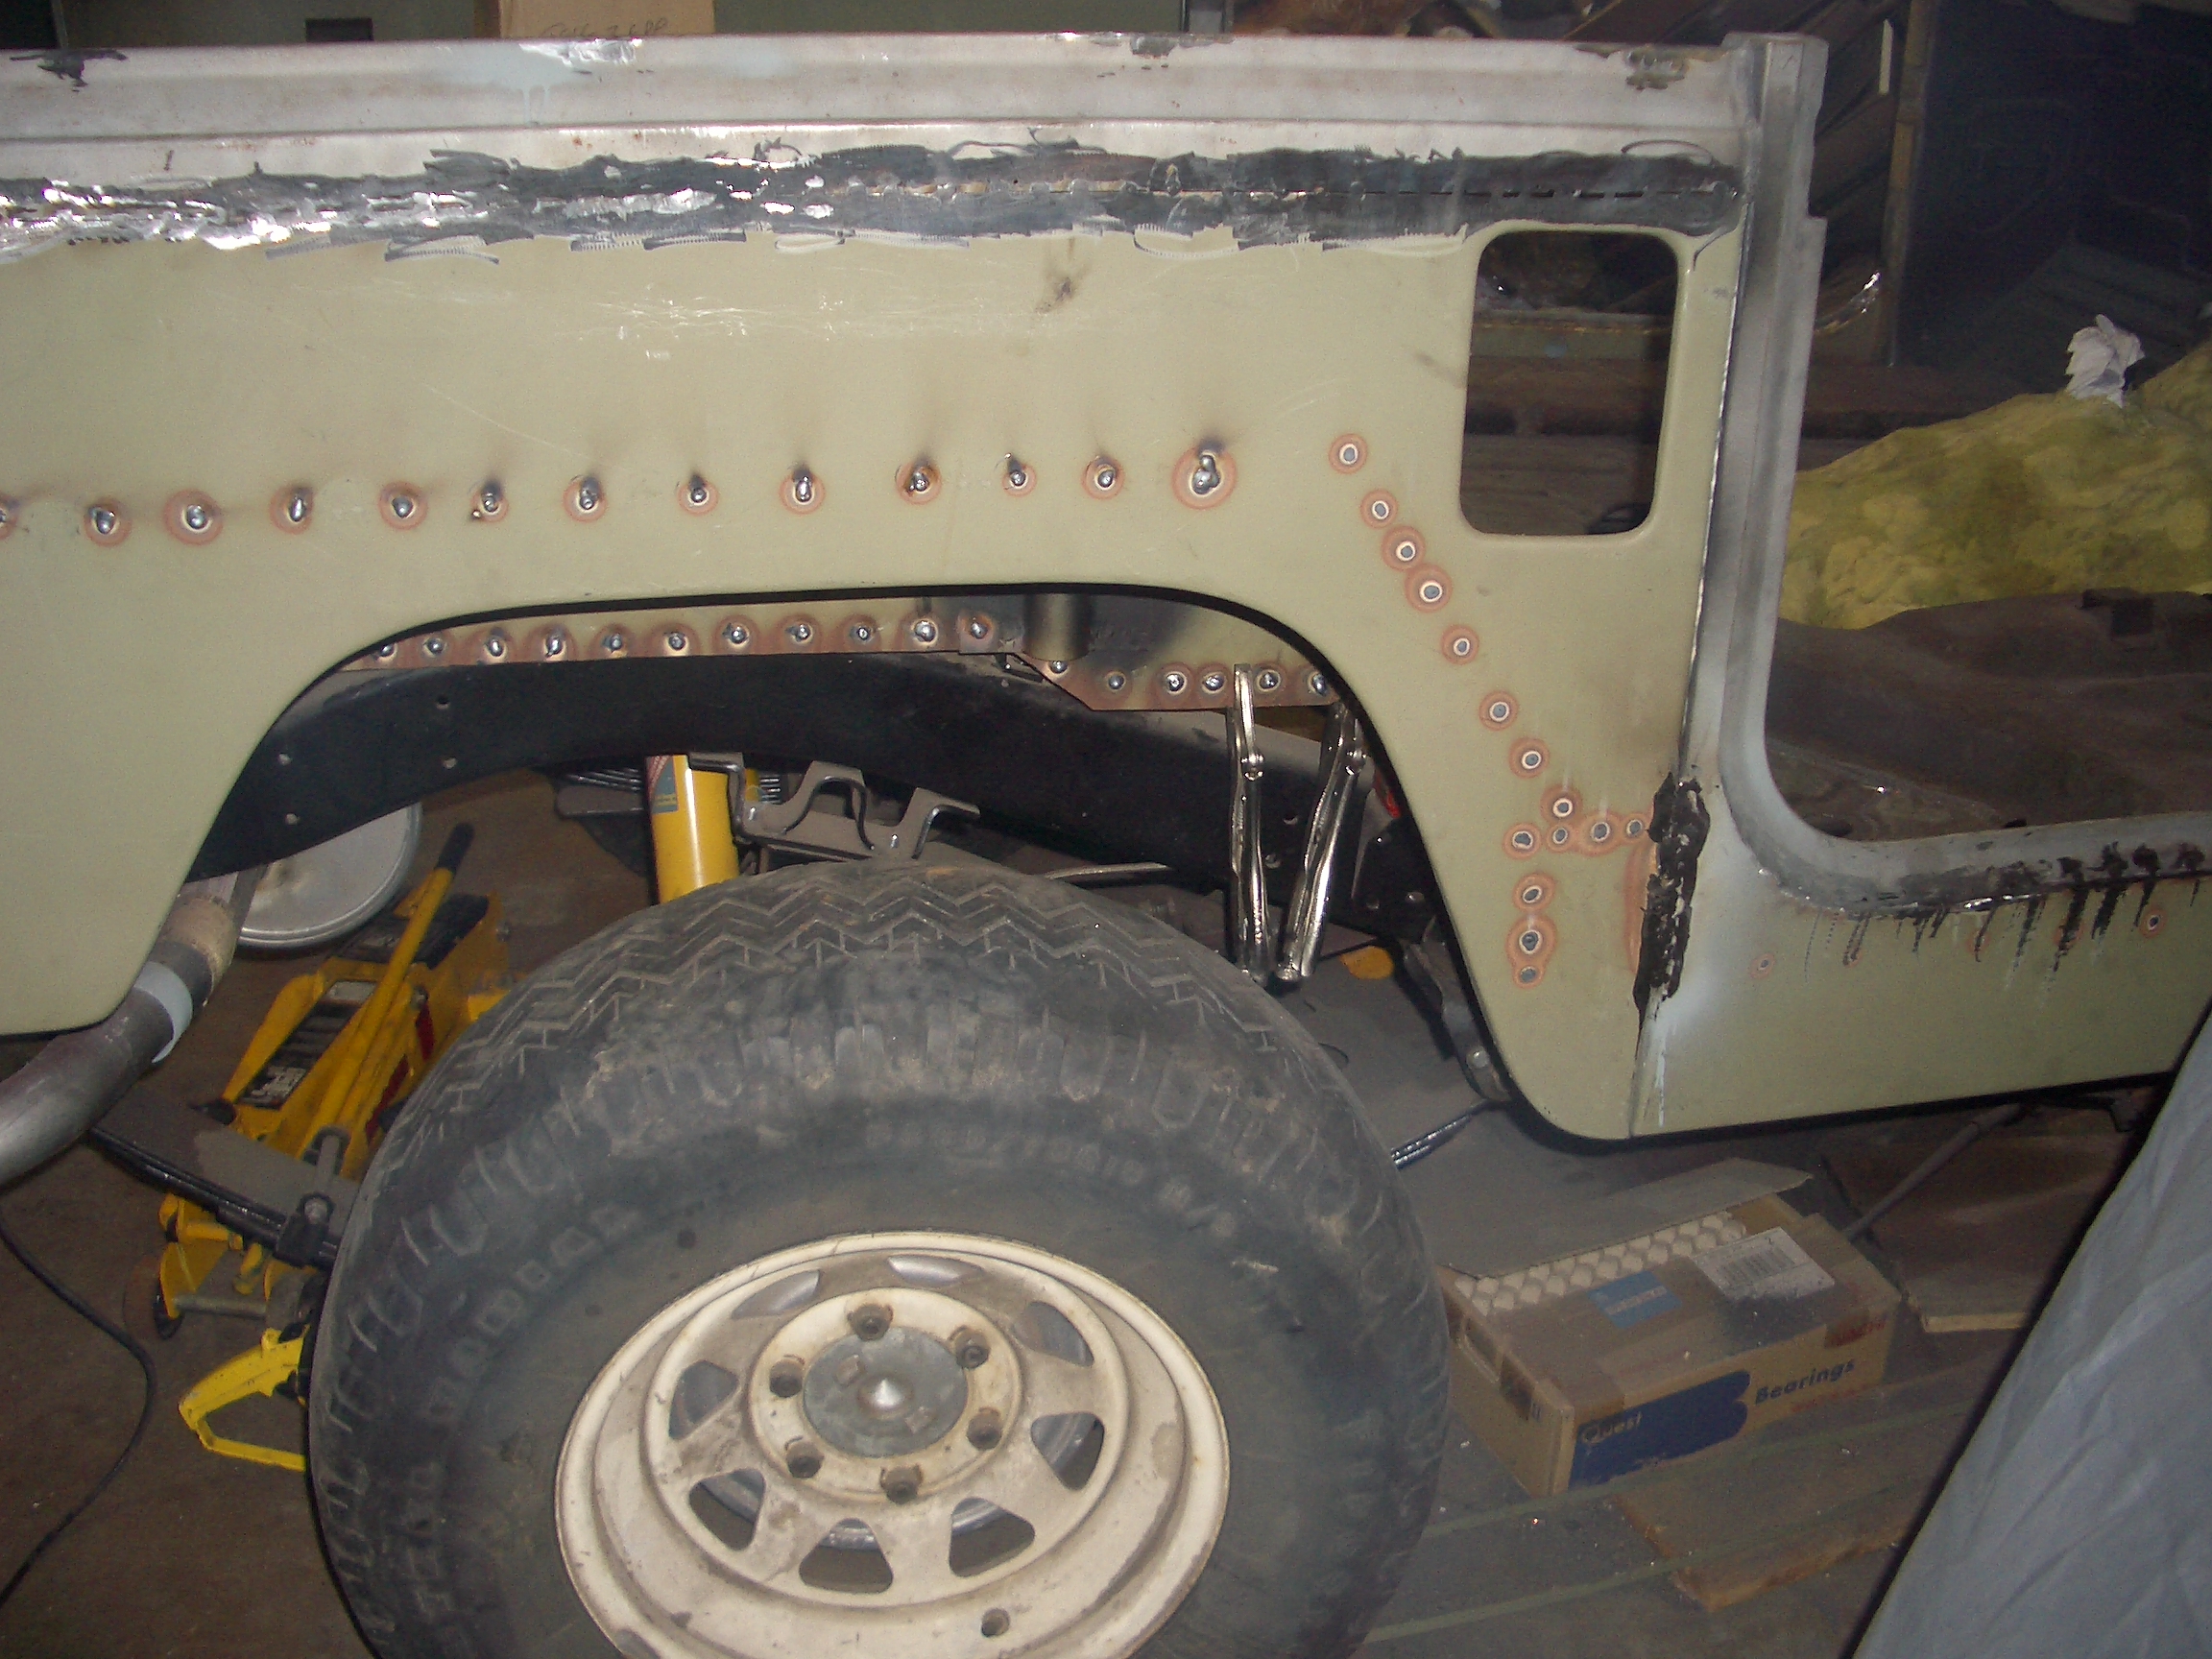
Here is where the fender well will mount to the inside of the quarter panels. I drilled holes in the quarter panels to weld through. The white stuff is 3M auto body sealant. That's to keep moister out of that seam between the quarter panel and the sill wing, one of the factory's notorious rust areas. Hopefully this will do a better job than the factory's design at preventing rust. The masking tape is to position the top of the fender well. It was measured from the underside of the quarter panel lip.
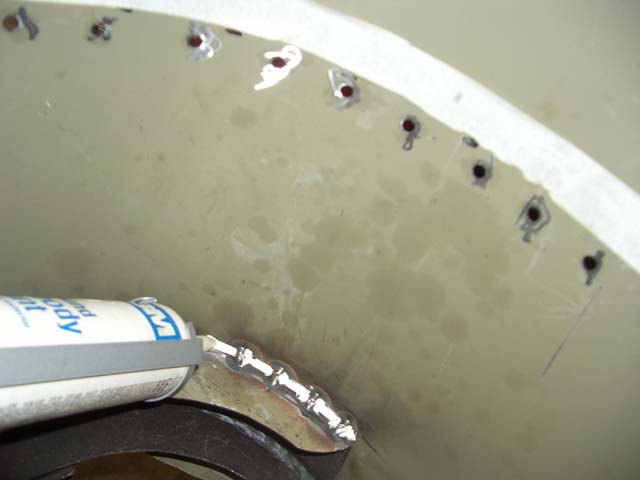

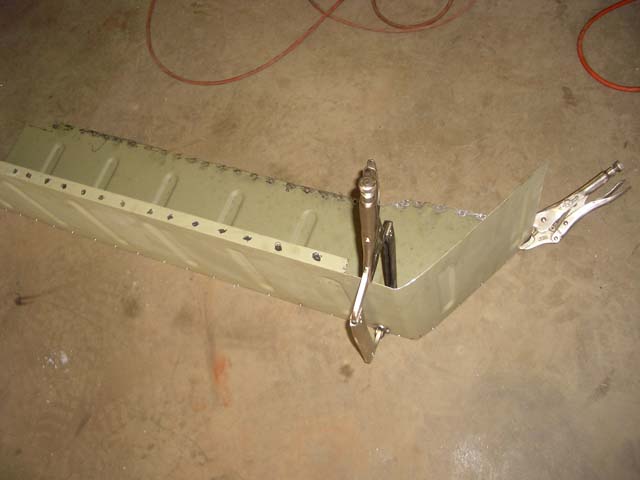
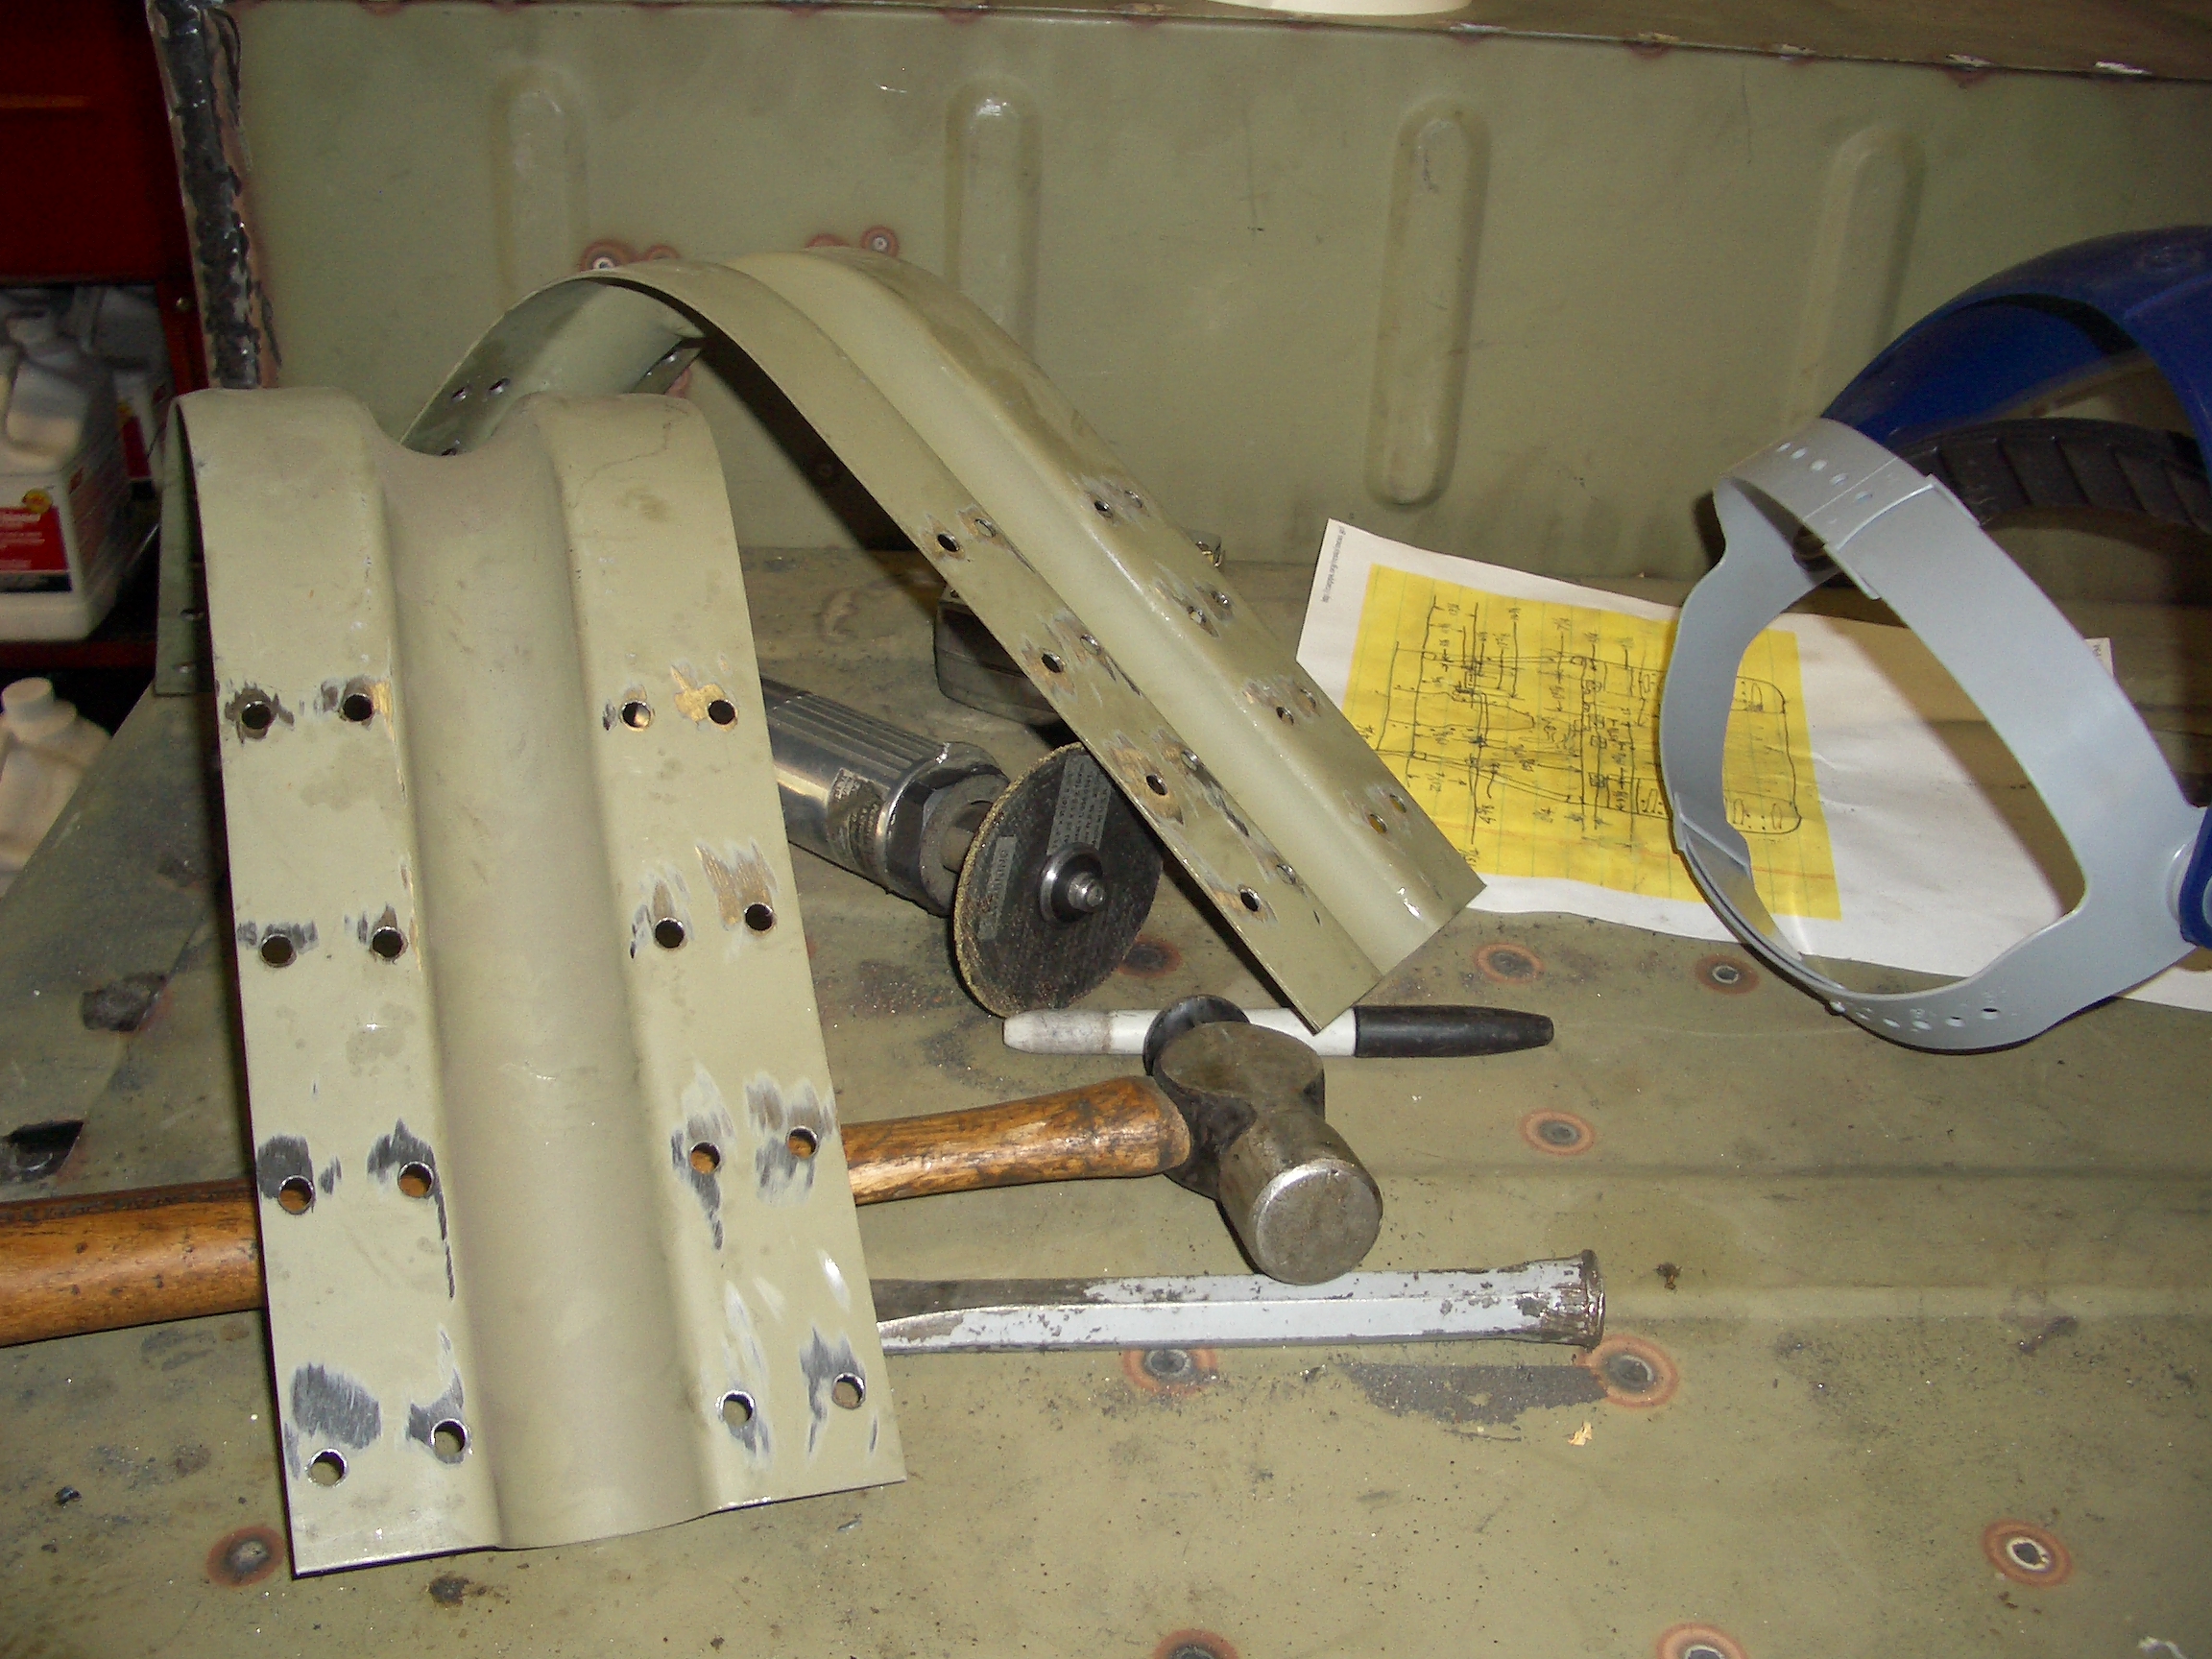
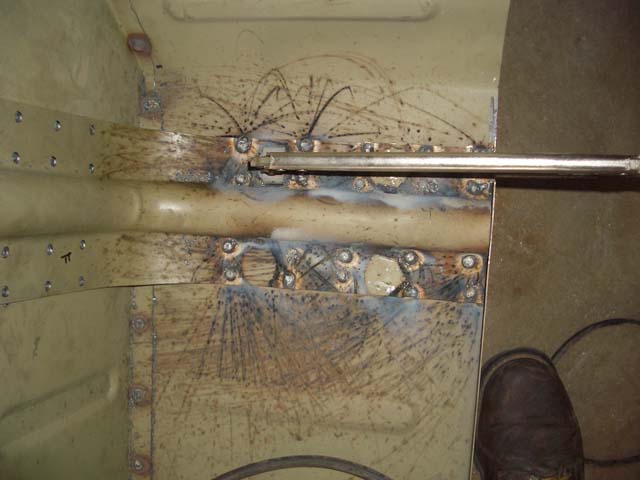
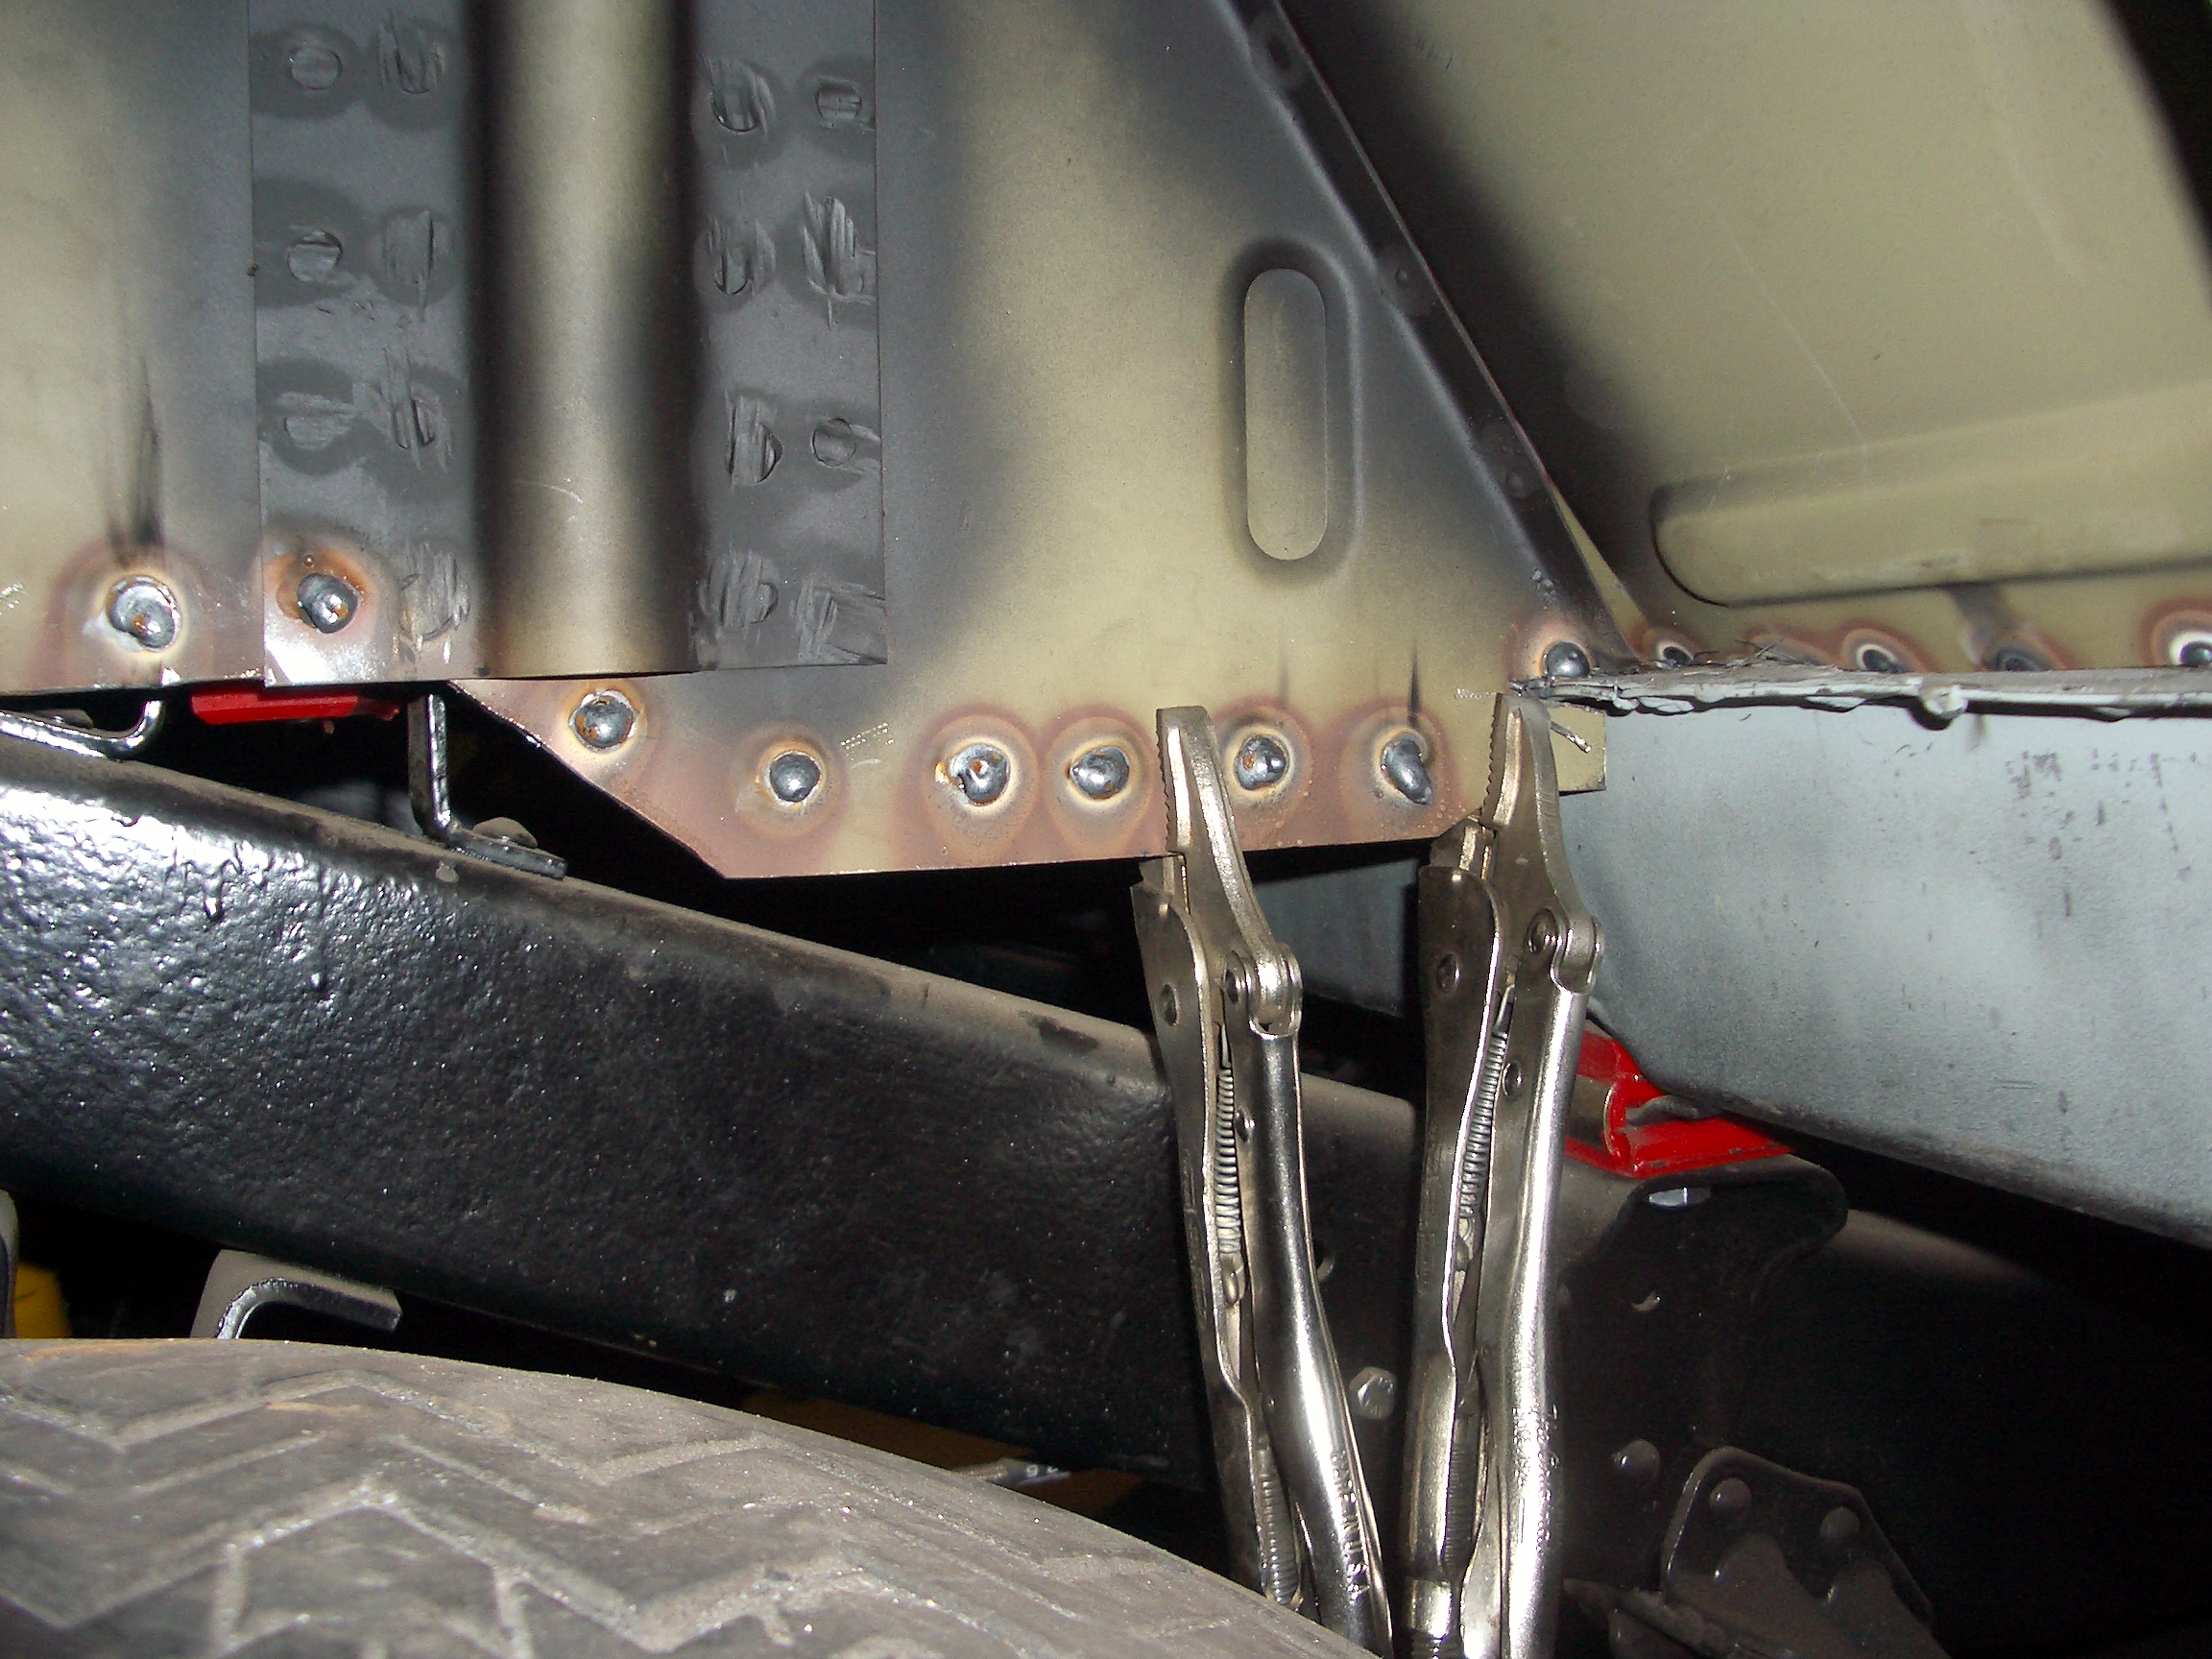
Below, I welded the reinforcing angle pieces in to the assembled fender well. I had run out of gas and had to use use flux core. What a mess! Structurally it is sound but the flux core makes a lot more spatters than solid wire and gas!
I had to trim the back and front of the inside fender well to fit perfectly over the back of the sill and the box section.

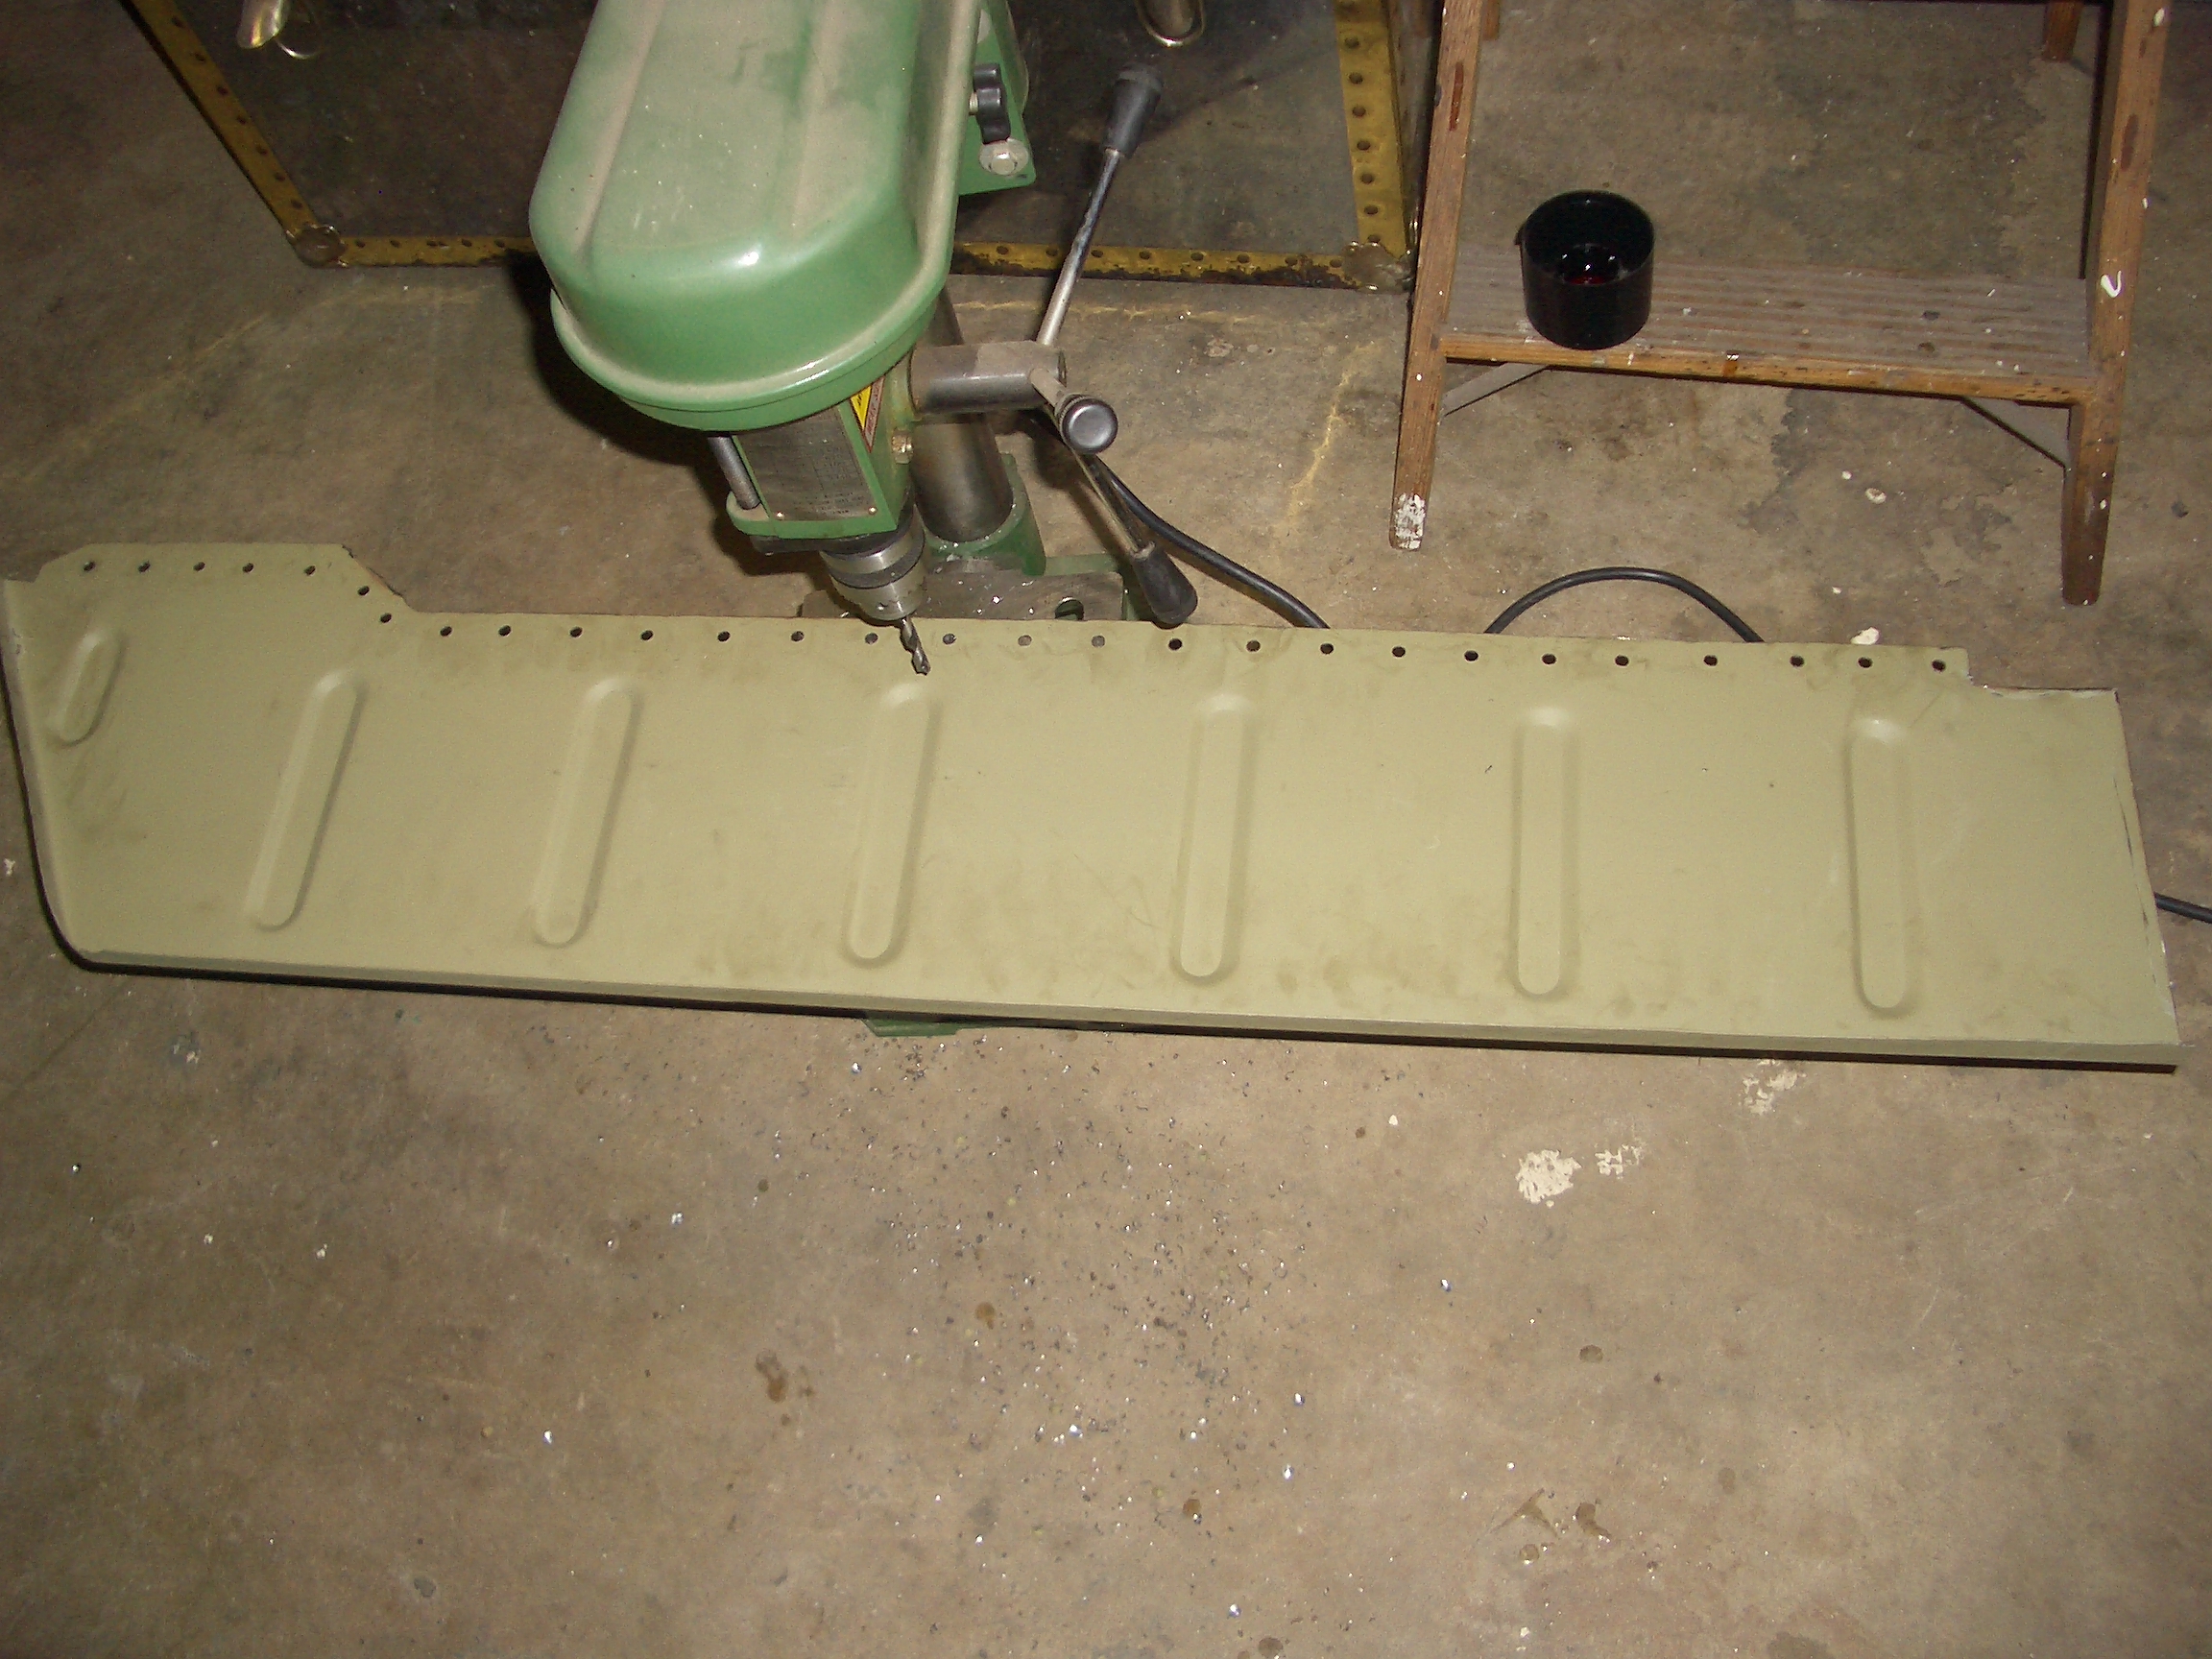
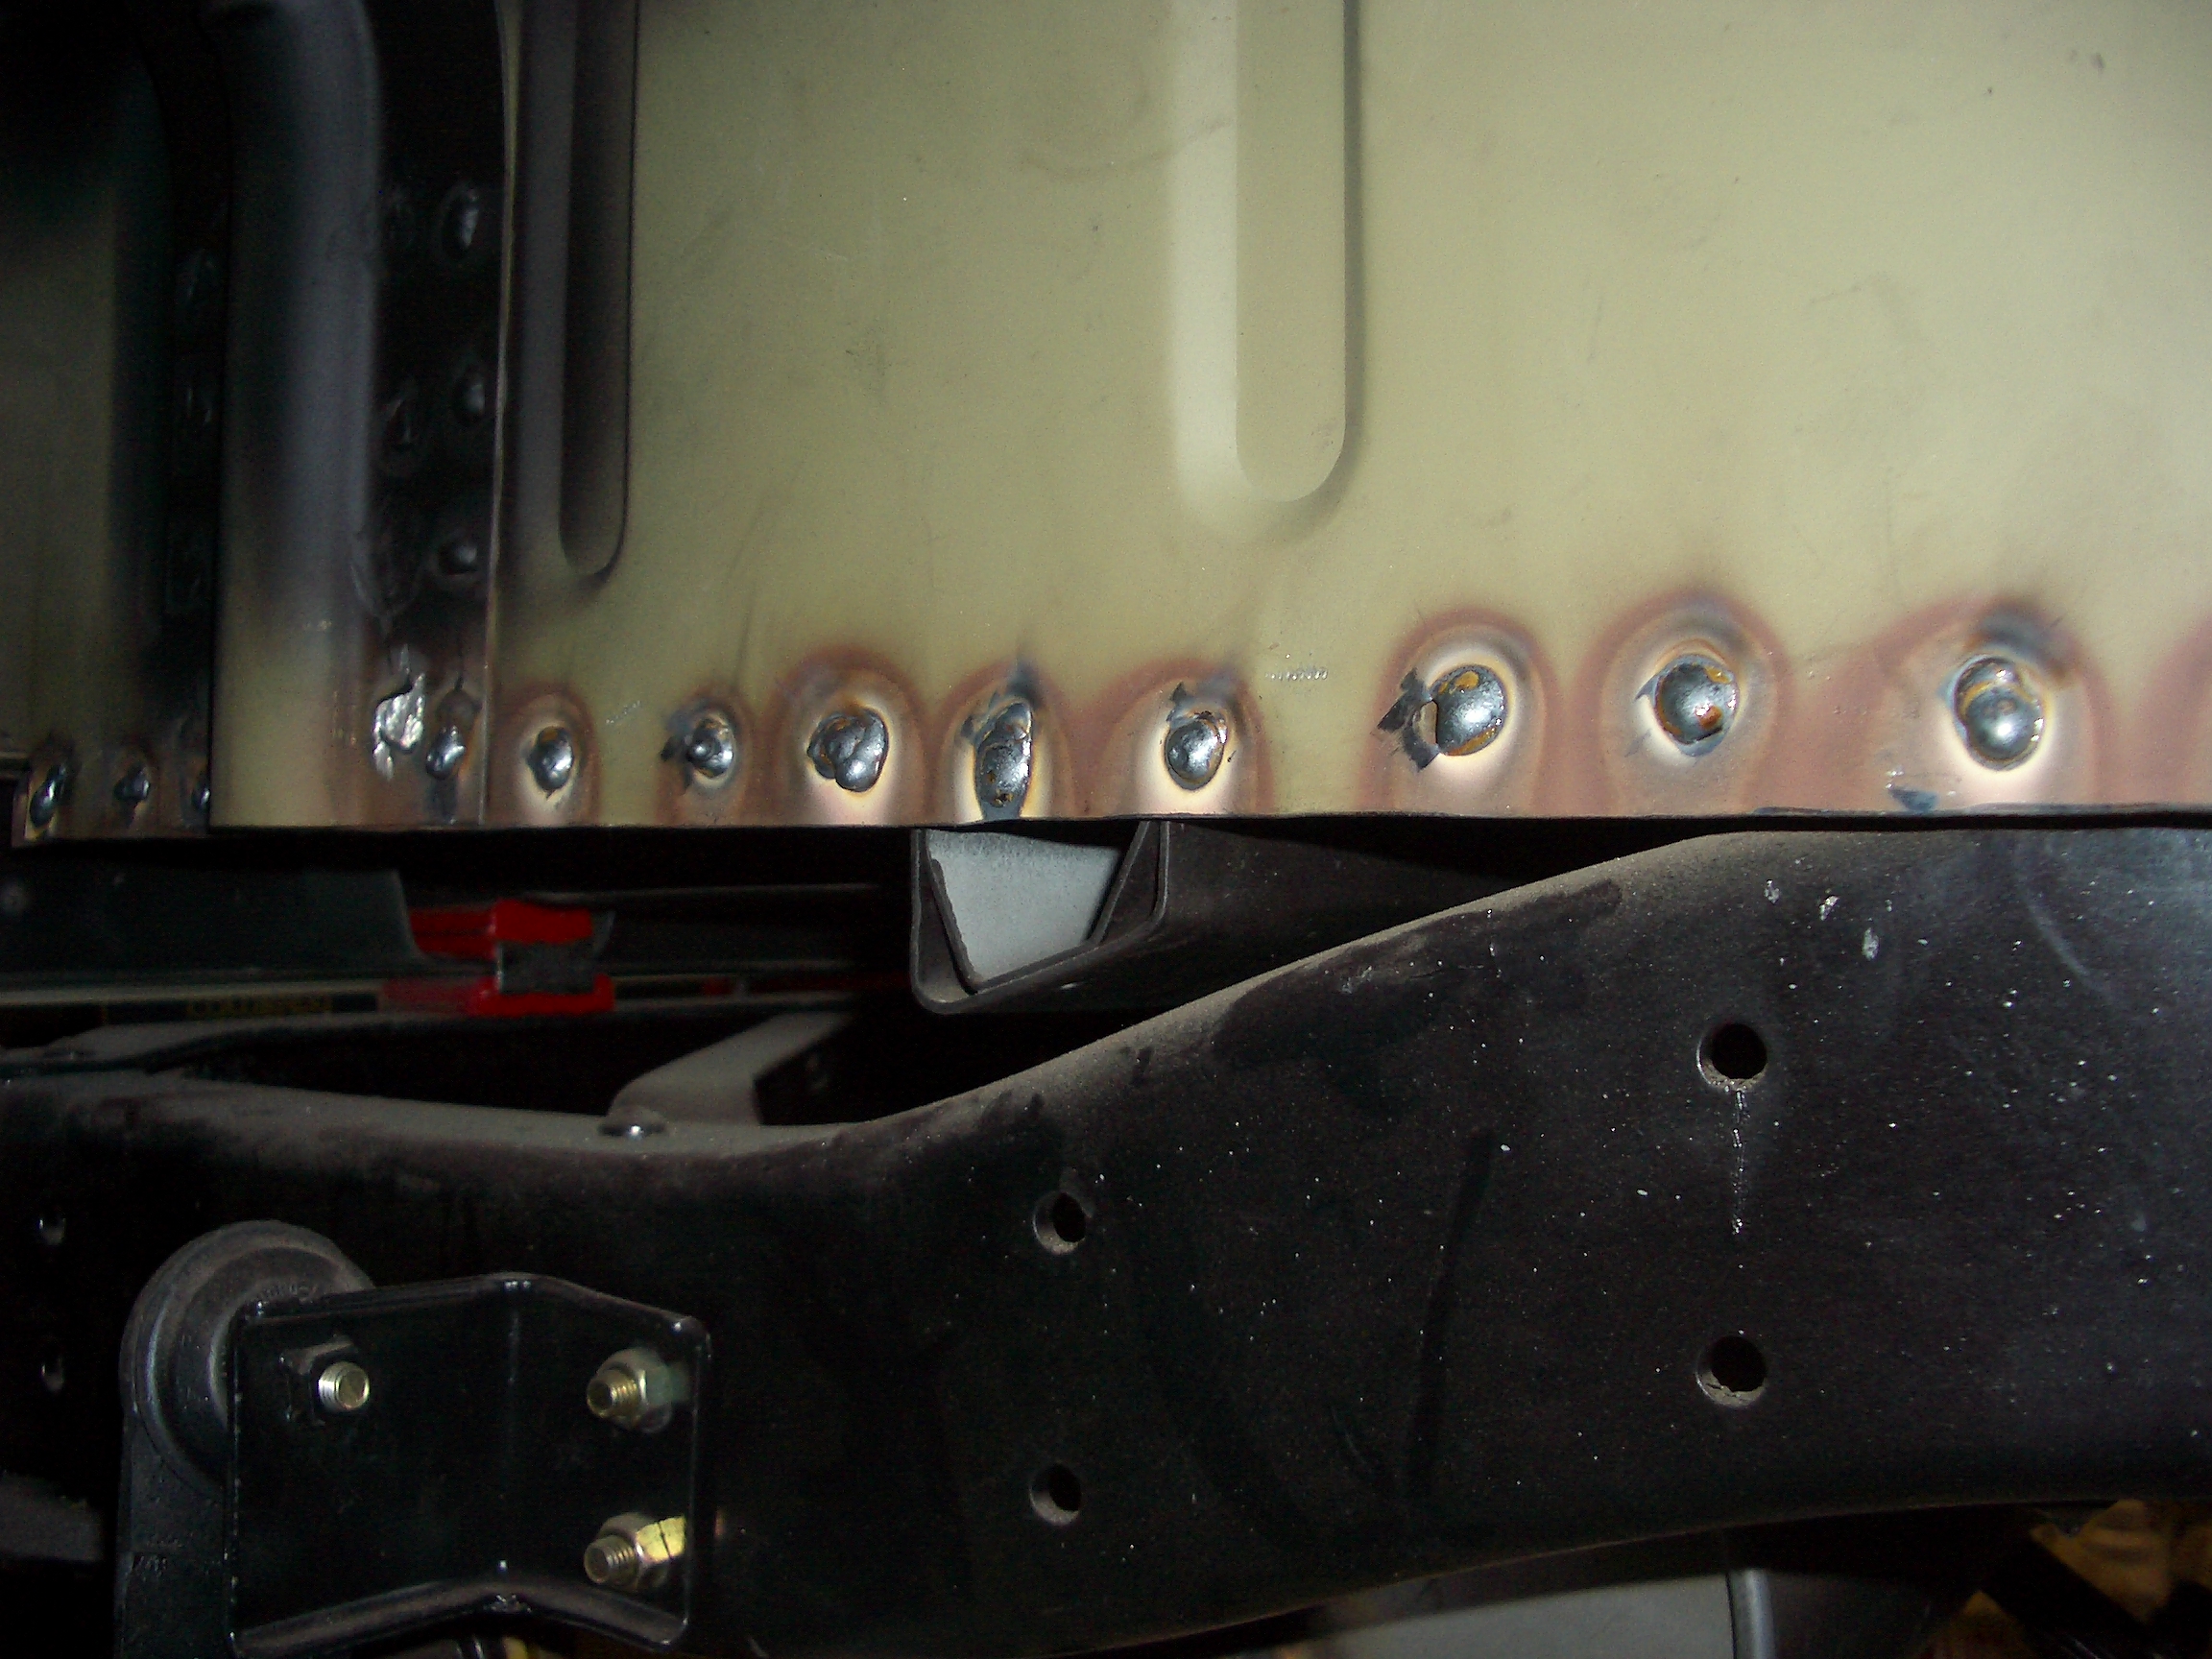
Masking tape to make a straight line cut to trim to fit.
Prior to mounting the fender wells to the rest of the cruiser, the welds are coated with zero rust.
Welding it in!


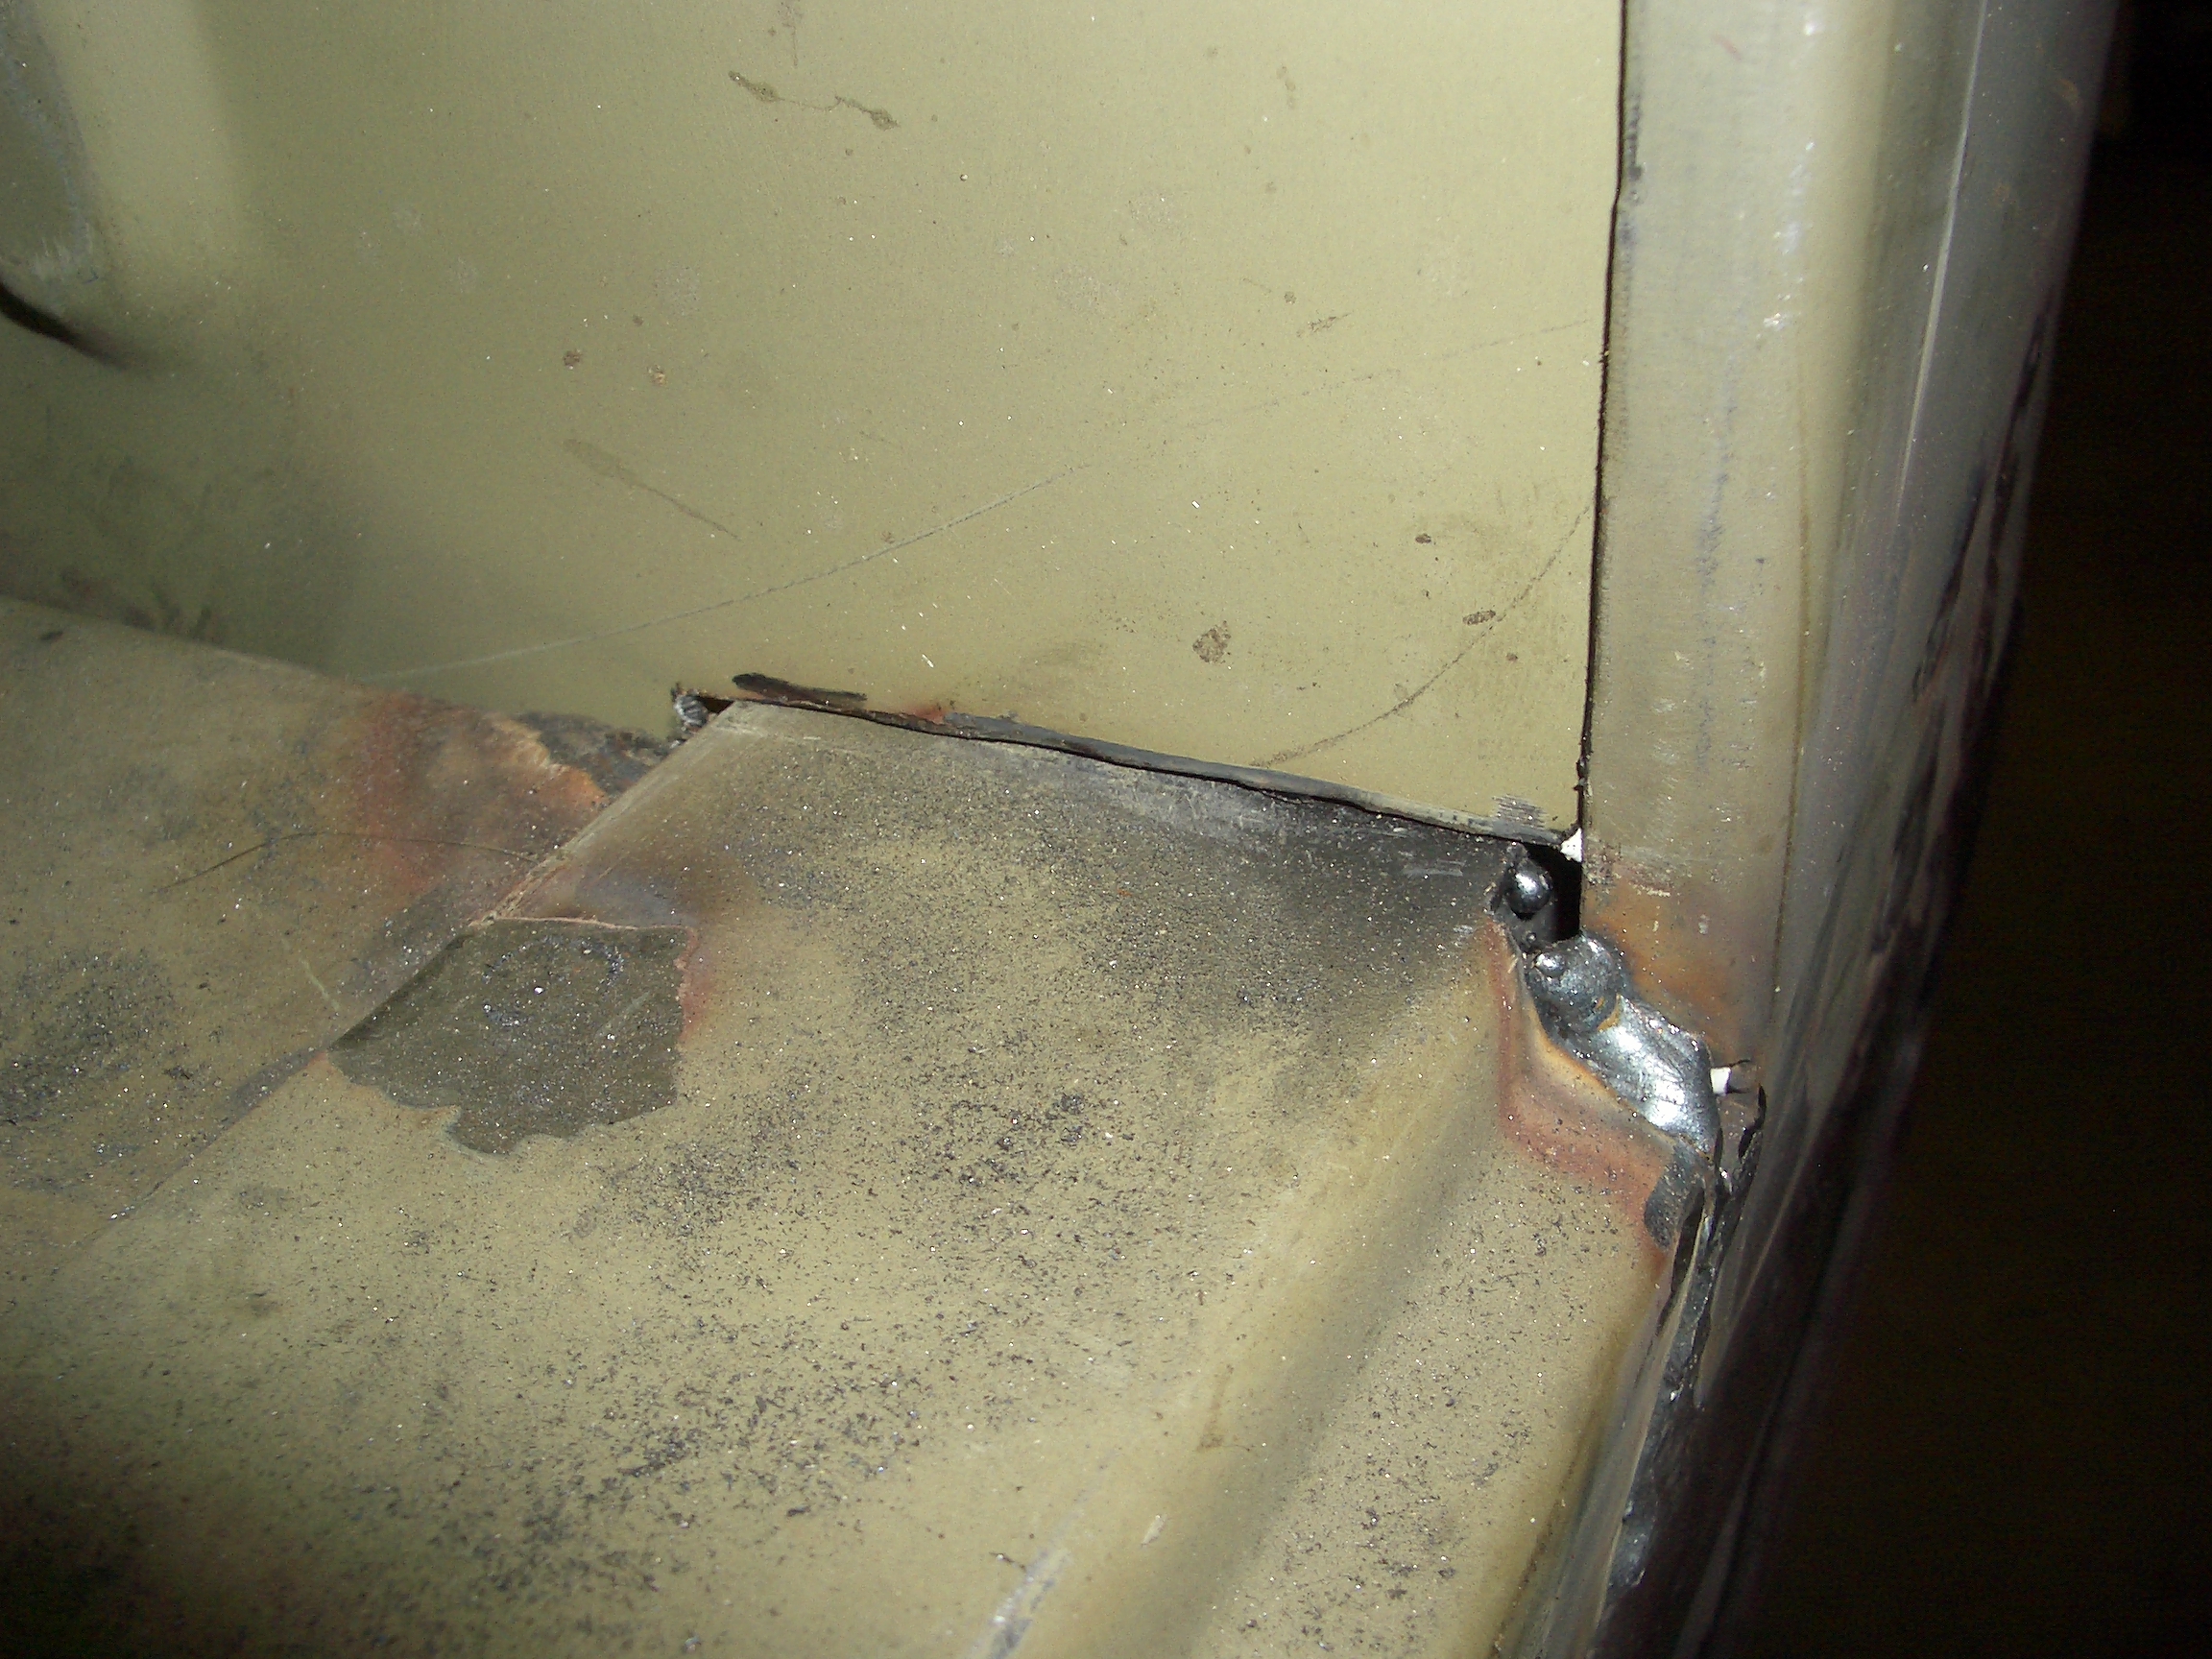
Once the fender wells were installed, one of the final touches was the fuel filler recess. I tried to drill out the factory spot welds but there was still some holding it together so I used the O-A torch to finish getting it off the old quarter panel.
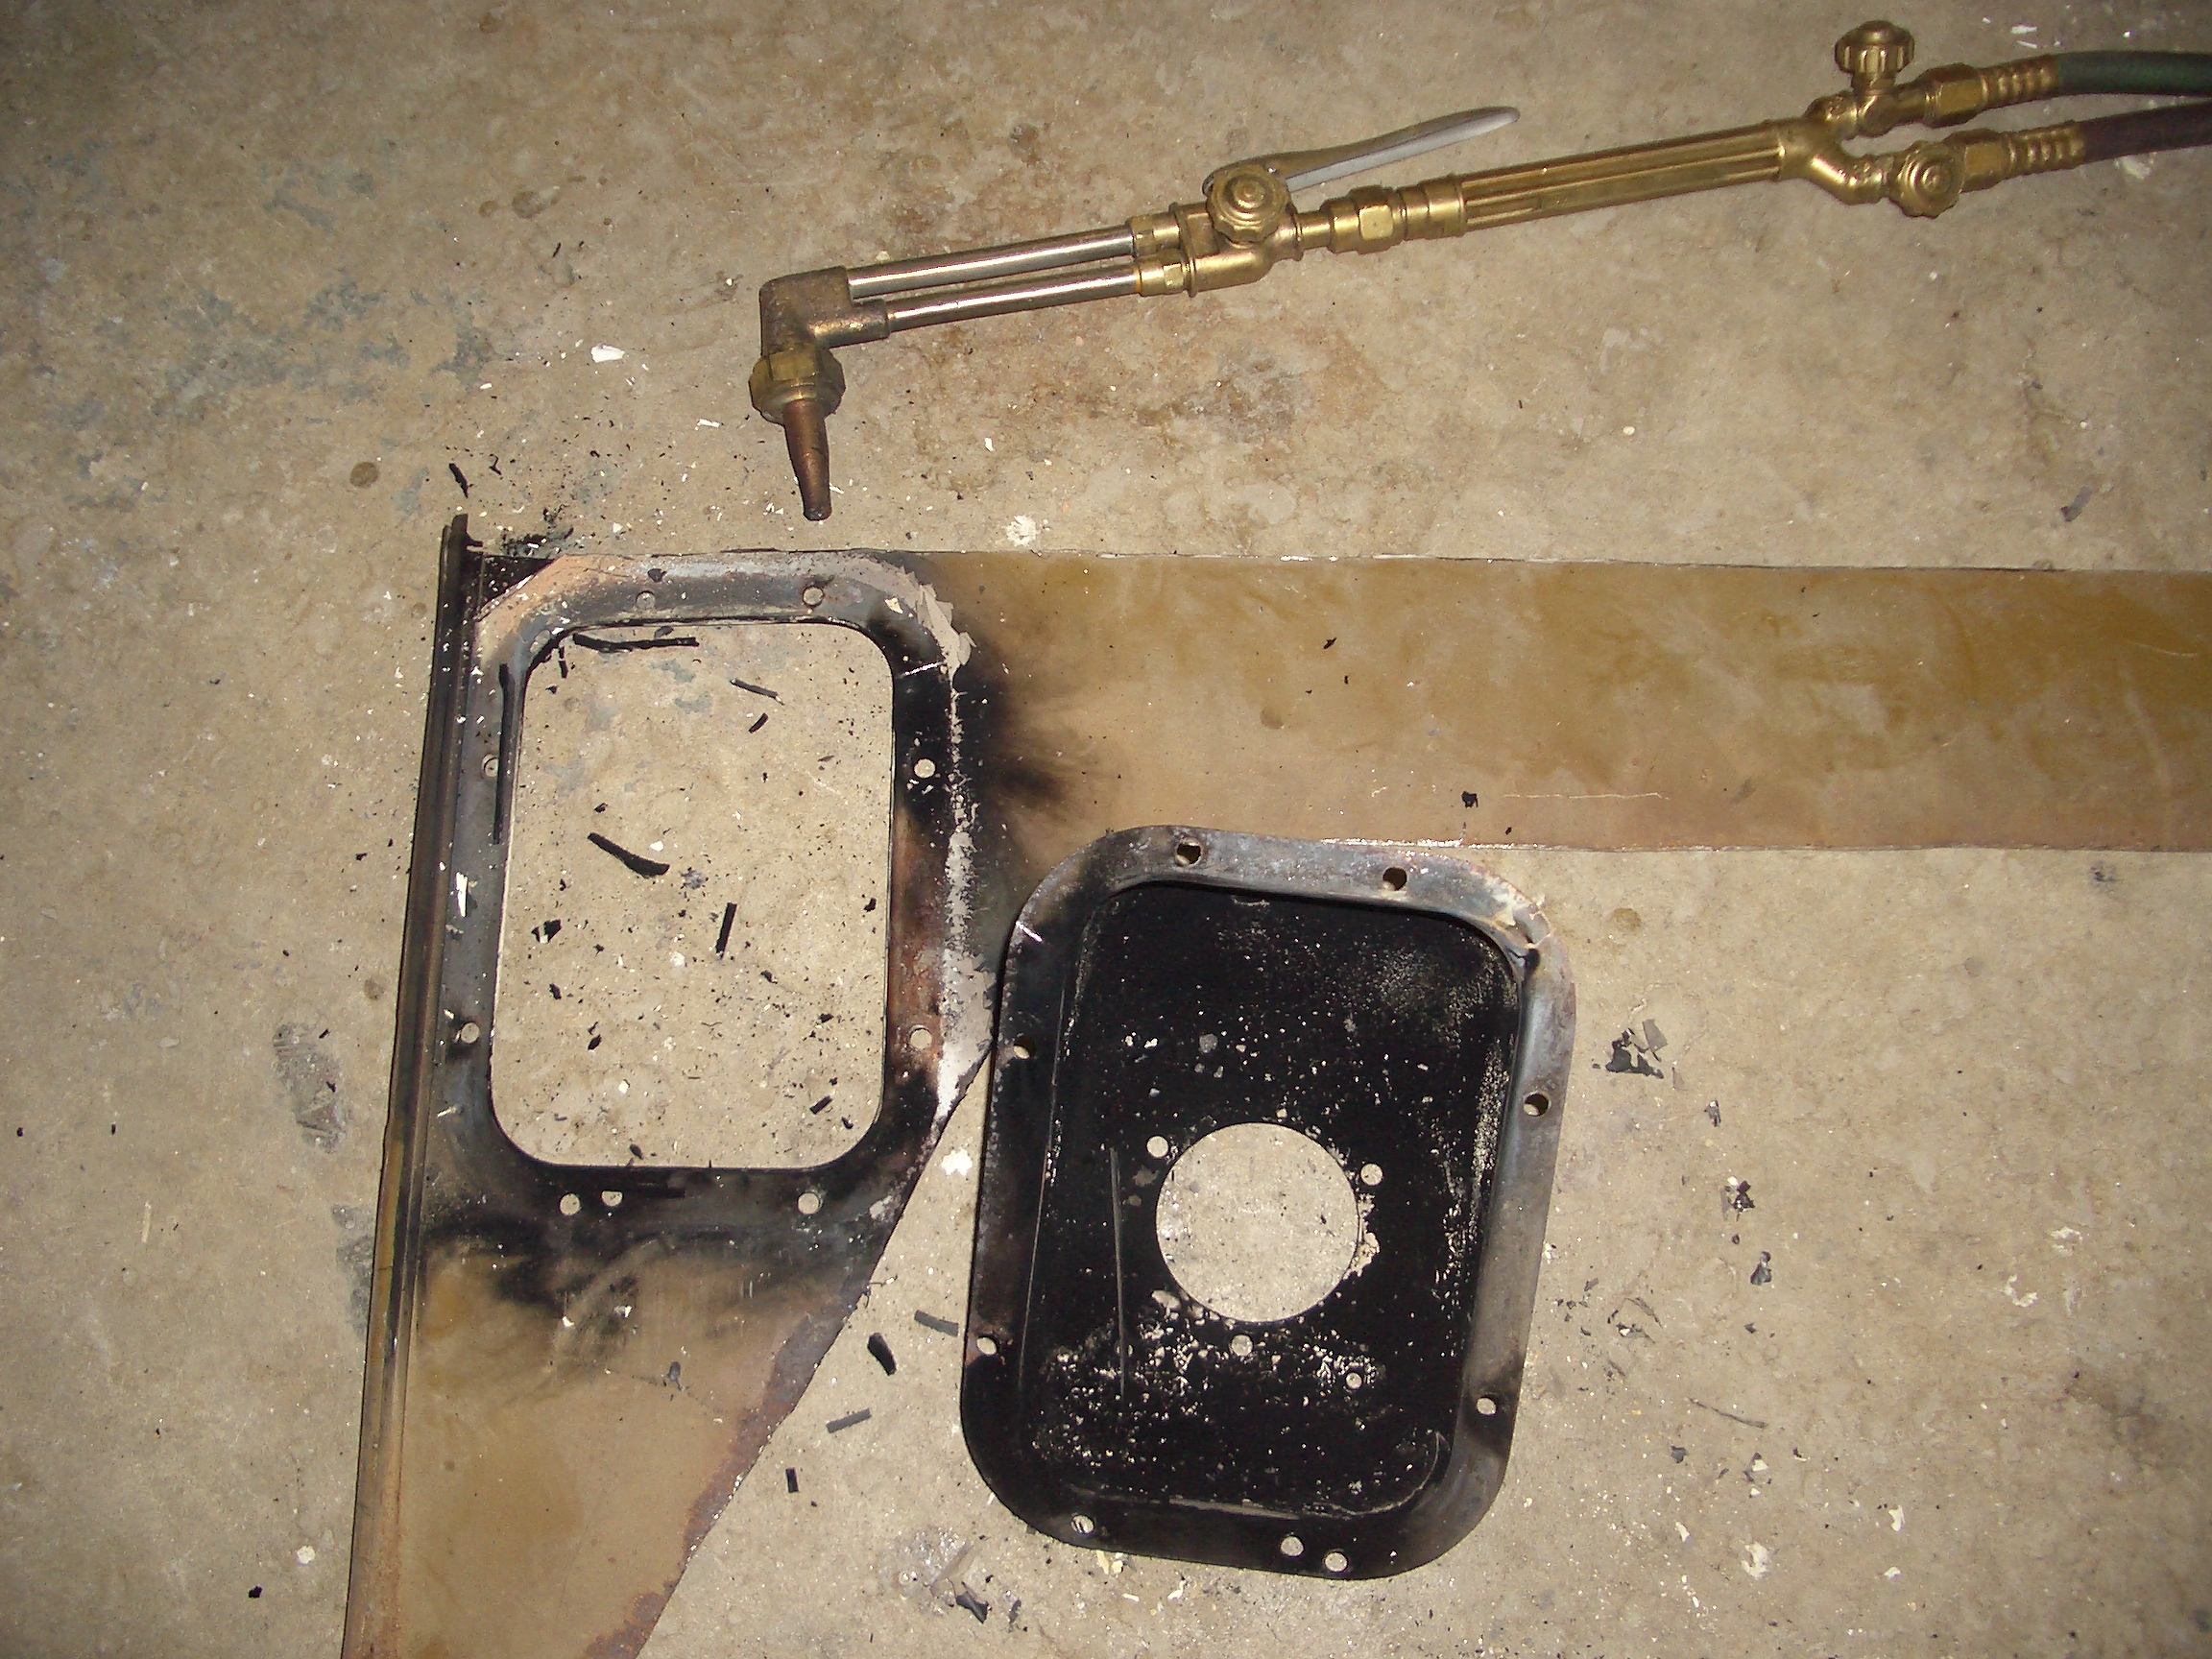
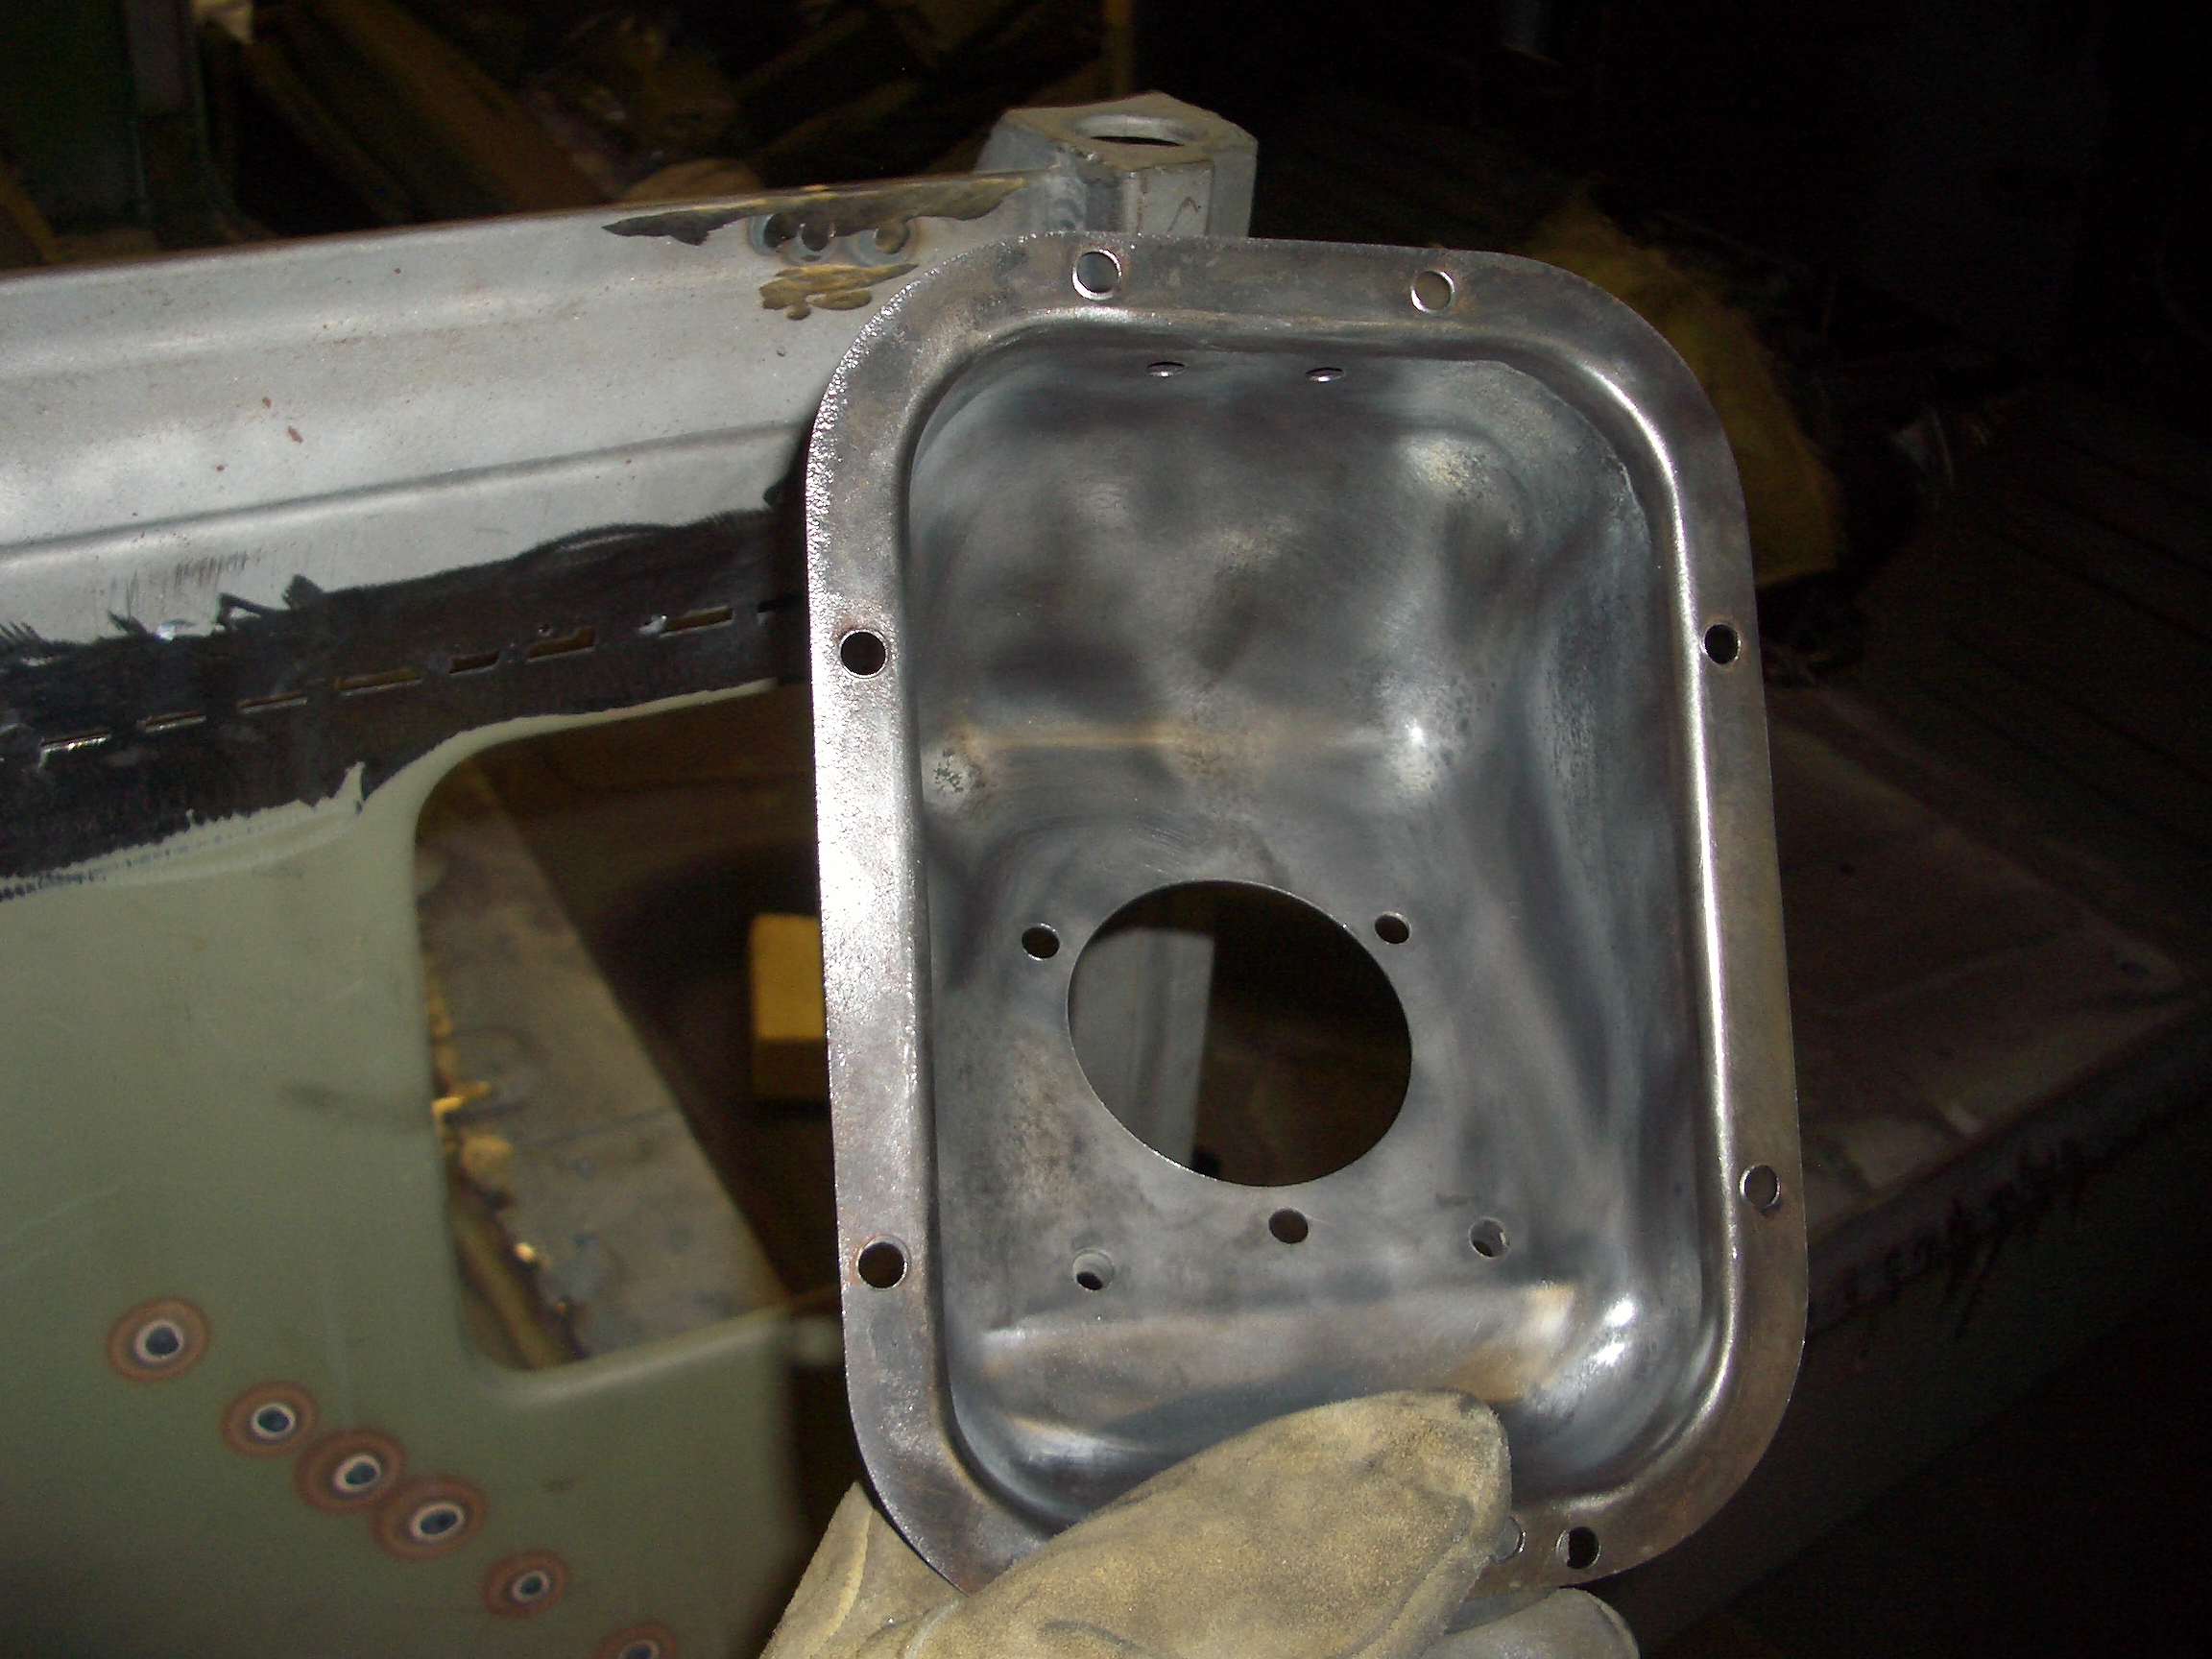
That looked pretty ugly, but after some quality time with the wirewheel it is all shiny-new looking!
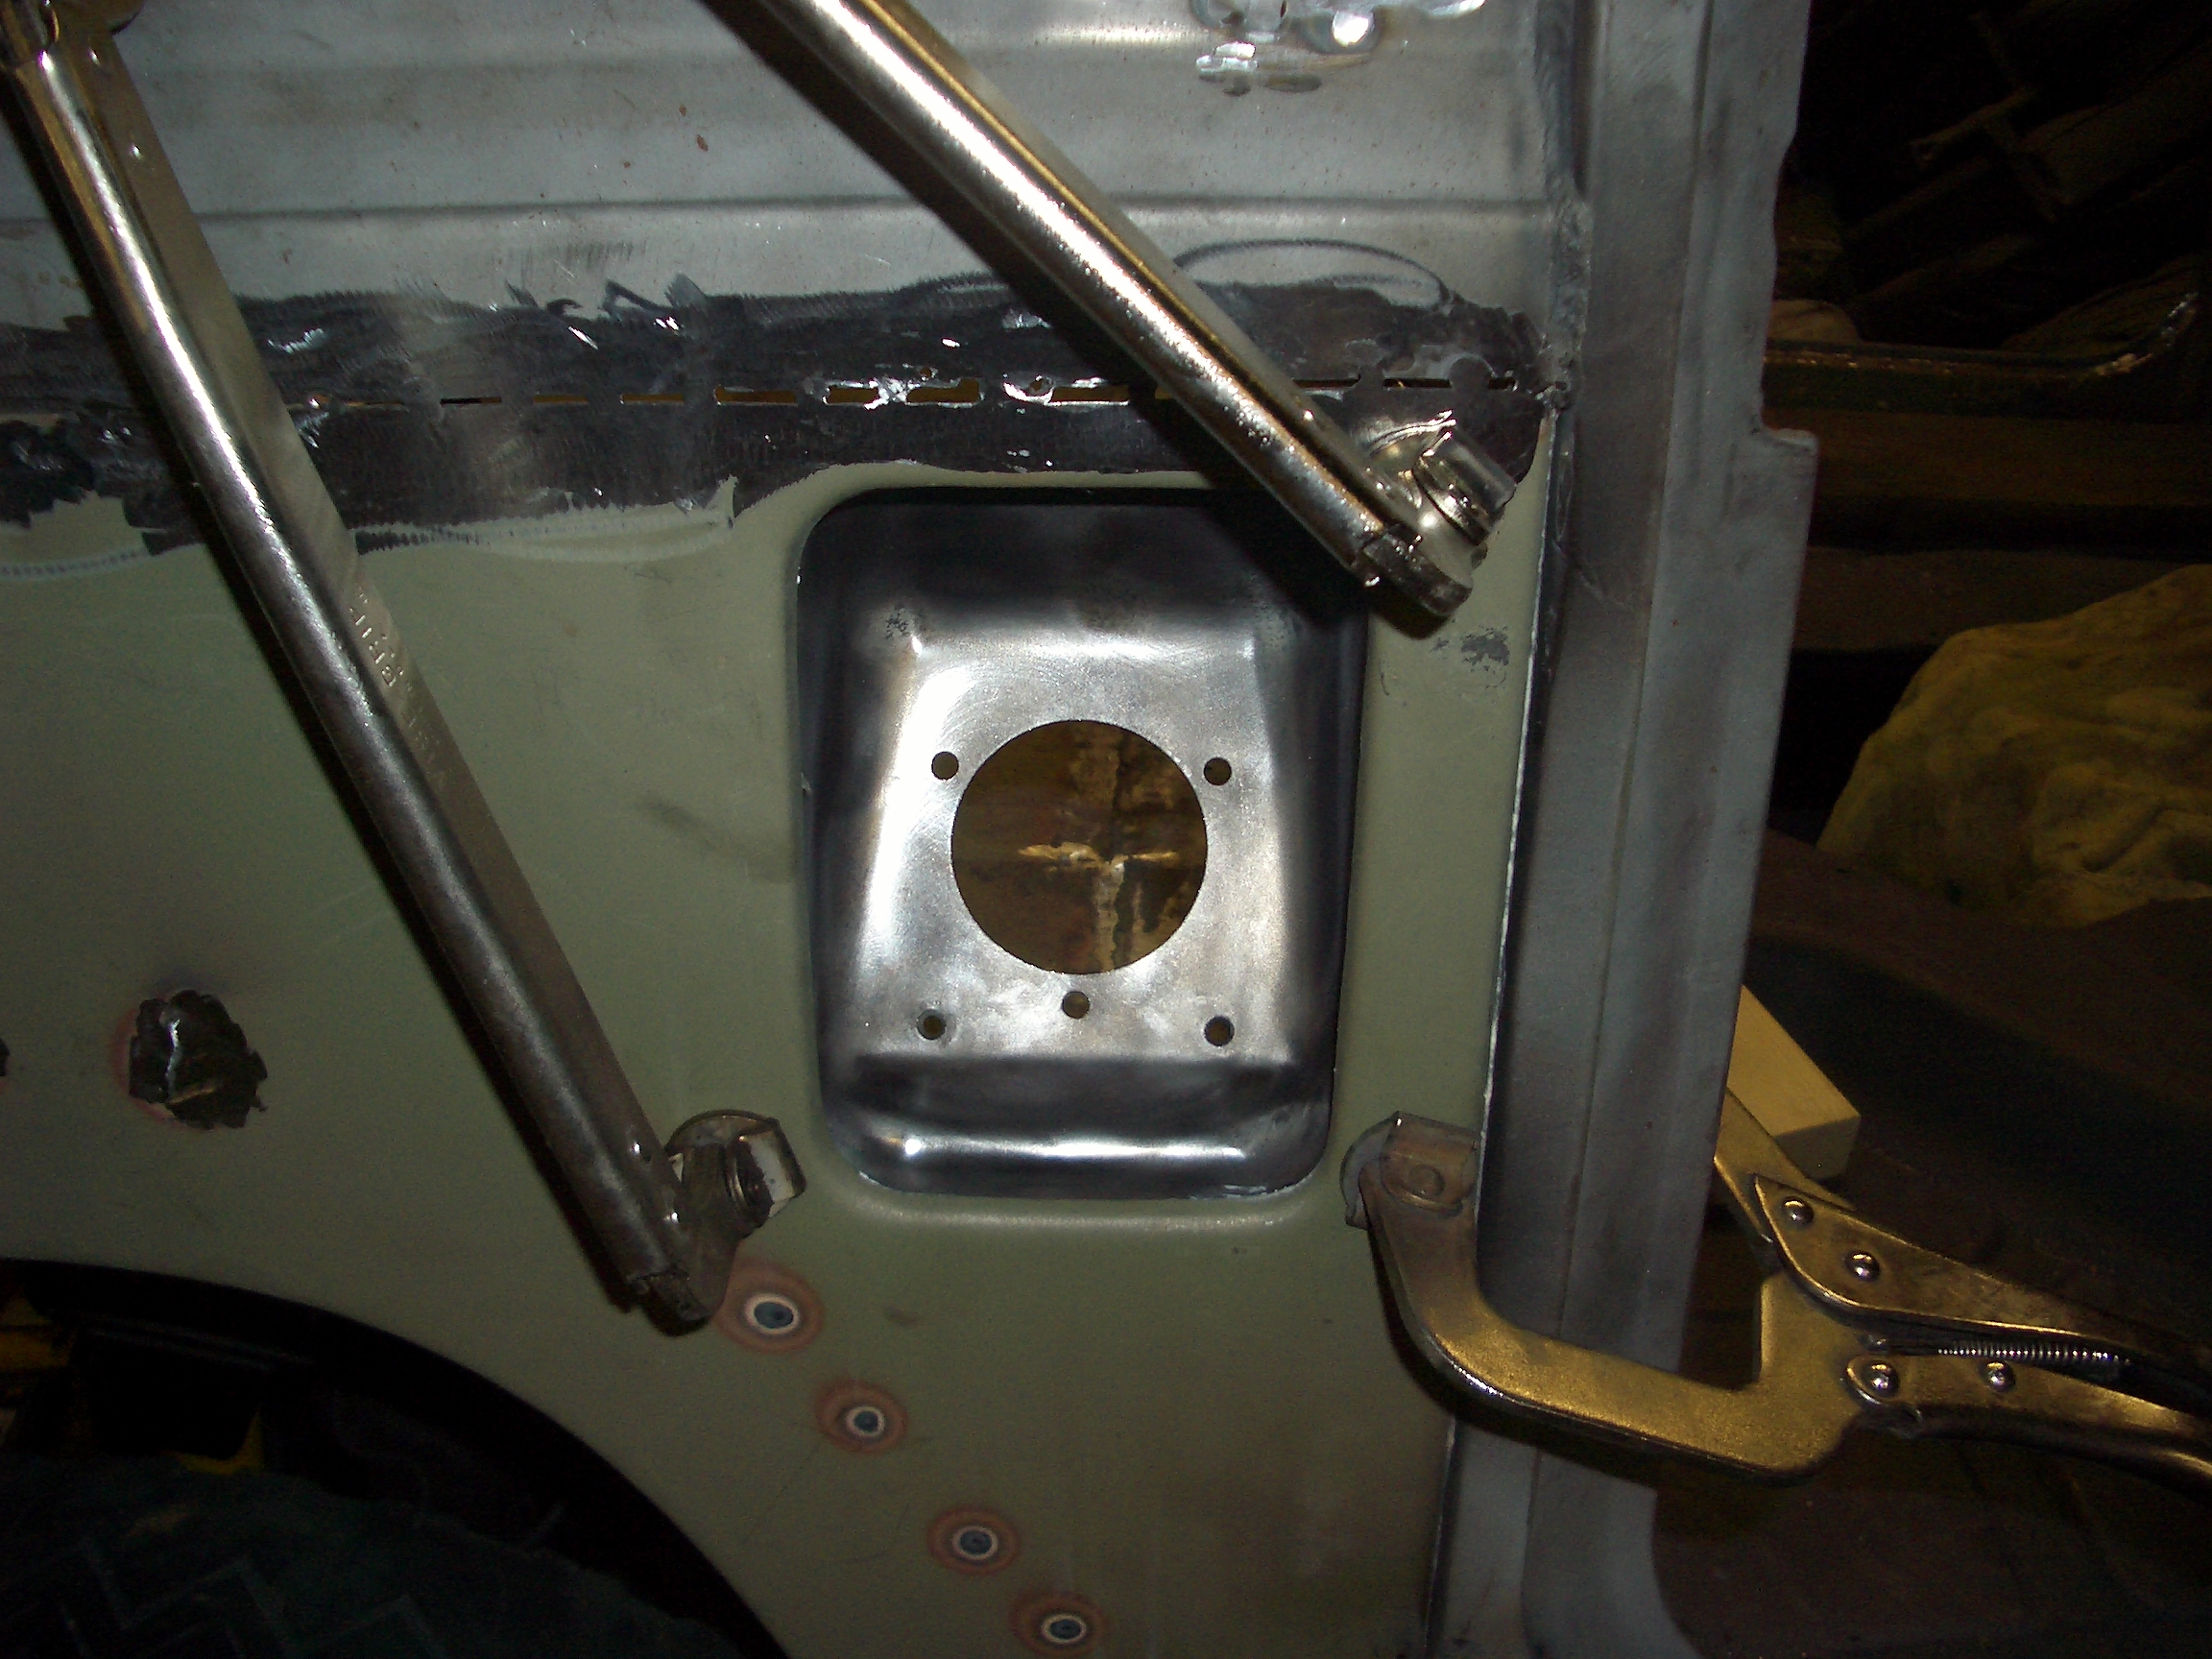
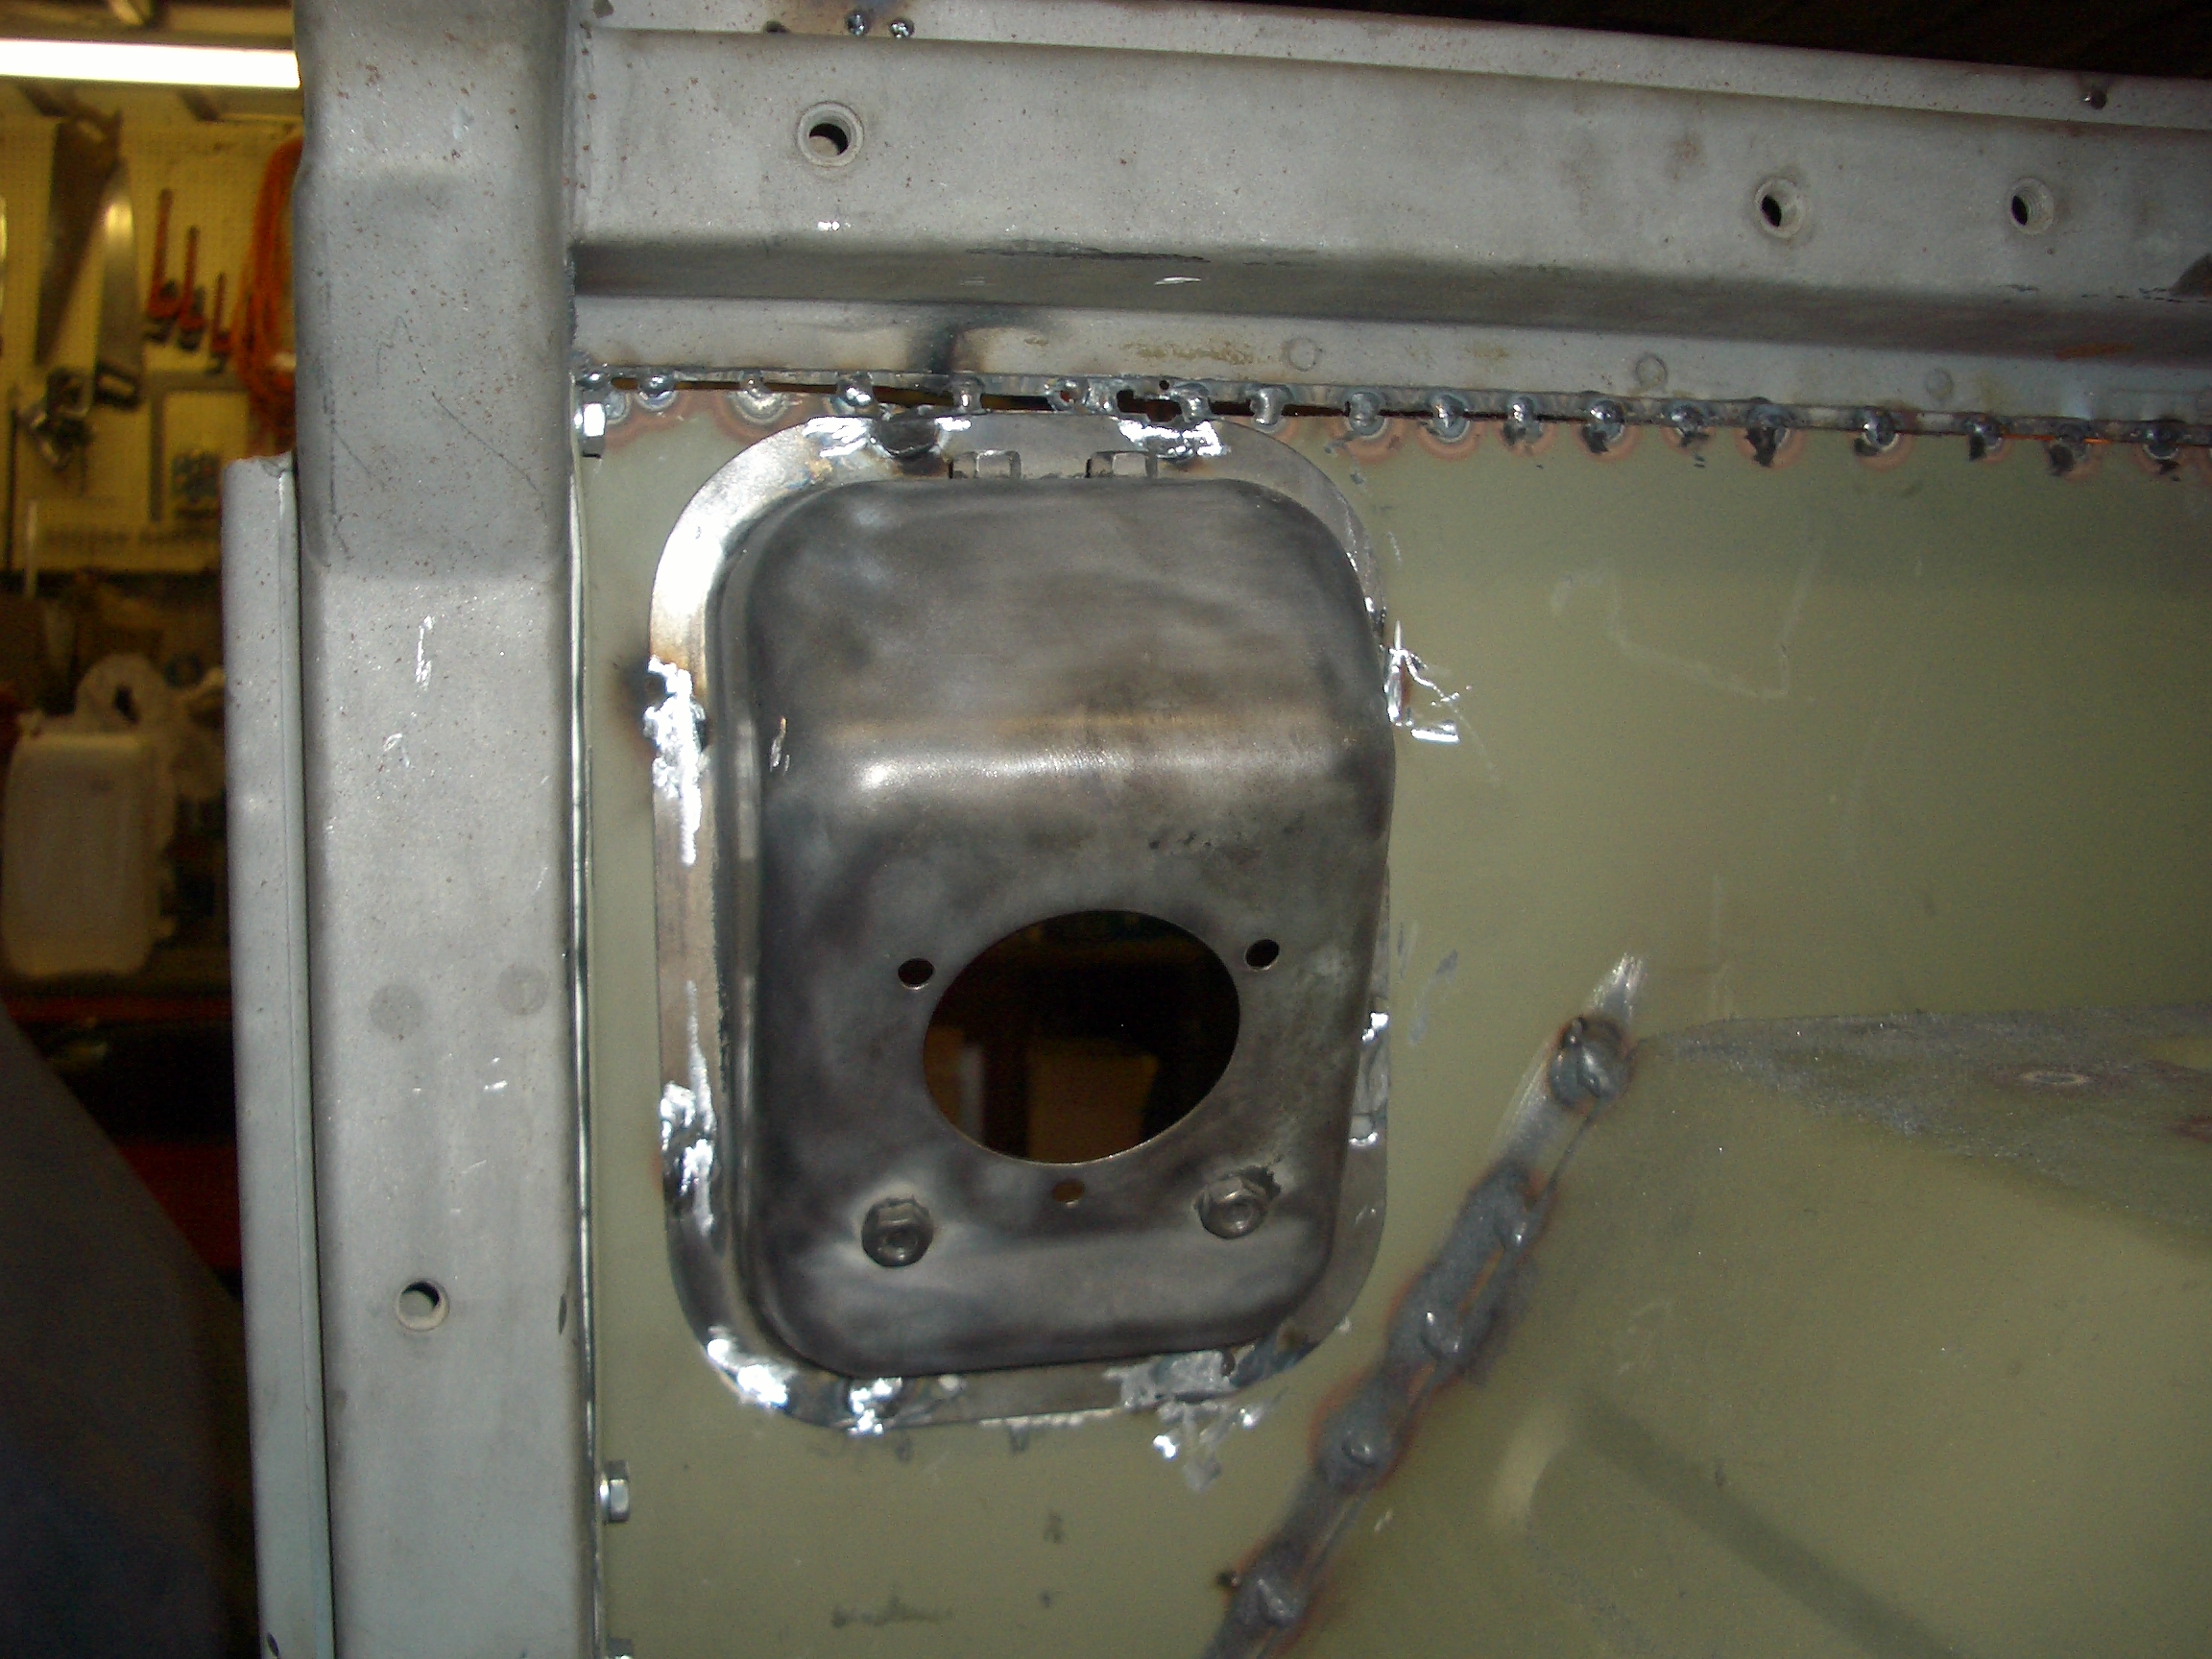
Clamp it up, then weld!

Page 1 2
3 4 5
6 7 8
9 10 11
12 13 14
15 16 17
18 19 20
21 22 23
24 25 26
27 28 29
30 31 32
33
home what's new
cruiser links trail
reports cruiser sightings
land cruiser tribute tech
tips photos maps
band links misc links
profile email