Page 1 2 3 4 5 6 7 8 9 10 11 12 13 14 15 16 17 18 19 20 21 22 23 24 25 26 27 28 29 30 31 32 33
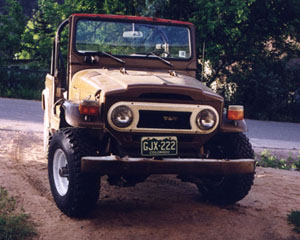
This page shows some of the work done in February and the beginning of March, 2000
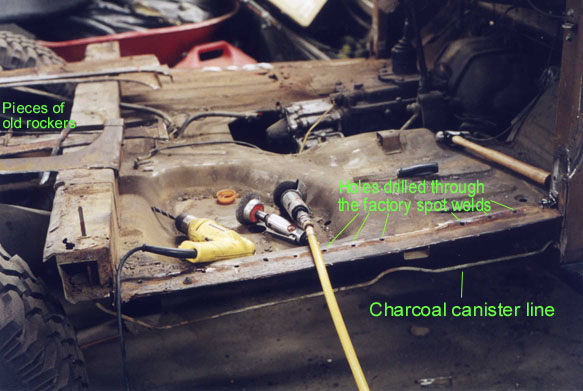
I found that it was easier to drill out the factory spot welds than to try to cut all along the inside rocker panel where it was welded to the floor pan. The outside rocker still had to be cut just below the floor pan. And up in the front by the door post, there is still a mess that will need to be ground off.
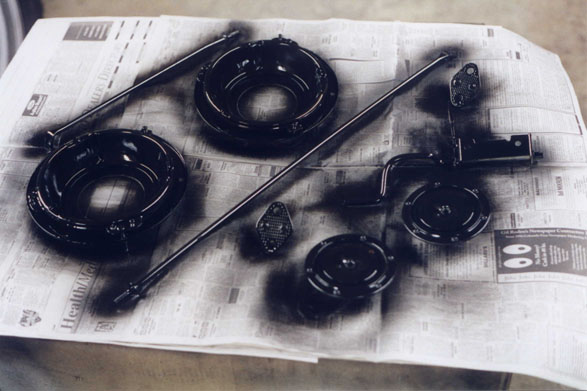

Some parts being primed with zero rust. Headlight buckets, radiator frame rods, door latch catches, horns, and hood latch.
After priming, parts are laid out for the next coat, which will be silver.
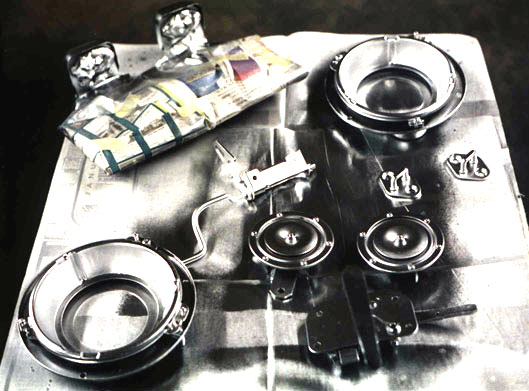
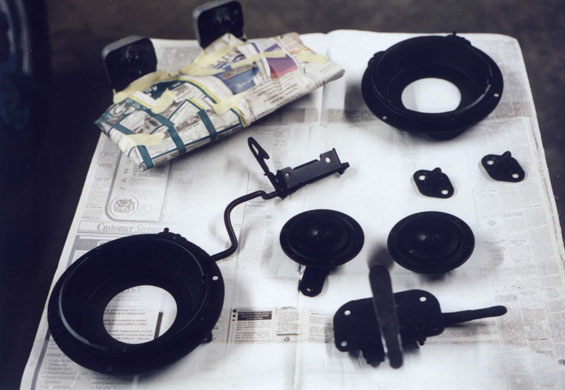
After two coats of zero rust on each side, these parts get two coats of silver paint. Added to the above parts are the rear door handle and the rear license plate holder. This part just gets silver on the hoods for the lamps. The rest is masked off.

Here are the aprons, sanded, sandblasted, wirewheeled, cleaned and ready to prime.
This bezel is actually from the '71. I did the '76 bezel earlier in the project and swapped it onto the '71. I'll swap 'em back before Cruise Moab 2000.

More sandblasting. This time it's the driver's side fender.
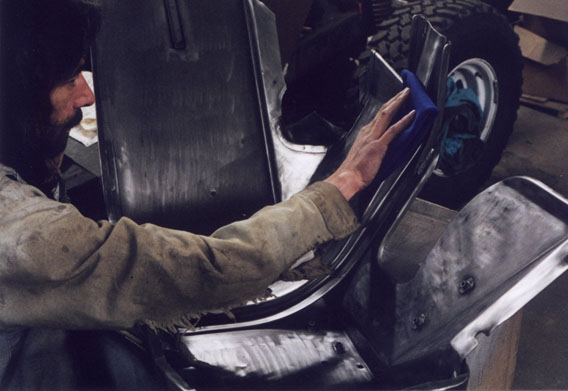
Heres the bib being wire wheeled.
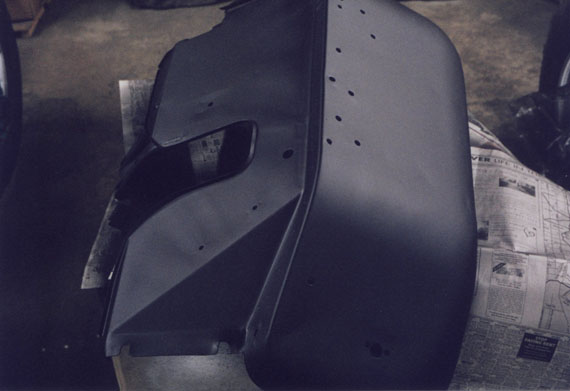
And the back side of the bib after priming with two coats of zero rust.
After running the wirewheel over the rough, sandblasted surface of the fender, air tool oil from the inline oiler has been deposited all over it, so it must be cleaned with mineral spirits first. Then paper towels and window cleaner to remove all traces of dust and residue before priming.
After two coats of zero rust.
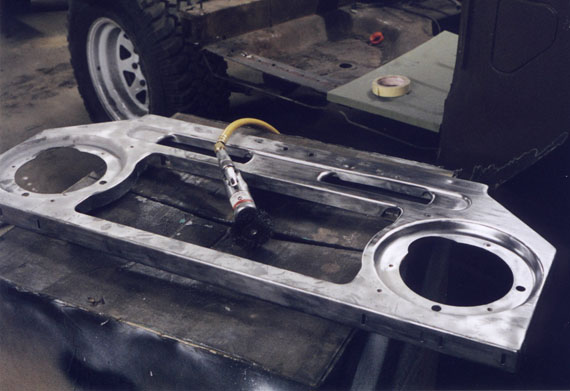
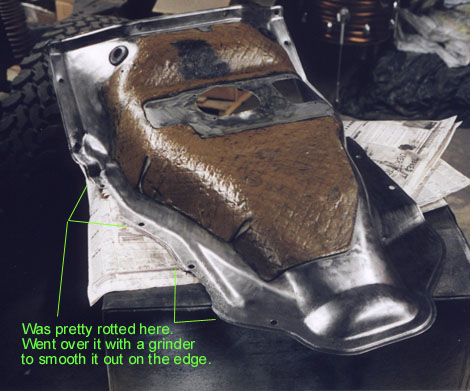
After sand blasting, I start to wirewheel the tranny hump. You can see where the wire wheel has made the top portion around the shifter holes shiny, and the rest of it is rough, white metal. It would be fine to paint directly over the sandblasted parts if it weren't for the sand and dirt embedded in the rough surface. The paint will adhere chemically better to the totally bare steel than if it had mineral matter between it and the steel.
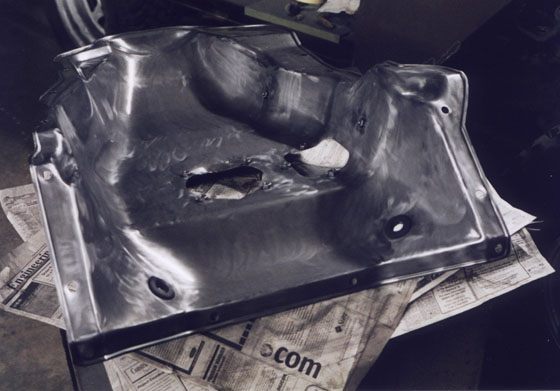
Here's the underside after wire wheeling. Nice and shiny!
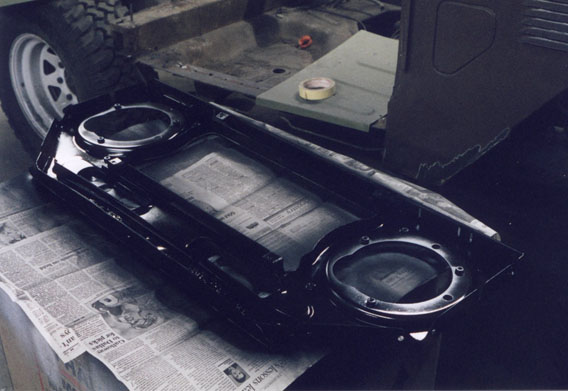
And the top is now ready for priming. Two coats of zero rust on each side.
Page 1 2 3 4 5 6 7 8 9 10 11 12 13 14 15 16 17 18 19 20 21 22 23 24 25 26 27 28 29 30 31 32 33