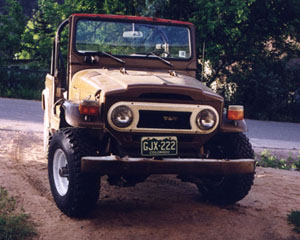
The Land
Cruiser Restoration Project
Page 1 2
3 4 5
6 7 8
9 10 11
12 13 14
15 16 17
18 19 20
21 22 23
24 25 26 27
28 29 30
31 32 33
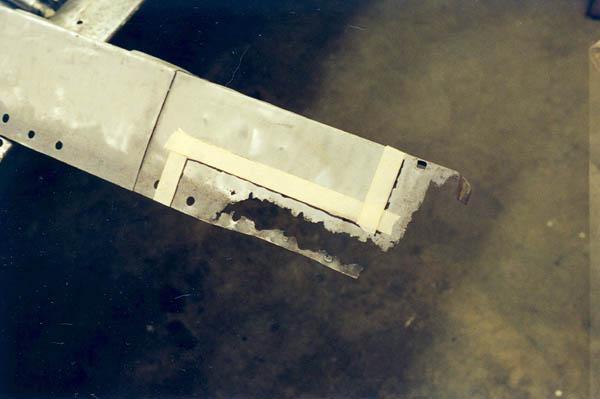
Mark the cancer for surgical removal. As described before, I first measure, then mark several marks with sharpie pen. Then I stretch a length of masking tape along the markes, The masking tape allows for easy viewing with crudded up safety goggles and screaming sparks while cutting.
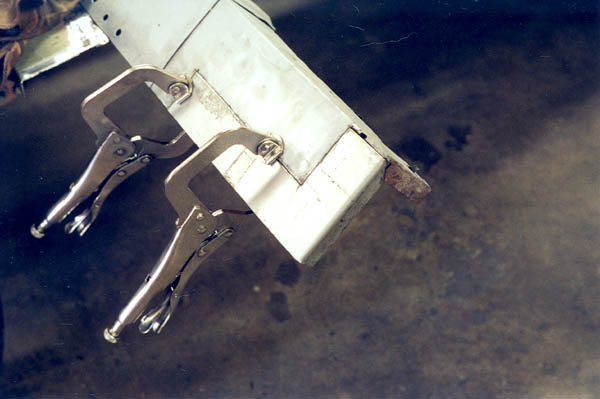
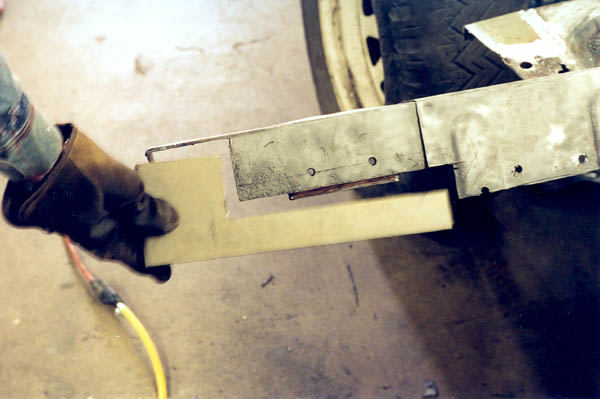
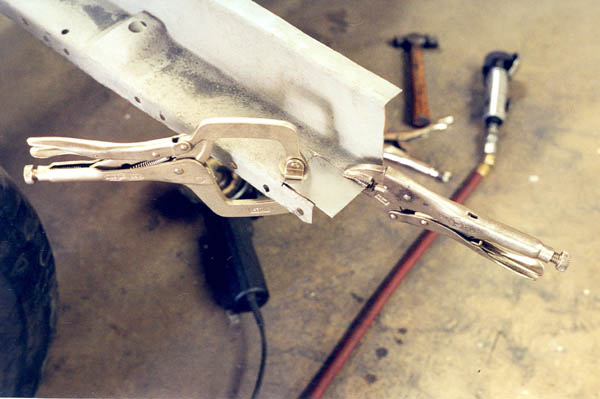
Then cut a new piece from fresh sheet metal, bend the end, clamp it in and weld it in, a spot at a time so as not to warp it. Later, the spots will be filled in closer and closer, then ground down flat.
Cut another piece, bend it, clamp it on, weld it up. This is kinda fun!
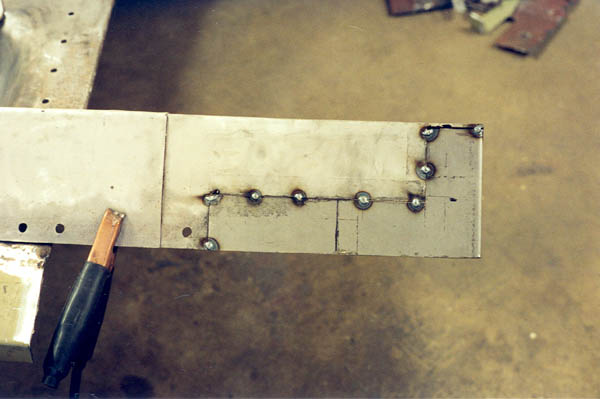
After welding in between the little spots until they pretty much make one long seam, but without warping it like I did with the floorpans, then I grind it down flat. After grinding, this is what it looks like:
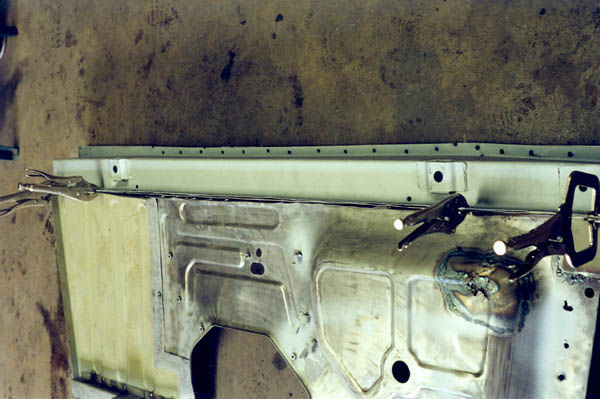
Next there's a little square of cancer that I cut out, measured and cut a replacement piece, clamped and welded in.


After grinding down the welds flush on the side where you will see, and cleaning everything up, I painted with zero rust on the parts masked away from future welds, and painted with the galvanizing compound, masked on the edges where I know they will be welded together.


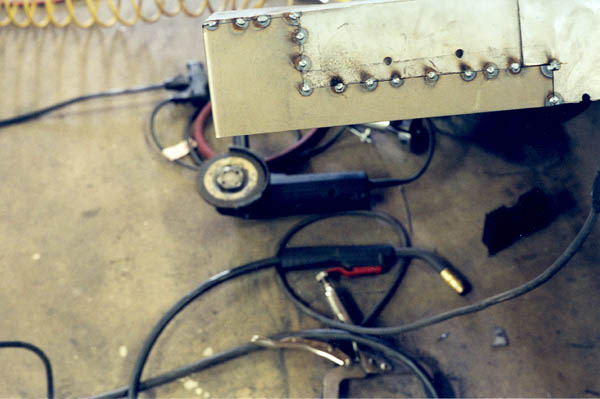
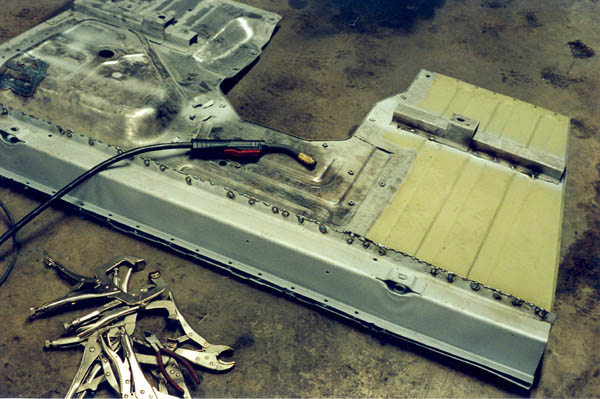
The next step was to get all three sections lined up, clamp them and weld them together. As with the smaller sections, I did it one spot at a time instead of a bead. At lower right you see my air line and blower. I found that I could blow compressed air on the assembly as soon as I welded it to keep it from getting so hot as to warp. Thios worked well. I hope this tip comes in handy for someone!


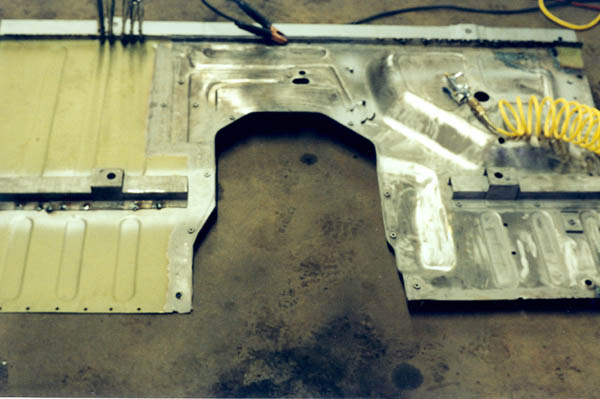
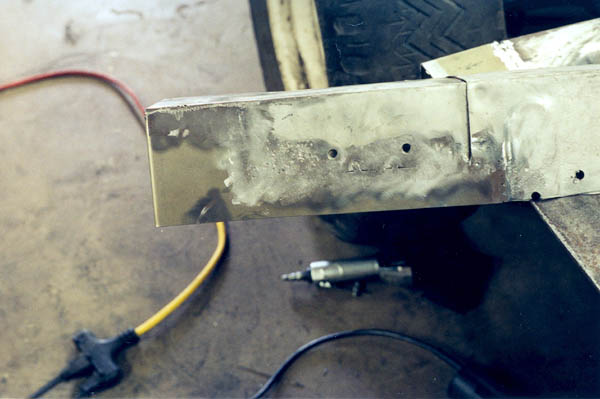
Below, you can see where I did a combination of welding the edges and through the holes that were drilled.
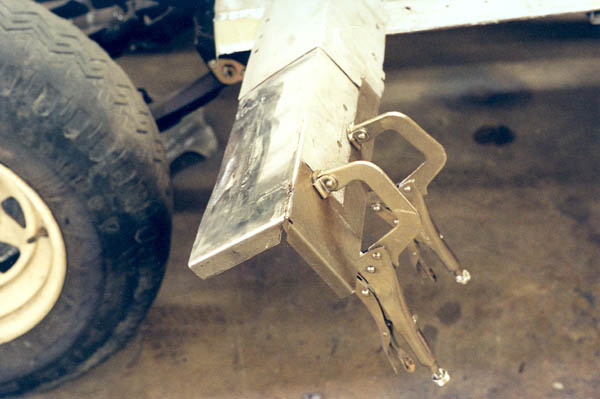
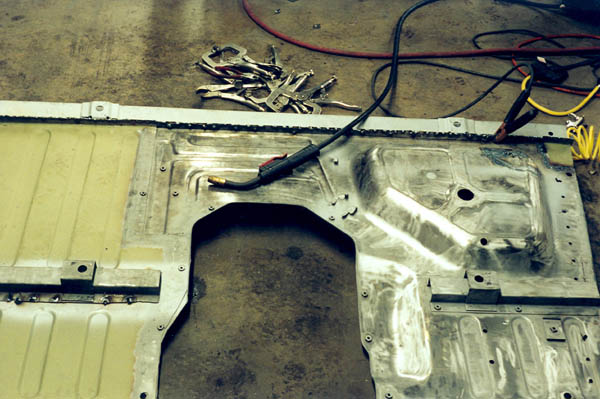
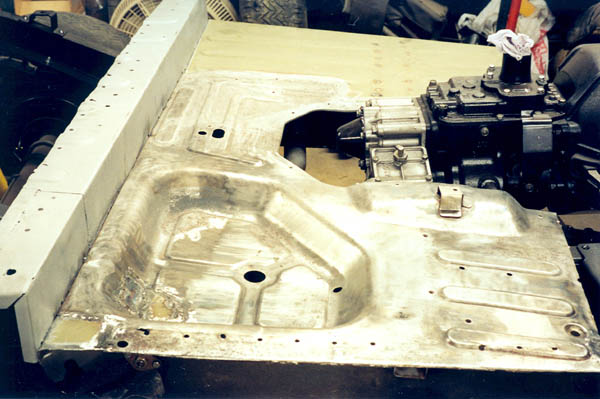
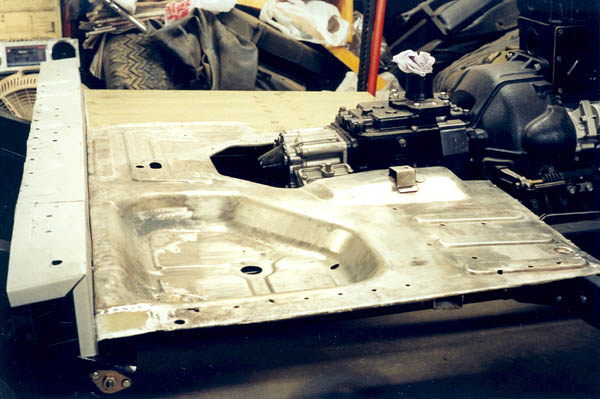
It's pretty cool now that it's coming together, to test-fit it onto the frame. I'm using regular bolts and nuts here, not body mounts yet, but it seems to fit properly!
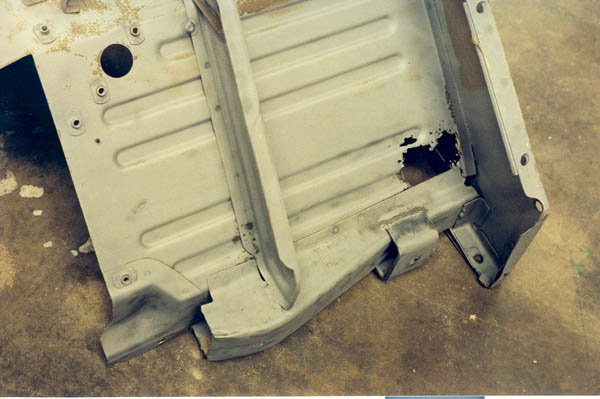
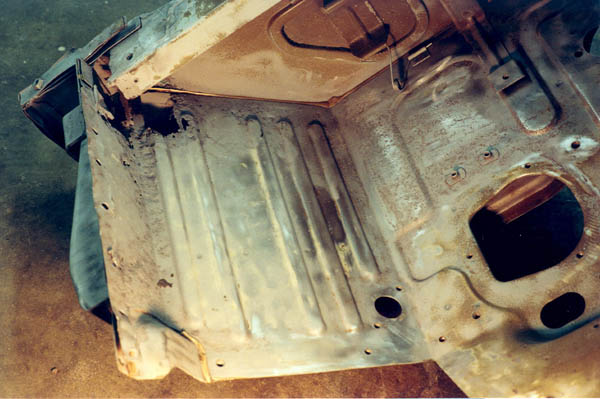
The two photos below show the cancer on the driver's side floor of the cowl that I'll be repairing shown on page 27. Similar to what's shown above, cut out the rot on straight lines, measure, cut new pieces, then weld it in. Due to the angles and hard to reach spots, this is a lot harder than the parts shown on this page.
Page 1 2
3 4 5
6 7 8
9 10 11
12 13 14
15 16 17
18 19 20
21 22 23
24 25 26 27
28 29 30
31 32
33
home
what's new
cruiser links
trail reports
cruiser sightings
land cruiser tribute
tech tips
photos
maps
band links
misc links
profile
email