The Land Cruiser Restoration Project
Page 1 2 3 4 5 6 7 8 9 10 11 12 13 14 15 16 17 18 19 20 21 22 23 24 25 26 27 28 29 30 31 32 33
With the frame sandblasted and painted, and now the axles done, work
proceeded on two fronts. One was to remove all the engine ancillaries and
prep the engine for reinstallation, and the other was to get the axles
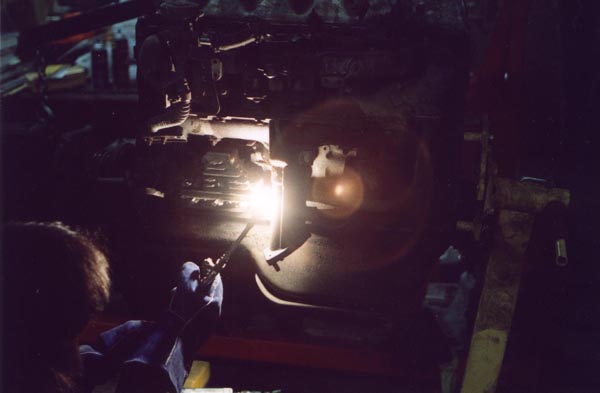
back onto the frame with the new Old Man Emu suspension. In the photo below,
I am heating up the nut that secures the EGR manifold pipe to the EGR reactor
(cooler). The large nut required quite a bit of persuasion. I didn't have
a 24mm open end wrench, so I resorted to one of those large adjustable
crecent wrenchs. Alas, even when the nut was heated cherry red, I couldn't
budge the nut and then used a large cheater bar slipped over the handle
of the wrench. The wrench broke. :-(
Then I pulled out a large pipe (monkey) wrench, and finally got the
nut to turn. But just starting it wasn't enough, I had to fight for every
quarter turn until the nut was all the way off. Whew!
Once the EGR was off, I could then pull the manifolds. Below is a photo of the
weird "nuclear" exhaust manifold found on the 1976 Kalifornia spec 2F. Sandblasting it took quite a while, but when done it was bare and ready for high temperature paint.

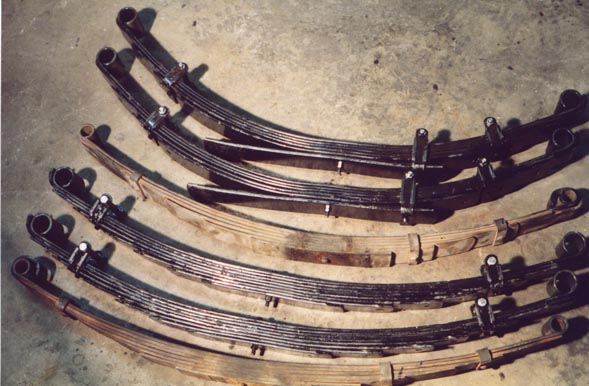
Before I installed the new Old Man Emu springs, I decided to lay them out on the floor, side by side with the old factory springs for comparison. The rear springs are on top, the front springs on bottom. In the stock configuration, the longest side from the spring eye to spring pin goes toward the outside (bumper side) of the cruiser. What I found unusual was that the stock springs, with no load on them, had almost exactly the same arch as the new OMEs, demonstrating that what had sagged on them was the rate and not the static arch. Note that the OMEs have the larger spring eye associated with newer cruisers. The bushings that came in the kit compensated for this.
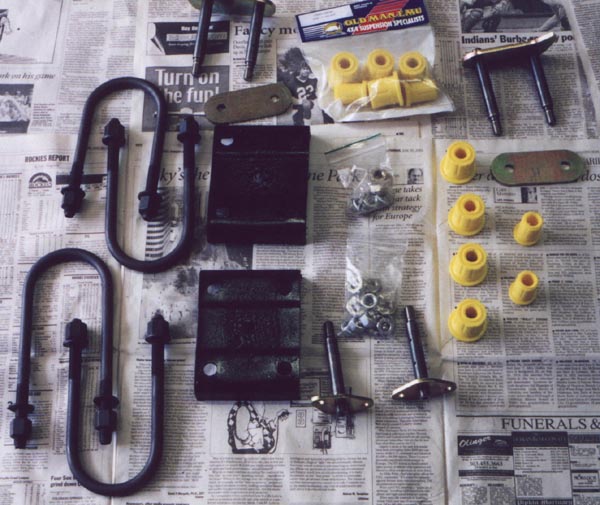
In this photo, you can see some of the other stuff that came in the kit, along with the sandblasted and repainted front u-bolt plates. Before I sandblasted the u-bolt plates, I had to heat them up with the torch and blacksmith them back into their original shape. Included in the suspension kit were new u-bolts and nuts, greasable anti-inversion shackles, greasable spring pins and new polyurethane bushings. Not shown in this photo are the new OME shocks and steering stabilizer.
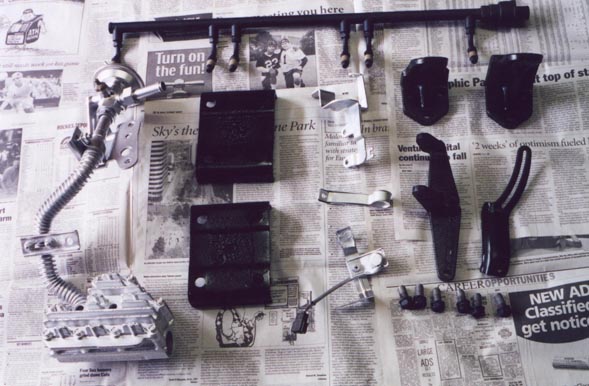
Below are some more blasted and painted parts. For items such as the air injection rail shown at the top, and the EGR and reactor on the left, special 1400°F ceramic high temperature paint was used. The rest of the parts, such as the u-bolt plates, engine mounts and assorted brackets, zero rust was used as a primer and then they were top coated with Ace epoxy enamel.
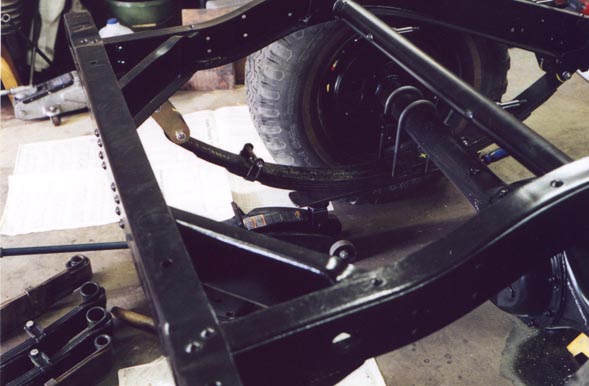
I probably should have taken a lot more photos during the suspension install, but I guess I was kinda busy doing it! Anyway, the shot below shows how I supported the rear of the spring pack with a floor jack while I raised the assembly up enough to get the u-bolts started.
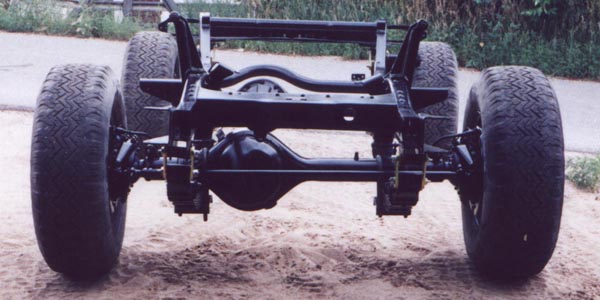
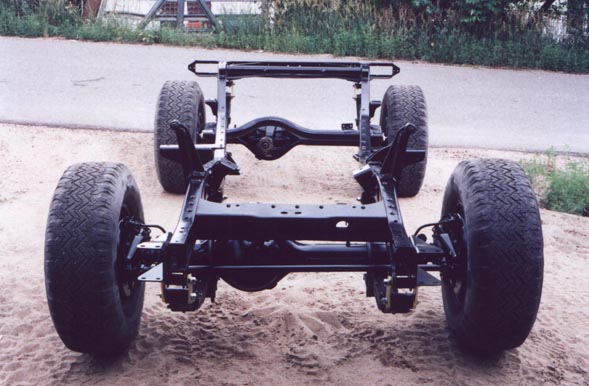
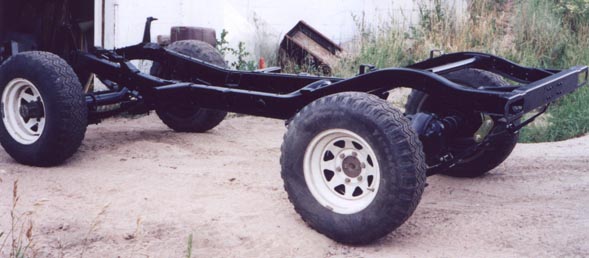
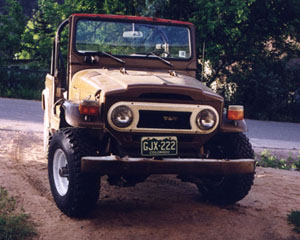
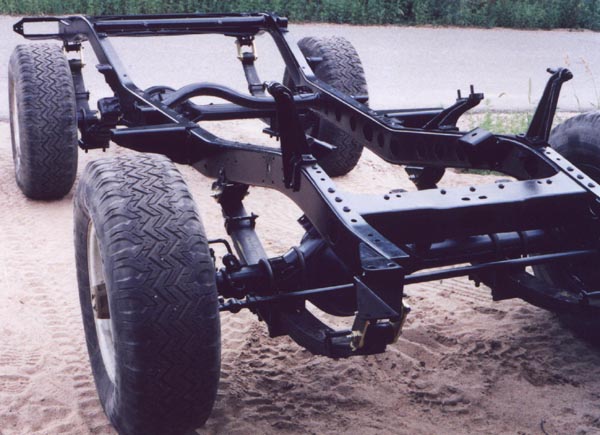
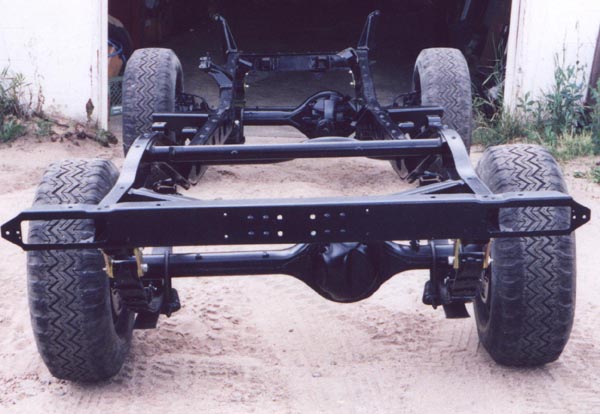
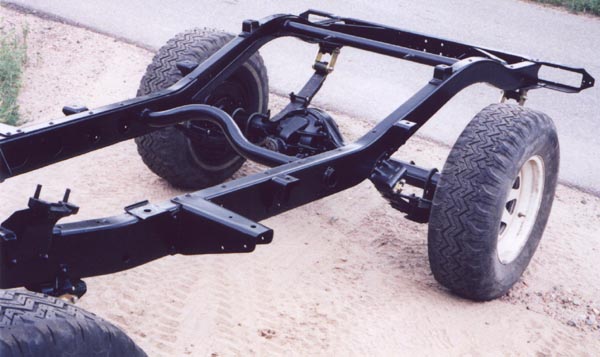
Now that the axles are back on, I have a rolling chassis again! Oh what a feeling! This represents a real milestone in this project, where things are starting to get reassembled, kind of like the half way point, turning the corner so to speak.

After many hours with the wire wheel and solvent soaked rages, the engine is ready for paint. As with the manifolds and EGR parts, I used ceramic based high temperature paint on the head and block.
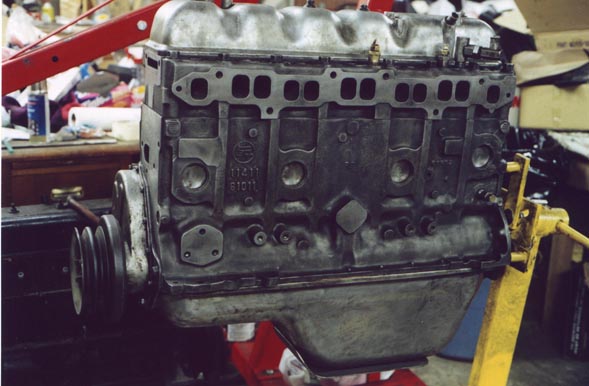

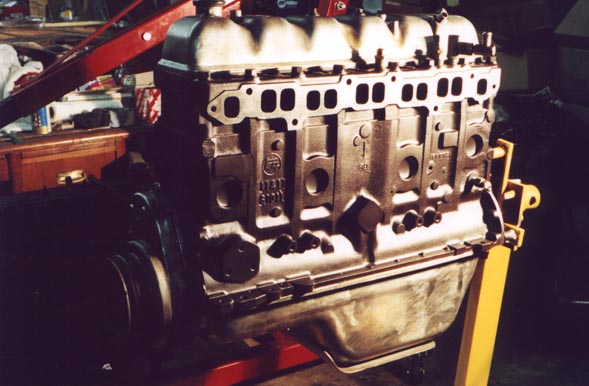
I masked the valve cover, timing cover and pulley, side cover and oil pan. This step was to paint the head and cylinder block only. On the manifold side, I masked off the manifold mating surfaces of the head, and the temperature senders, heater outlet fitting and block drain. On the distributor side, I masked off the distributor mounting base, the fuel pump mounting surface, and the oil filter bracket sealing surfaces.

After this paint step, the crank pulley, timing cover, side cover and oil pan were all removed for clean up, repainting with epoxy enamel, then reinstallation with new gaskets. New fasteners were used extensively in the reassembly, and permatex ultra blue silicone sealant was used on both
sides of all cork gaskets. This is not so much to seal from leakage (although it certainly can't hurt), but to aid in disassembly in the future. I had found when I pulled all this stuff, that wherever cork gaskets were used, any surface that had been siliconed was much easier to remove than places
where the cork has sealed against bare metal.
Page 1 2
3 4 5
6 7 8
9 10 11
12 13 14 15
16 17 18
19 20 21
22 23 24
25 26 27
28 29 30
31 32 33
home what's new cruiser links trail reports cruiser sightings land cruiser tribute tech tips photos maps band links misc links profile email