The Land Cruiser Restoration Project
Resto Home Page
Page 1 2
3 4 5
6 7 8
9 10 11
12 13 14
15 16 17
18 19 20
21 22 23 24
25 26 27
28 29 30
31 32 33
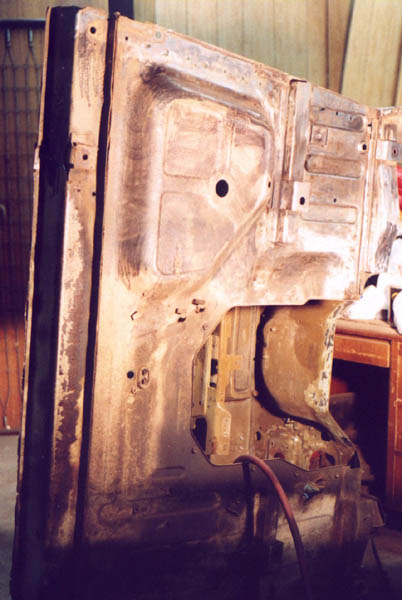
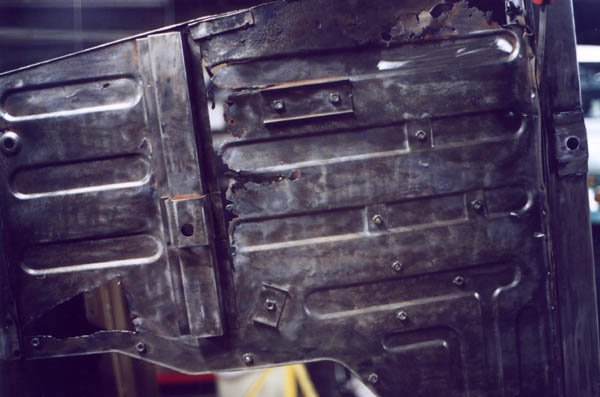
Now that the mechanicals are done, it is time to turn attention back to the body. The first thing that will need to be done is the cowl and floorpans. They are brought out and I start by removing paint and rust from the passenger side. After the paint is ground down with the 3M abrasive wheel, it becomes apparent that they are in remarkably rust free condition, and that the CCOT passenger side floor pan won't be necessary. Still, like everything else on this project, it takes a lot of work.

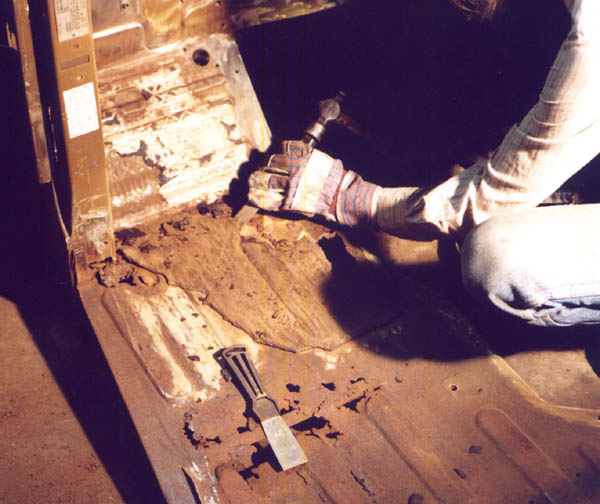
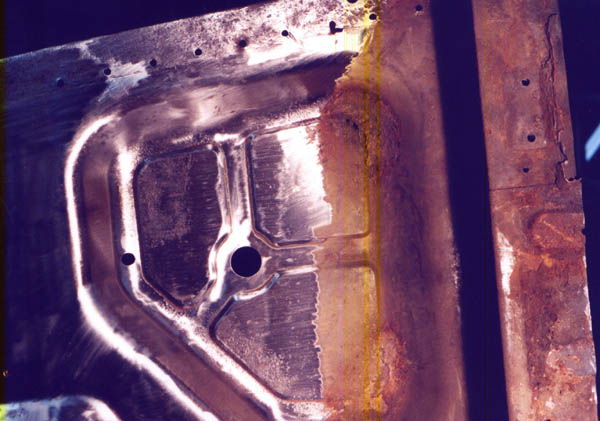
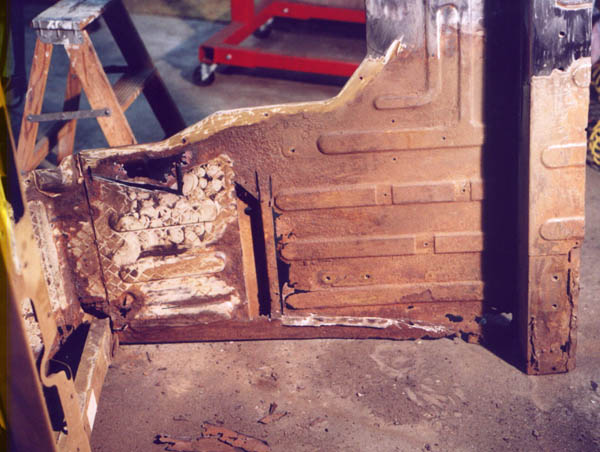
Next, I chip away at the factory insulation on the driver's side floor pan. I tried a couple different methods before settling on the hammer and chisel. This stuff is pretty hard, although when it was new it might have been softer. It comes up in small pieces and takes a good bit of patience. The putty knife was pretty useless, not strong enough for that hard insulation. You can see how the driver's side is a lot more rotted through than the passenger side was.
I stepped back a bit to show the whole cowl and floor pan assembly and what it looked like to this point
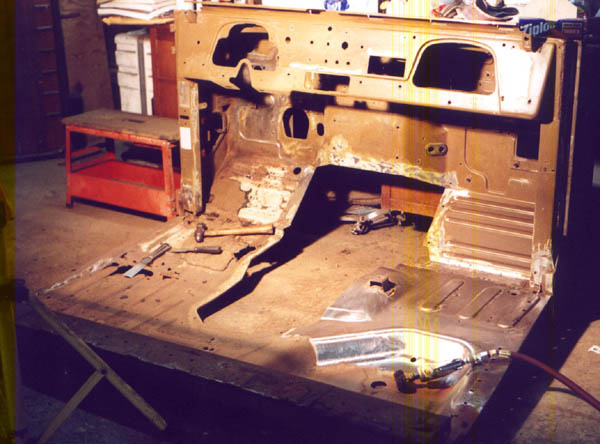
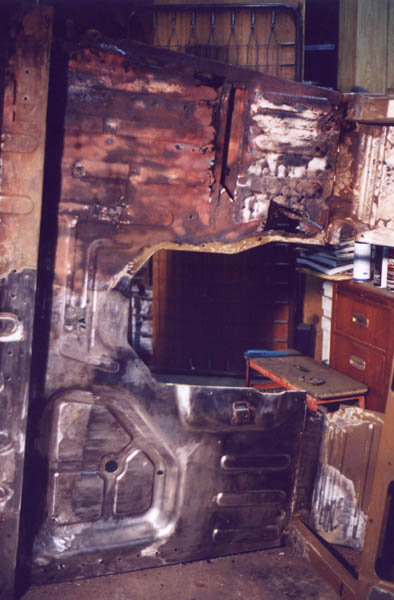
Next, I flipped the whole assembly up on it's side to work at it standing up. This is a lot easier on the knees!

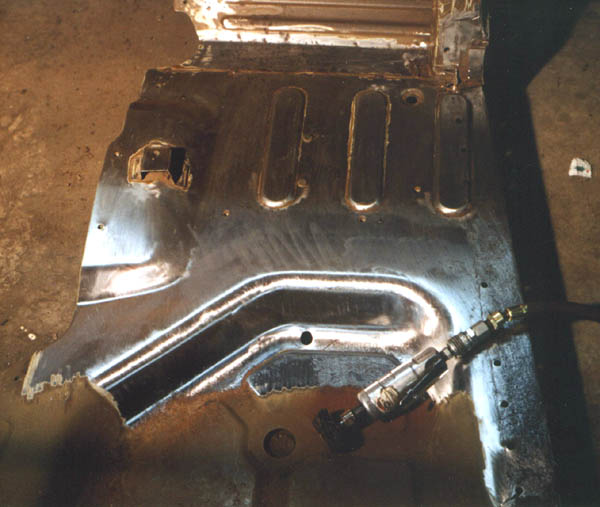
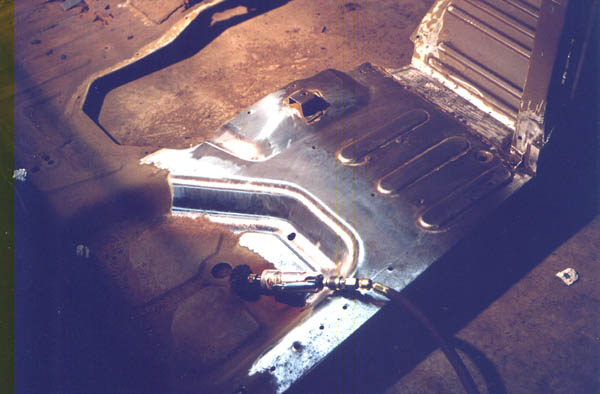
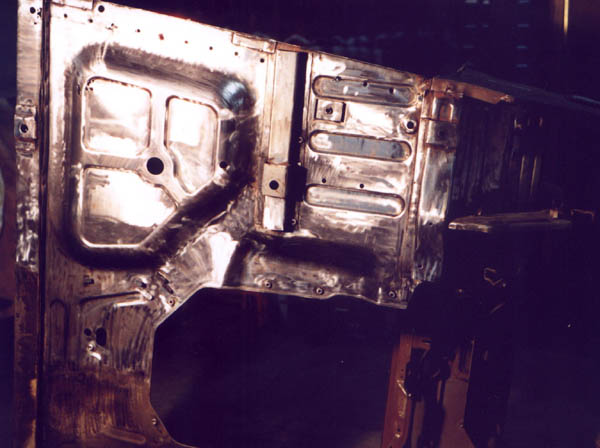
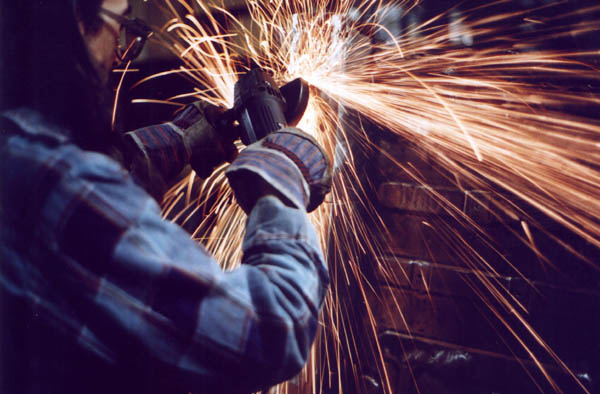
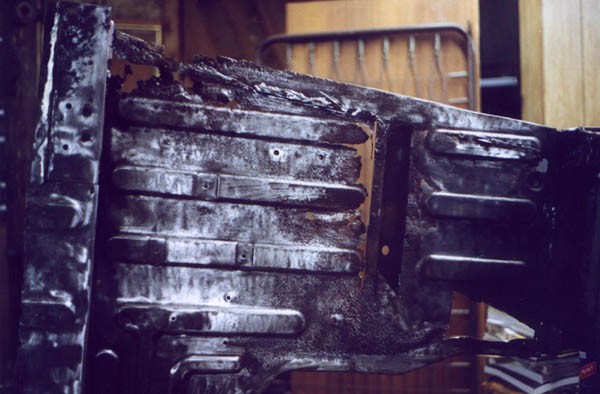
Next I start on the underside. For the most part I use the 3M abrasive wheel, and am able to expose the bright, shiny steel under the paint. The nooks and crannies will have to be sandblasted later, particularly in areas such as under the body mounts.
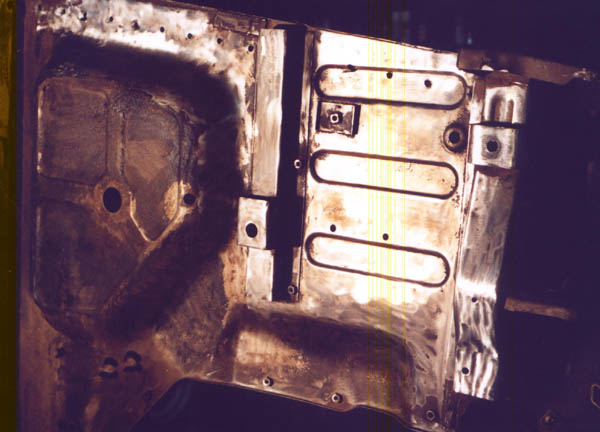
After a lack of success with every abrasive tool at my disposal, I decided to try to remove the tar-like undercoating with my oxy-acetylene torch. It worked great, I burned off the tar and then came back with the abrasive wheel and wire wheel to remove the charred bits that were all that was left.
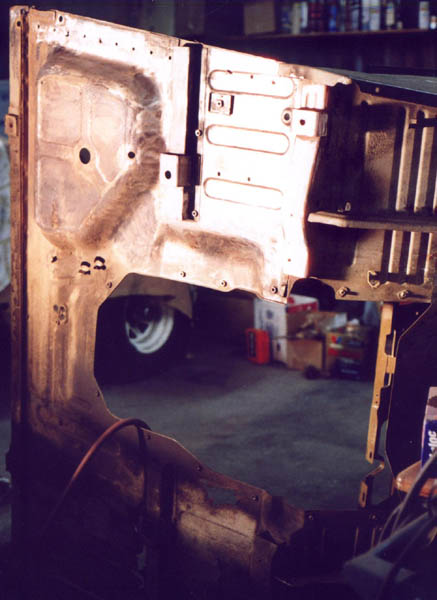
More work on the inside of the passenger side. It's getting there!
You can see that the rot on the driver's side is pretty bad. In this photo, I have already cut out some of the rotted steel next to the crossmember. The cross member will be saved for the new sections. It is much thicker and only has some surface rust.
I flipped the assembly over to get at the driver's side while working standing up.
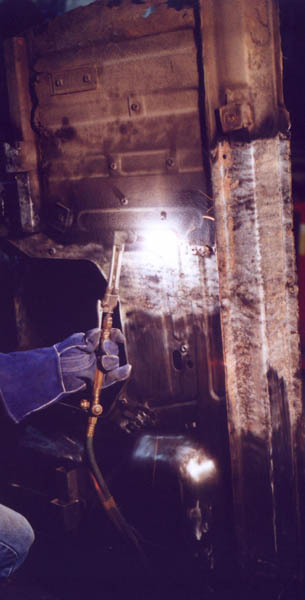
After the charred undercoating was removed, the next step is to disassemble the square box section at the rear of the floor pans. The only way to get inside it to remove the rust is to drill through the factory spot welds. I used a 5/16" bit, and it was pretty tough. The spot welds are hardened from the welding process and were not easy to drill through. Well after this photo was taken, I discovered (shoulda known) that the proper way to do this is to start out with a small bit, 1/16", then work up to 3/16" then the final size. I drilled a lot of these out the slow ay until I figured out the faster way.


After drilling out the spot welds, there was still a good bit of grinding needed to get things down to be ready for new metal.
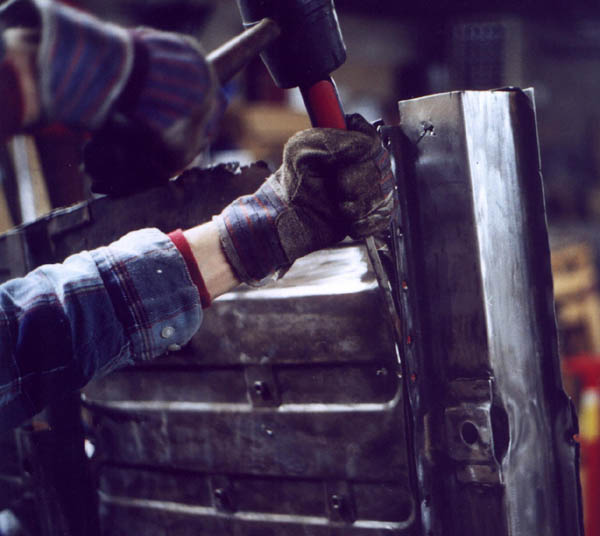
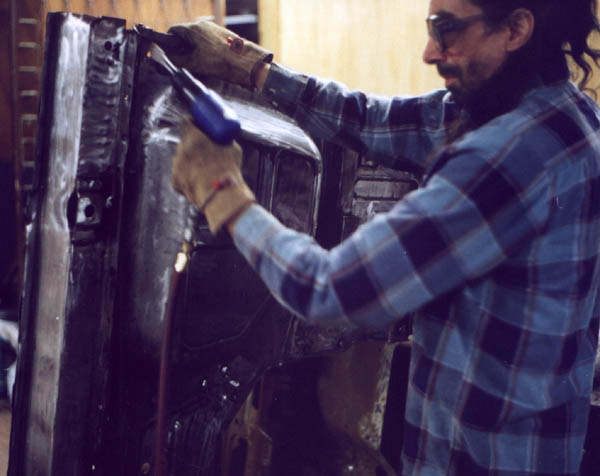
After the spot welds were drilled out and ground down the metal still needed to be separated. I started out using a regular hammer and chisel.
More shots of the driver's side floor pan.
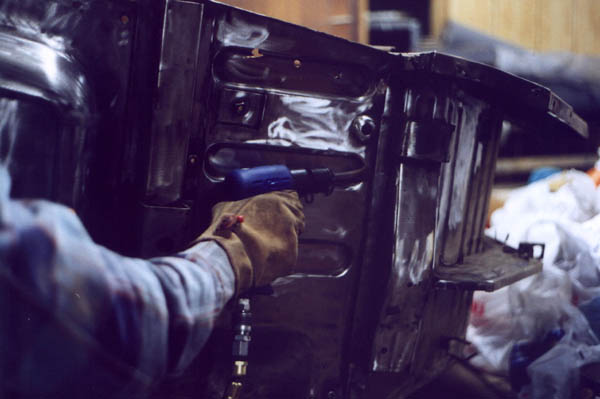
After working with the hammer and chisel, I suddenly remembered that I have an air chisel. Do'h! The air chisel went a lot quicker than the manual way.
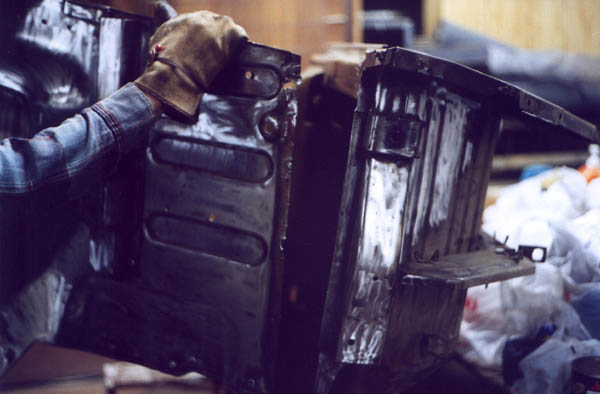
Now I am able to separate the box section from the floor pan sections
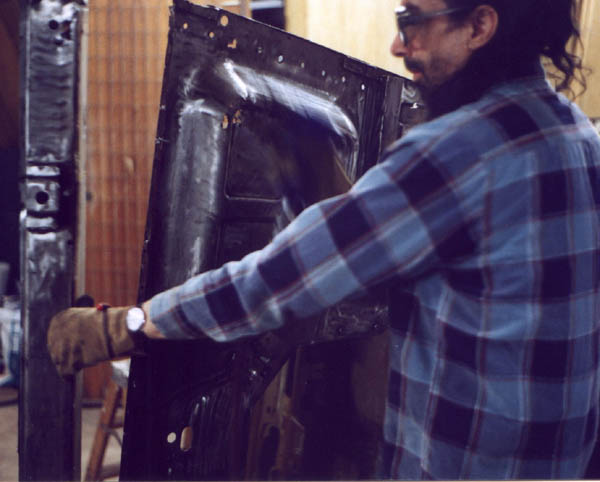
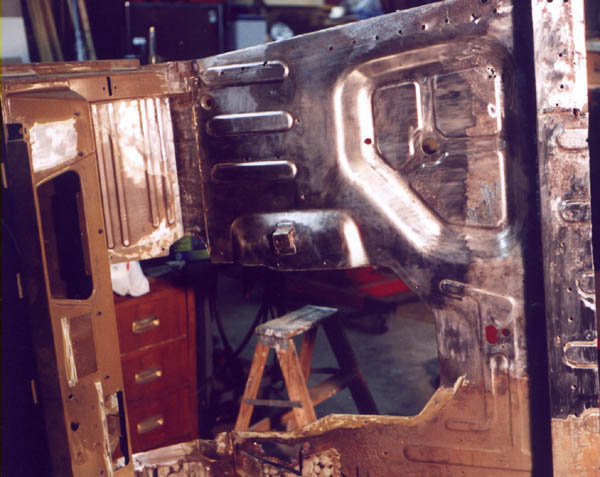
The air chisel helps remove the floor pan from the cowl.
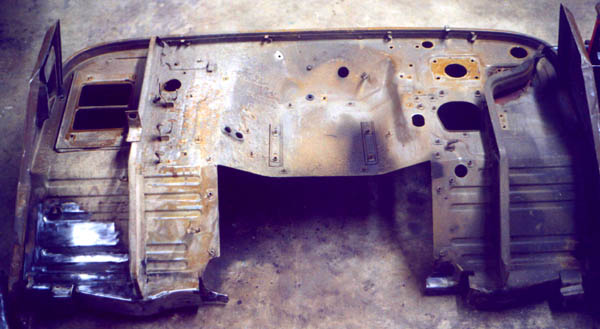
A view of the inderside of the cowl now that the entire floor pan has been separated from it.
Page 1 2
3 4 5
6 7 8
9 10 11
12 13 14
15 16 17
18 19 20
21 22 23 24
25 26 27
28 29 30
31 32 33
home what's new cruiser links trail reports cruiser sightings land cruiser tribute tech tips photos maps band links misc links profile email