Page 1
2 3 4
5 6 7
8 9 10
11 12 13
14 15 16
17 18 19
20 21 22
23 24 25
26 27 28
29 30 31 32
33
The Land
Cruiser Restoration Project
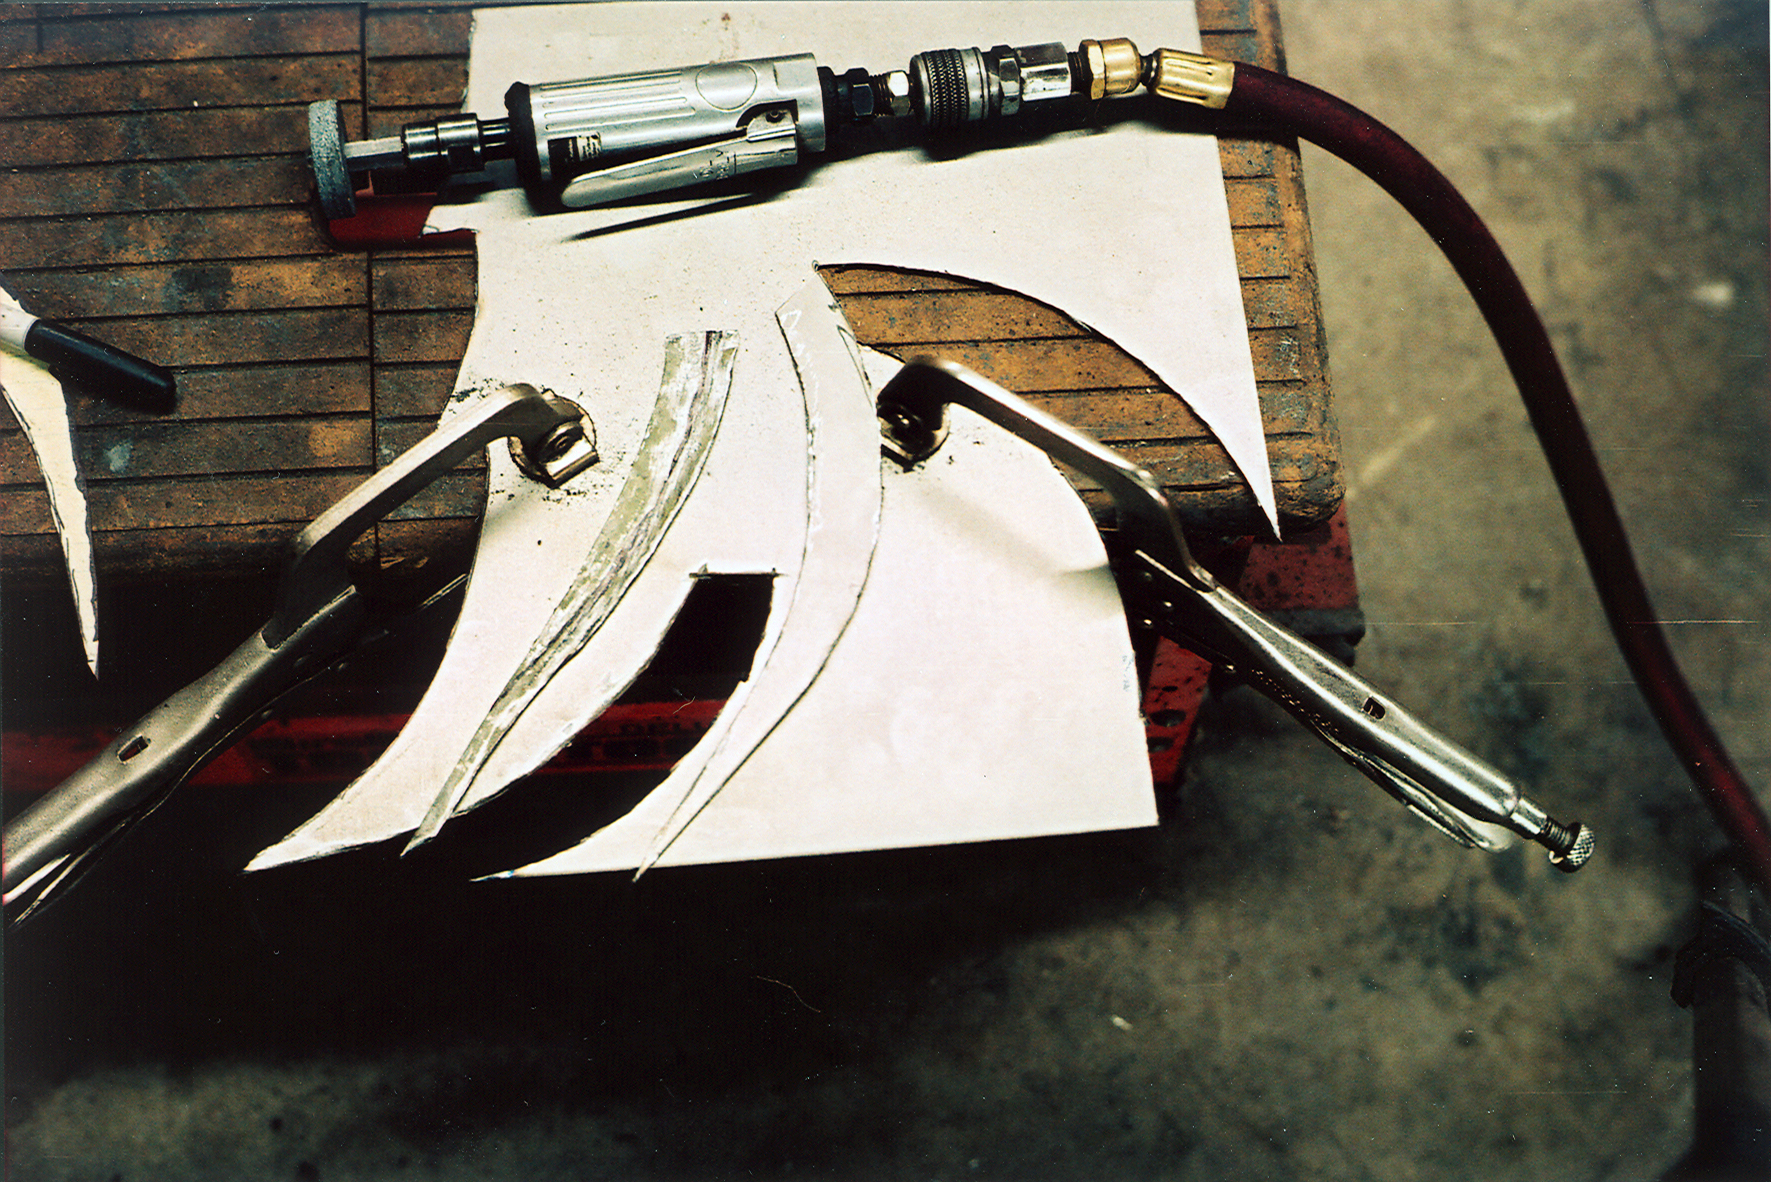
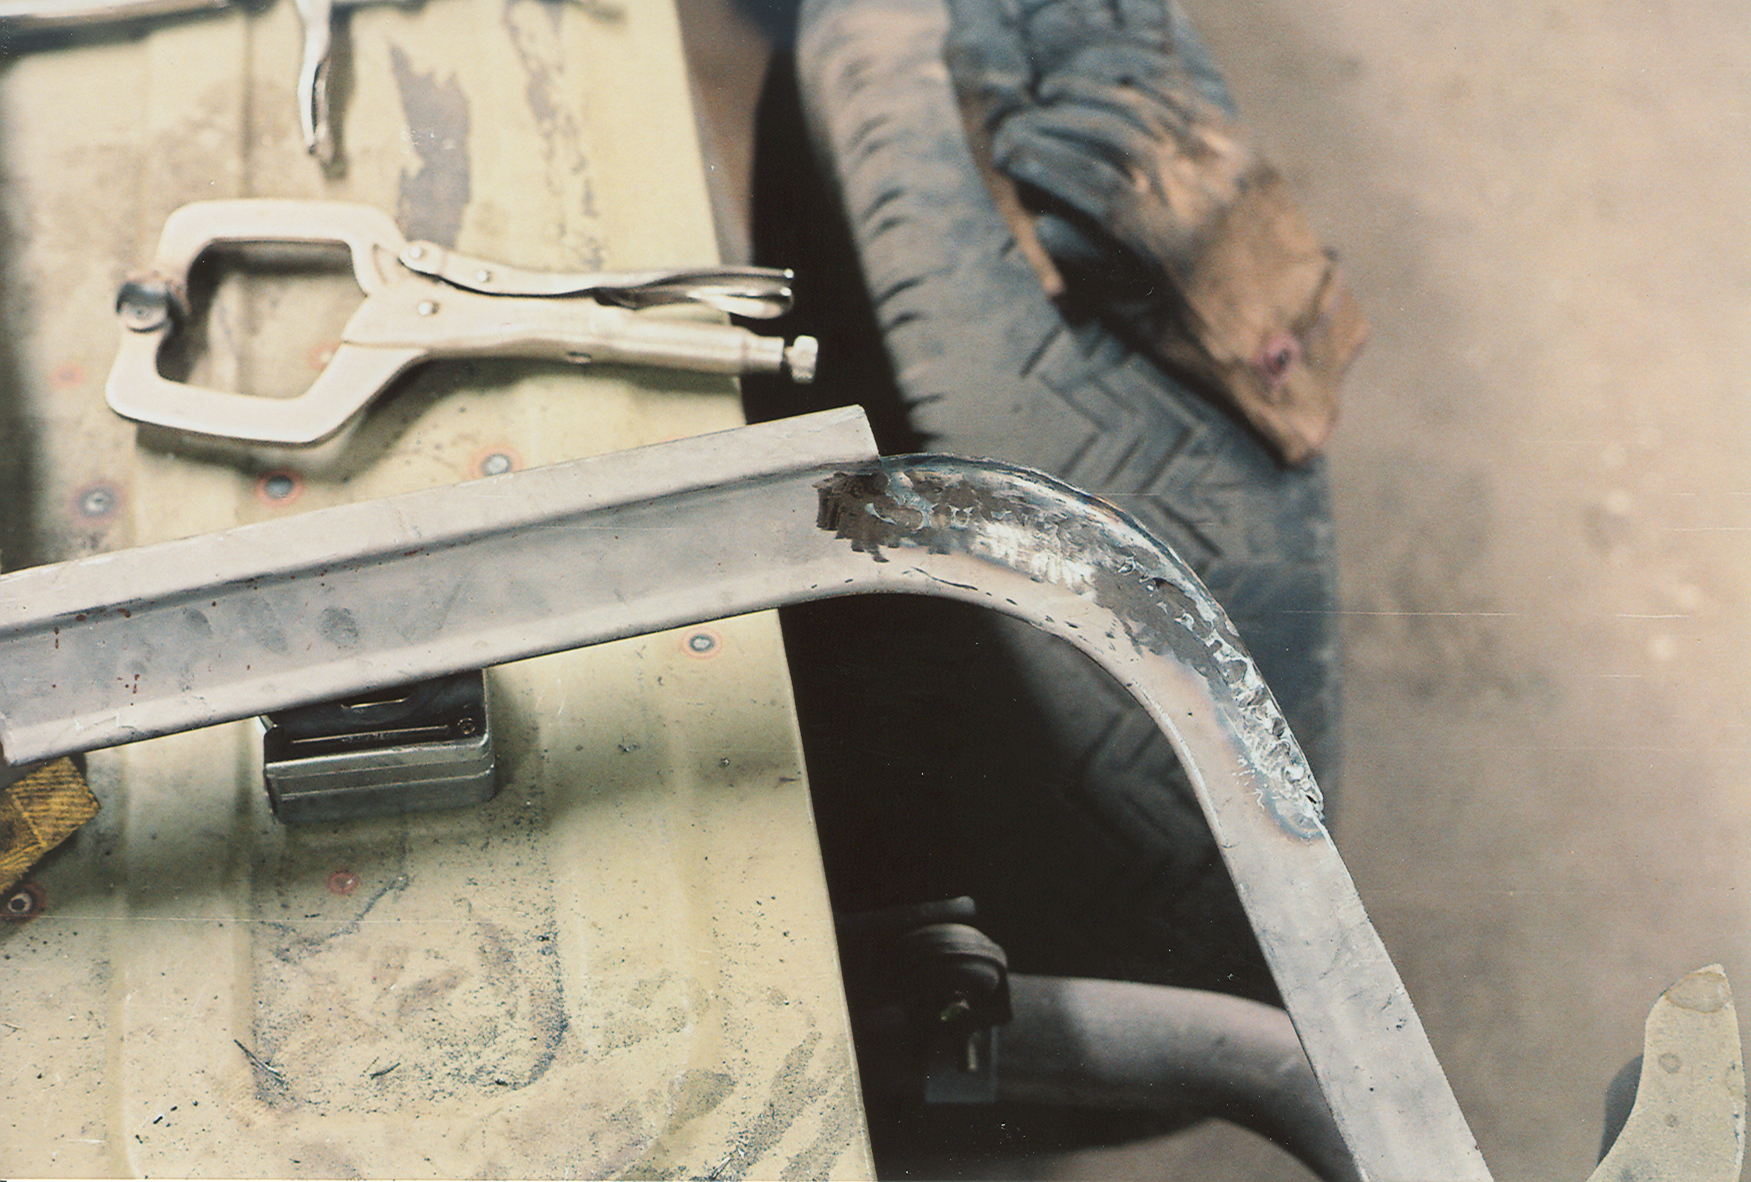
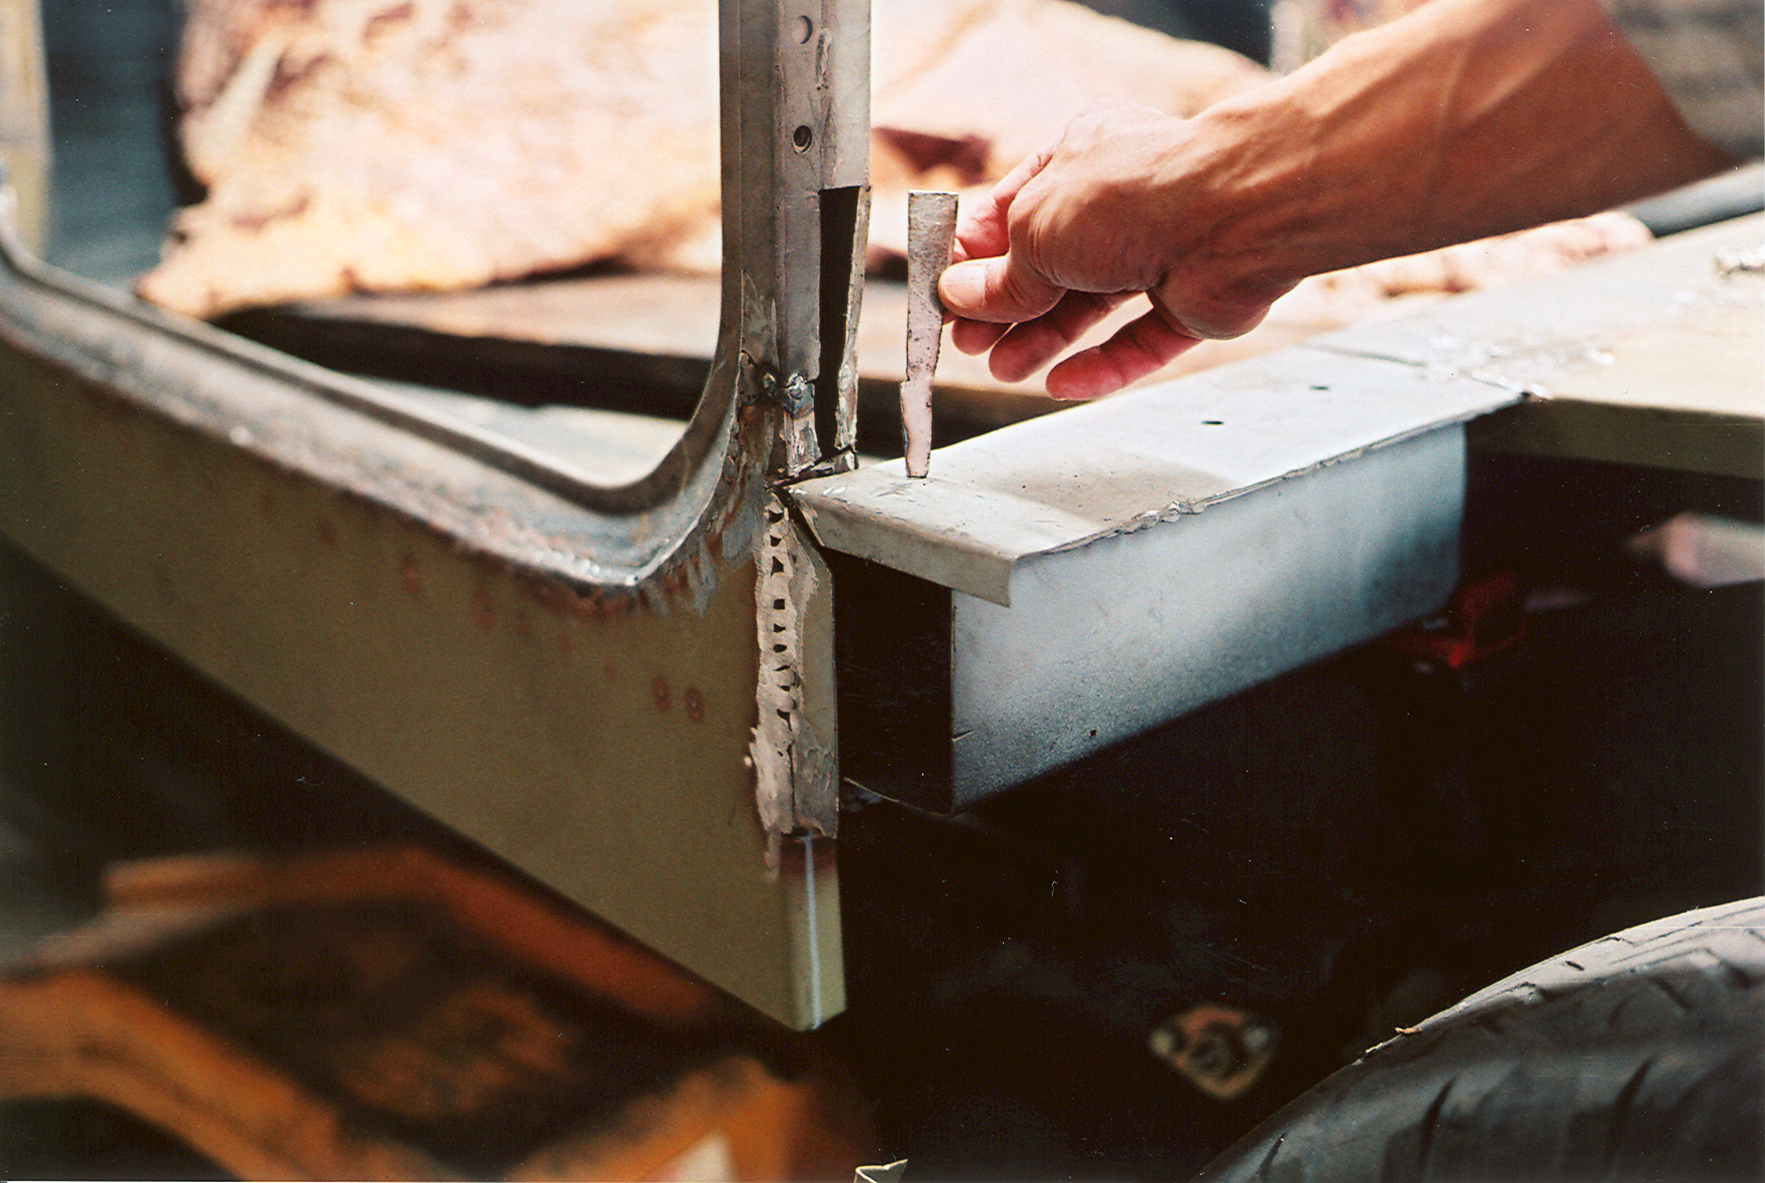
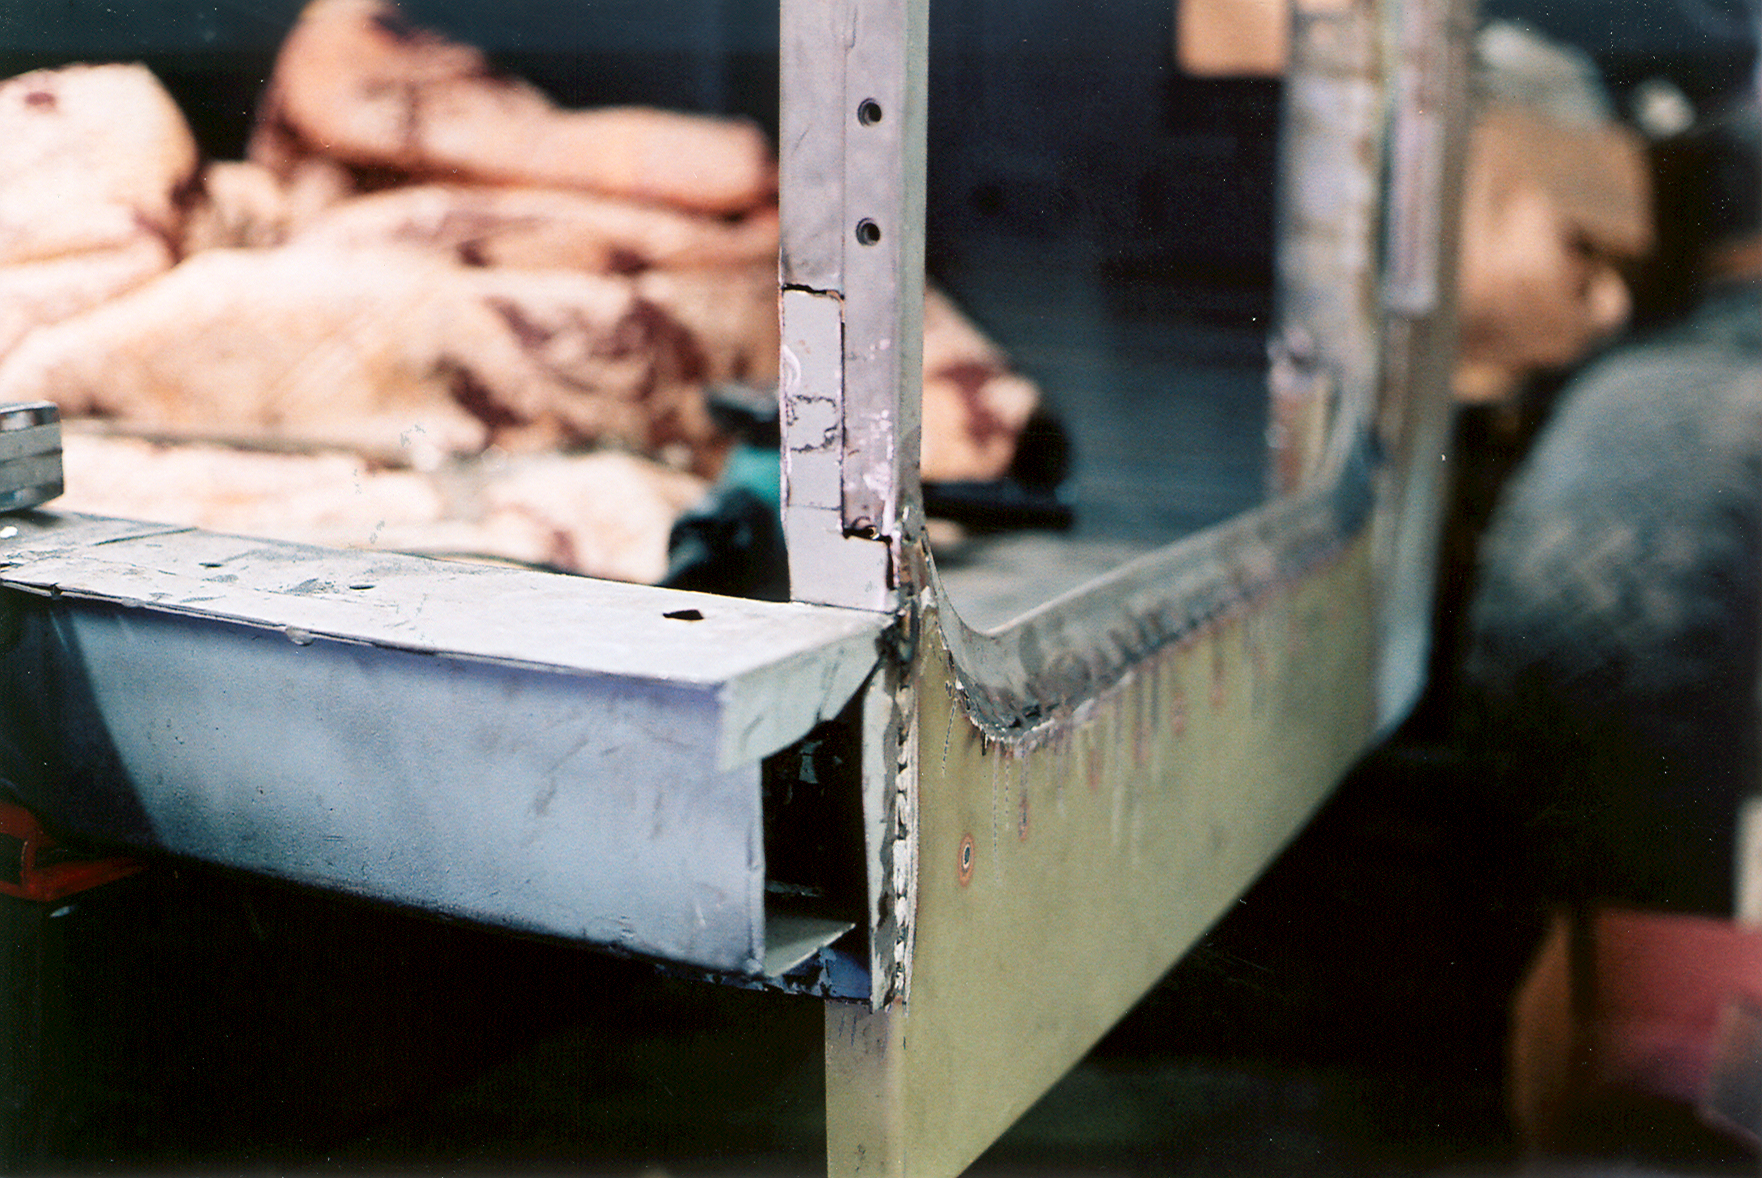
I used a piece of manilla envelope to get the proper radii for the piece I would need for the transition, then transferred that to some 16 gauge sheet metal.The piece you see cut out from the sheet metal was from when I fabricated a rear sill for my 1971 FJ40, Charllotte.
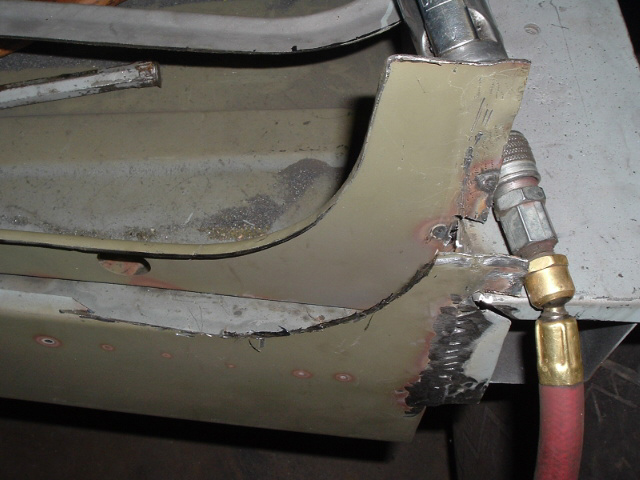
Below, I start welding the transition pice to the rocker lip. I used my anvil and a ball peen hammer to shape the piece, and clamped it with the welding c-clamp after each spot weld as I went along.
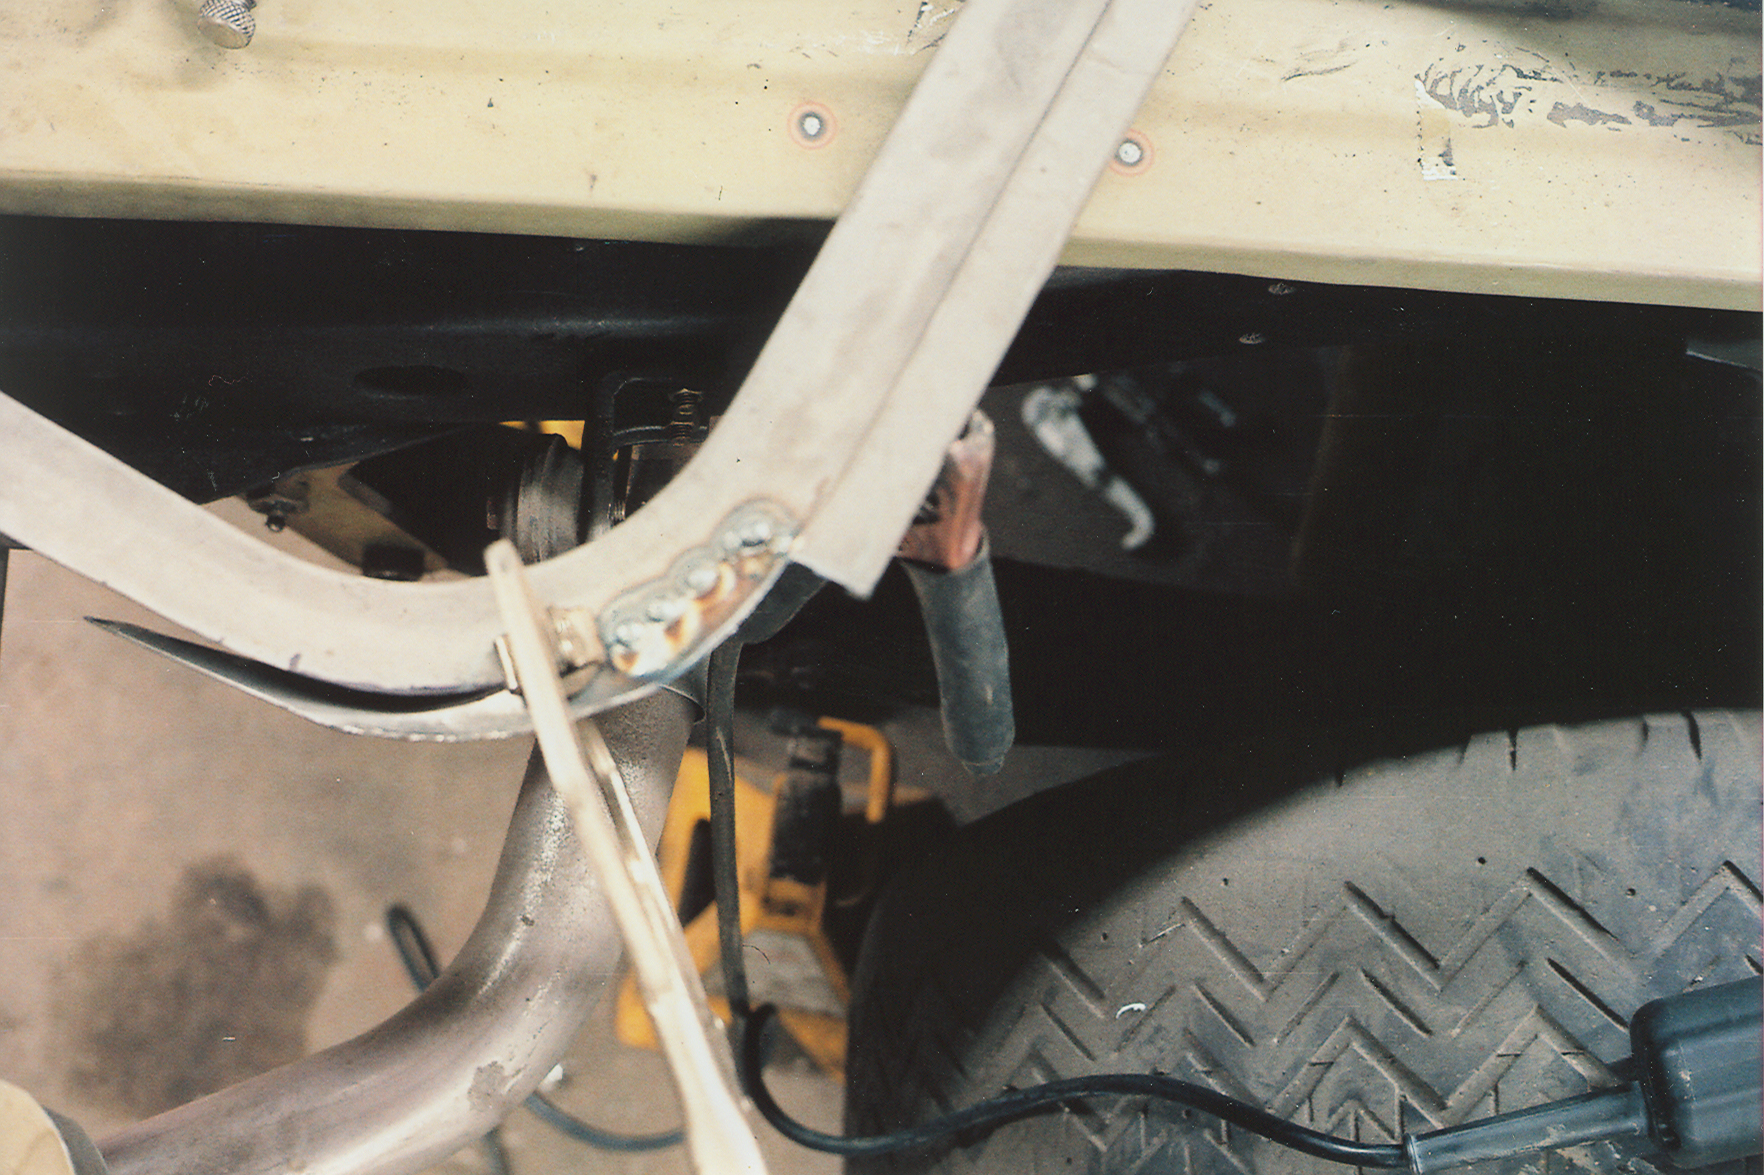
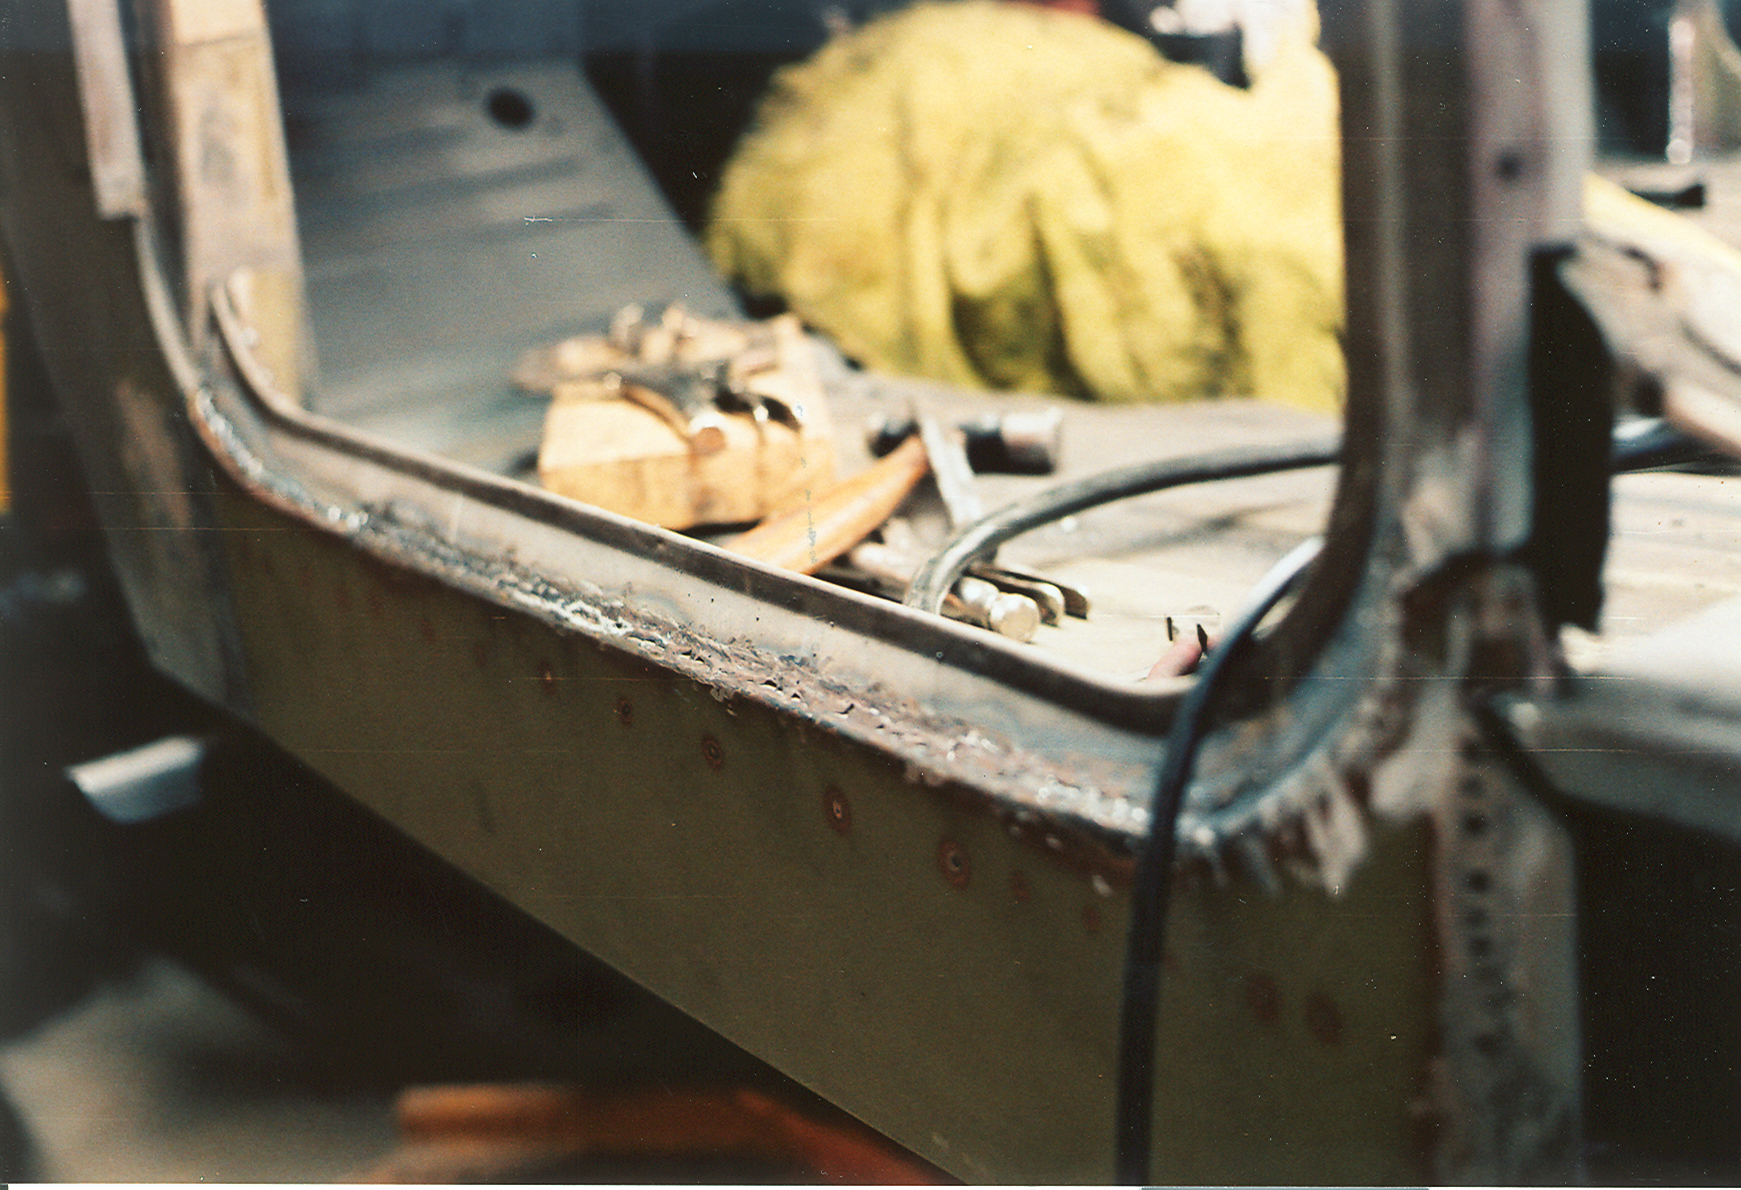
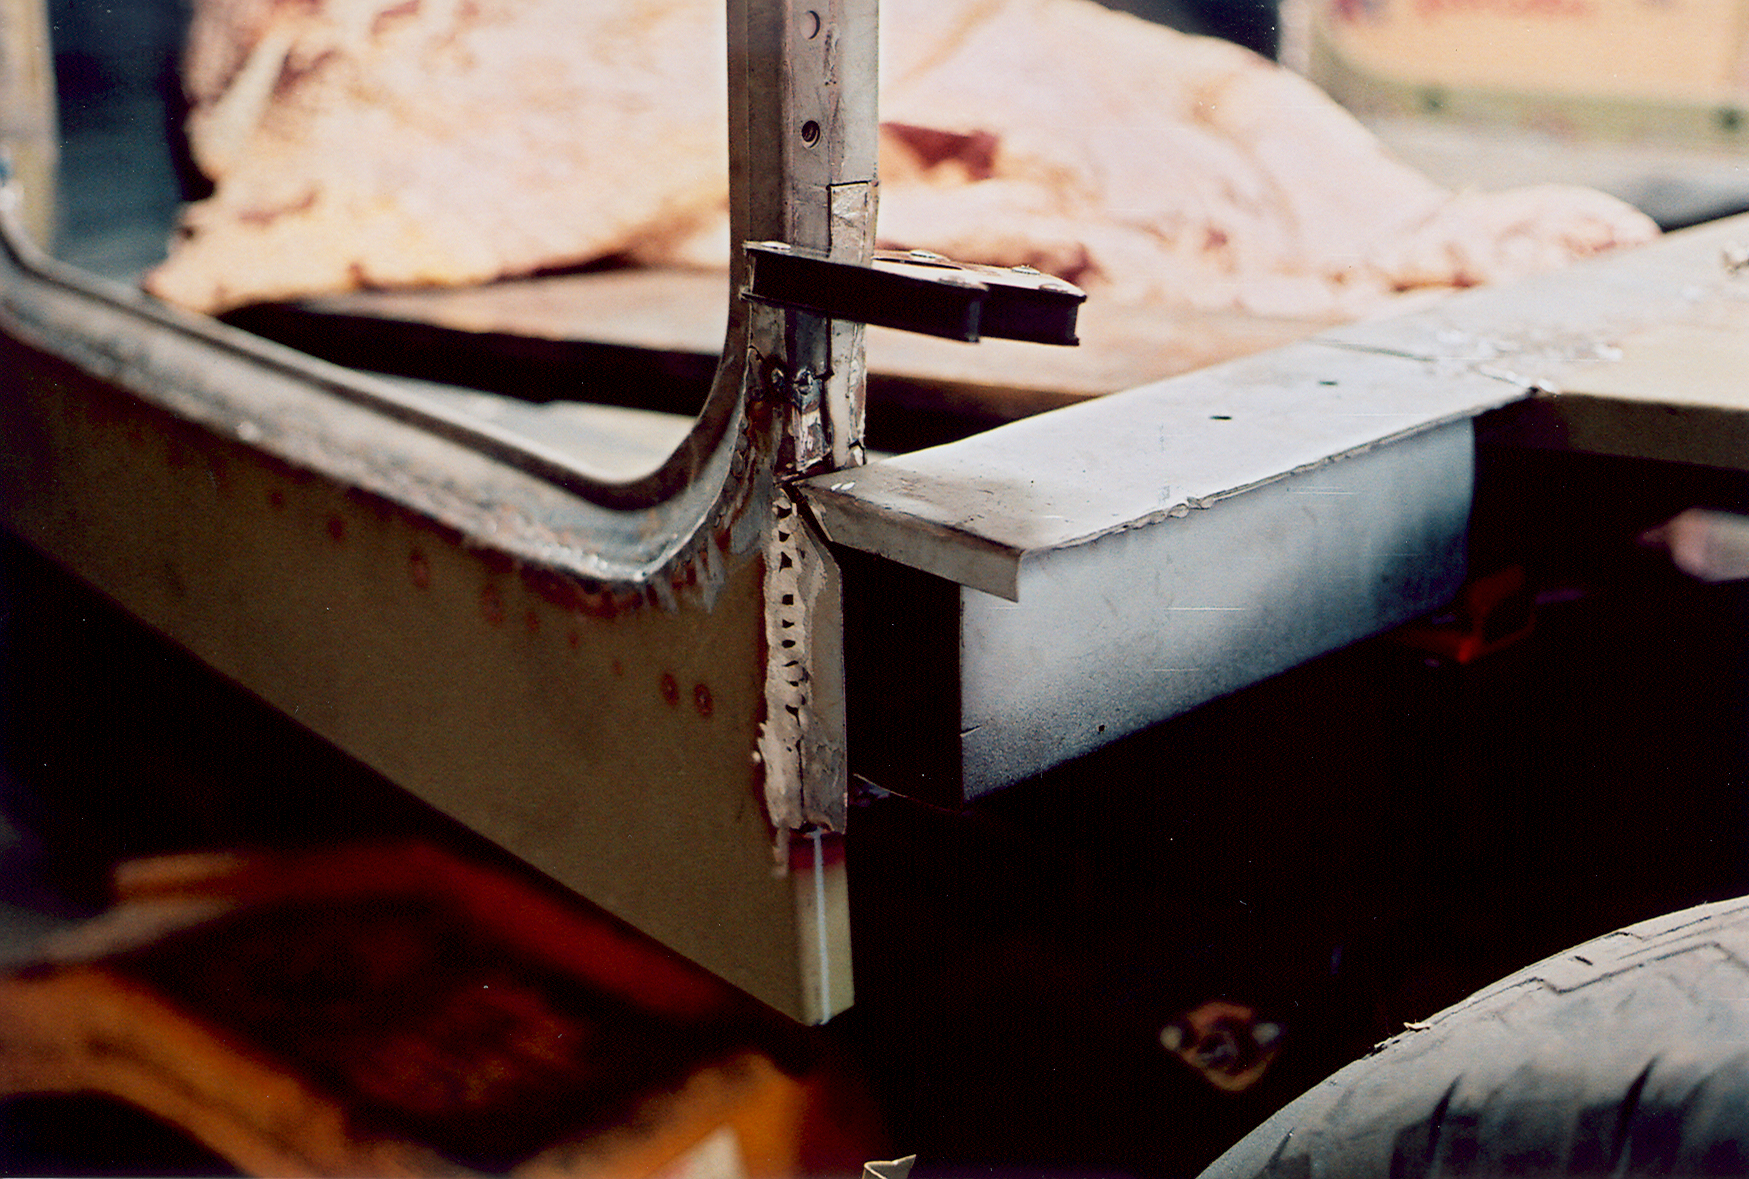
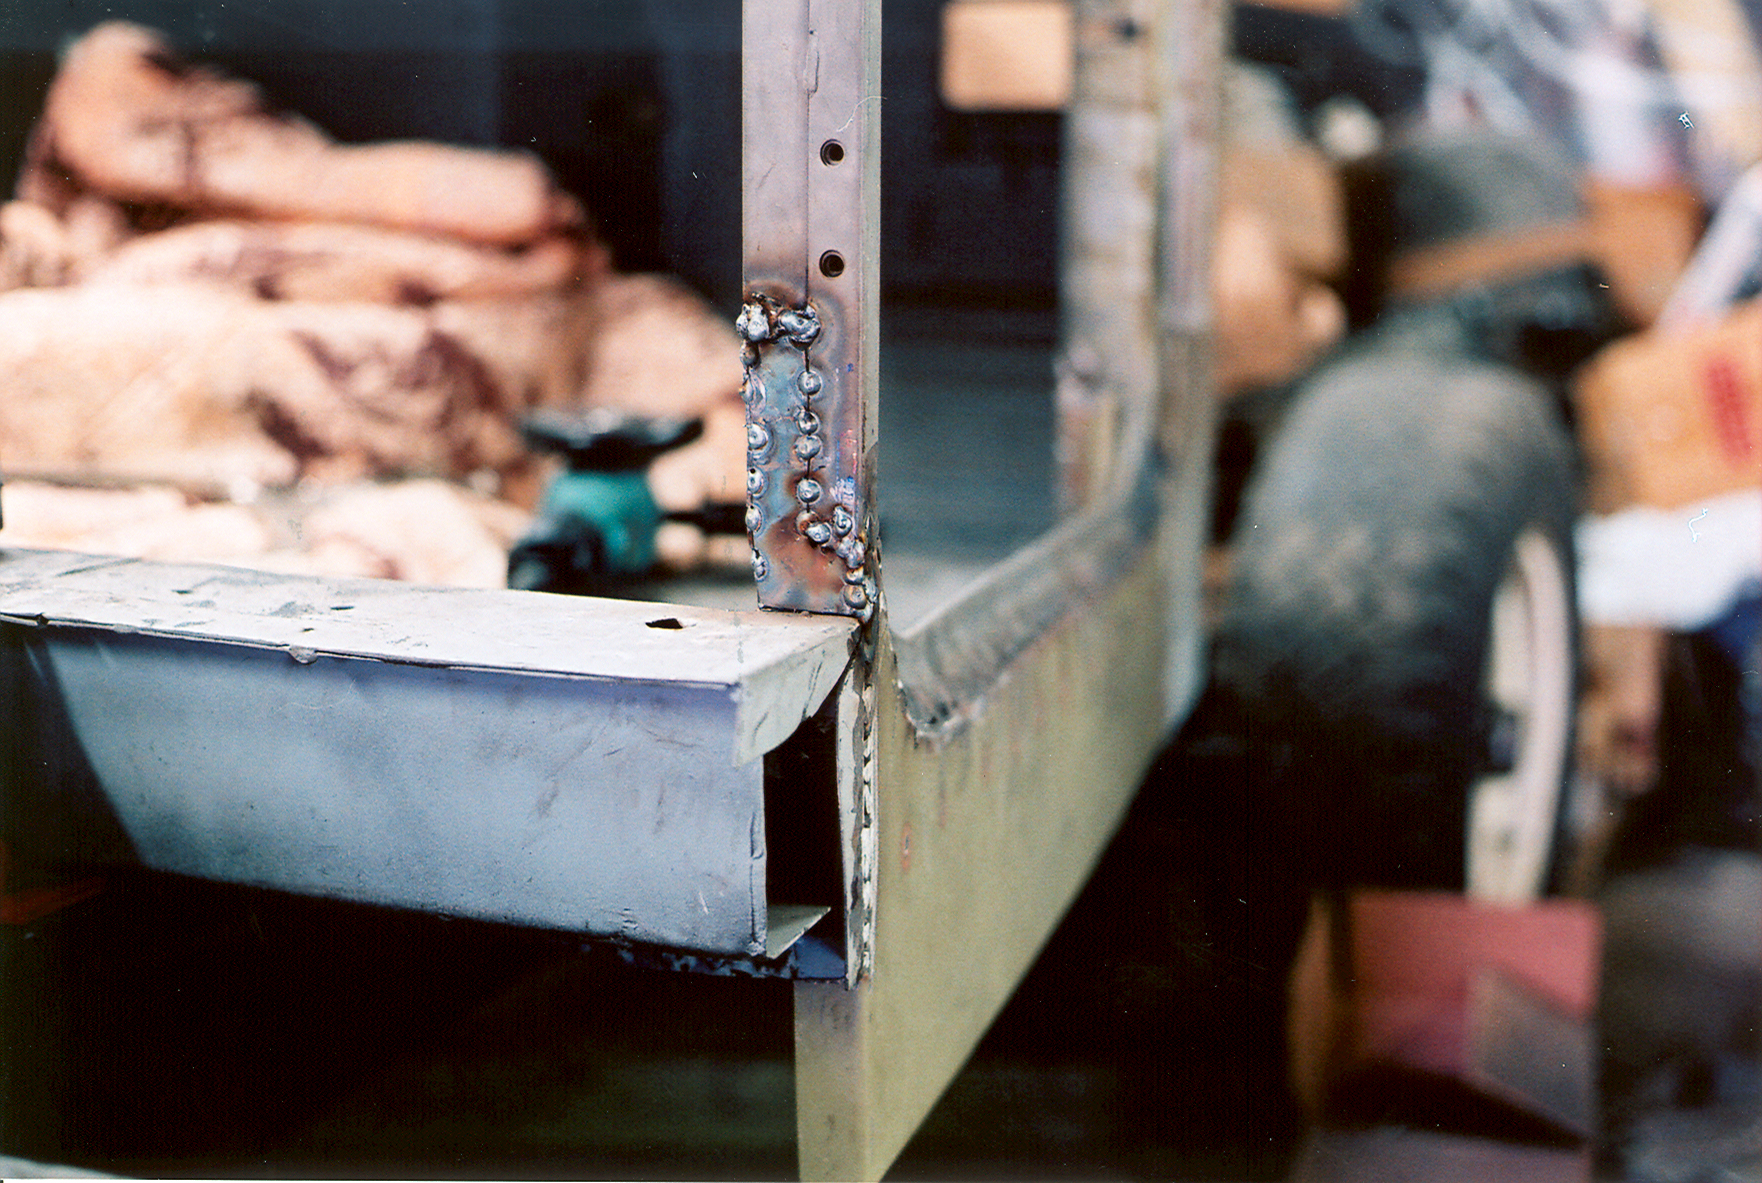
After welding, the mounds are ground down to the contour.After a test fit, it is welded in. Not super-pretty but with some body filler and sanding it will be fine.
Welding the inside.
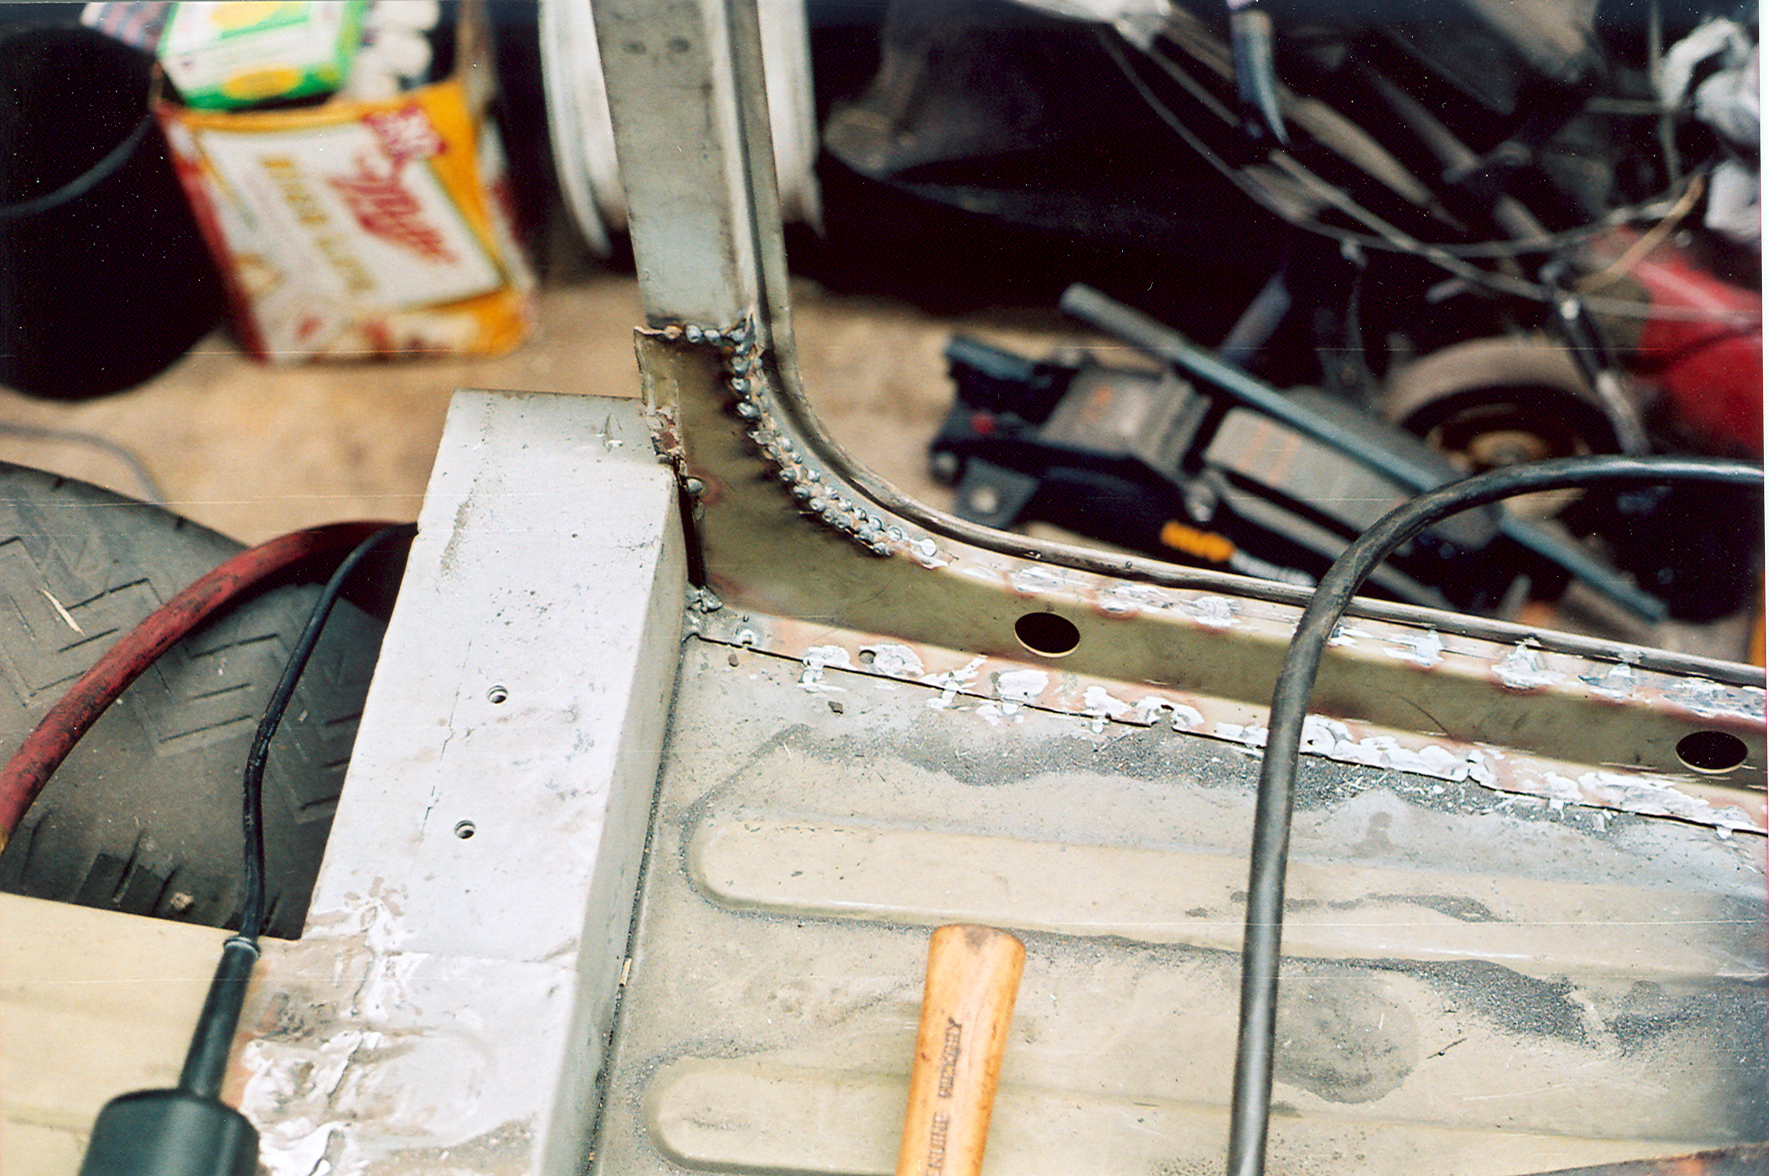
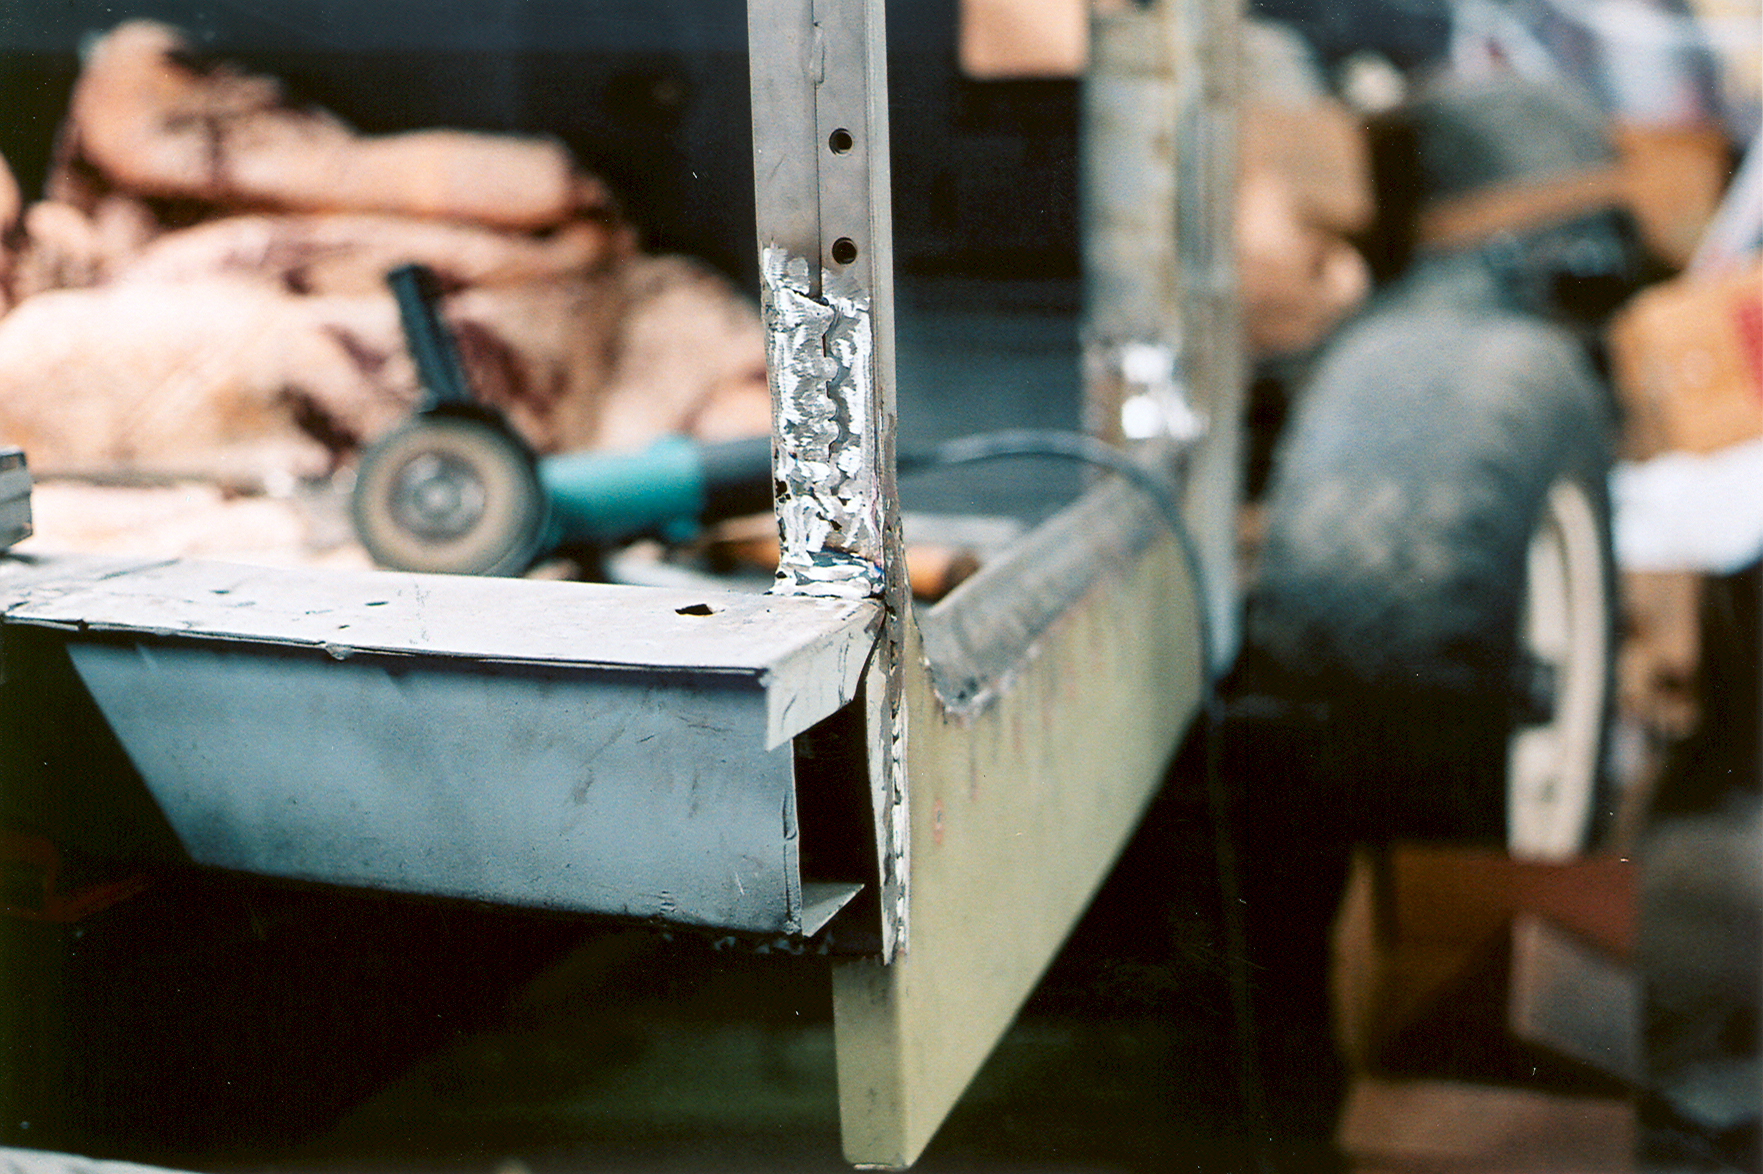
Next, I cut a piece to make up the gap on the back of the B pillar. It was kind od a tricky shape and took a bit of grinding to get it right.Then stick a welding magnet on it to hold it in place.Weld it in, then grind it down.
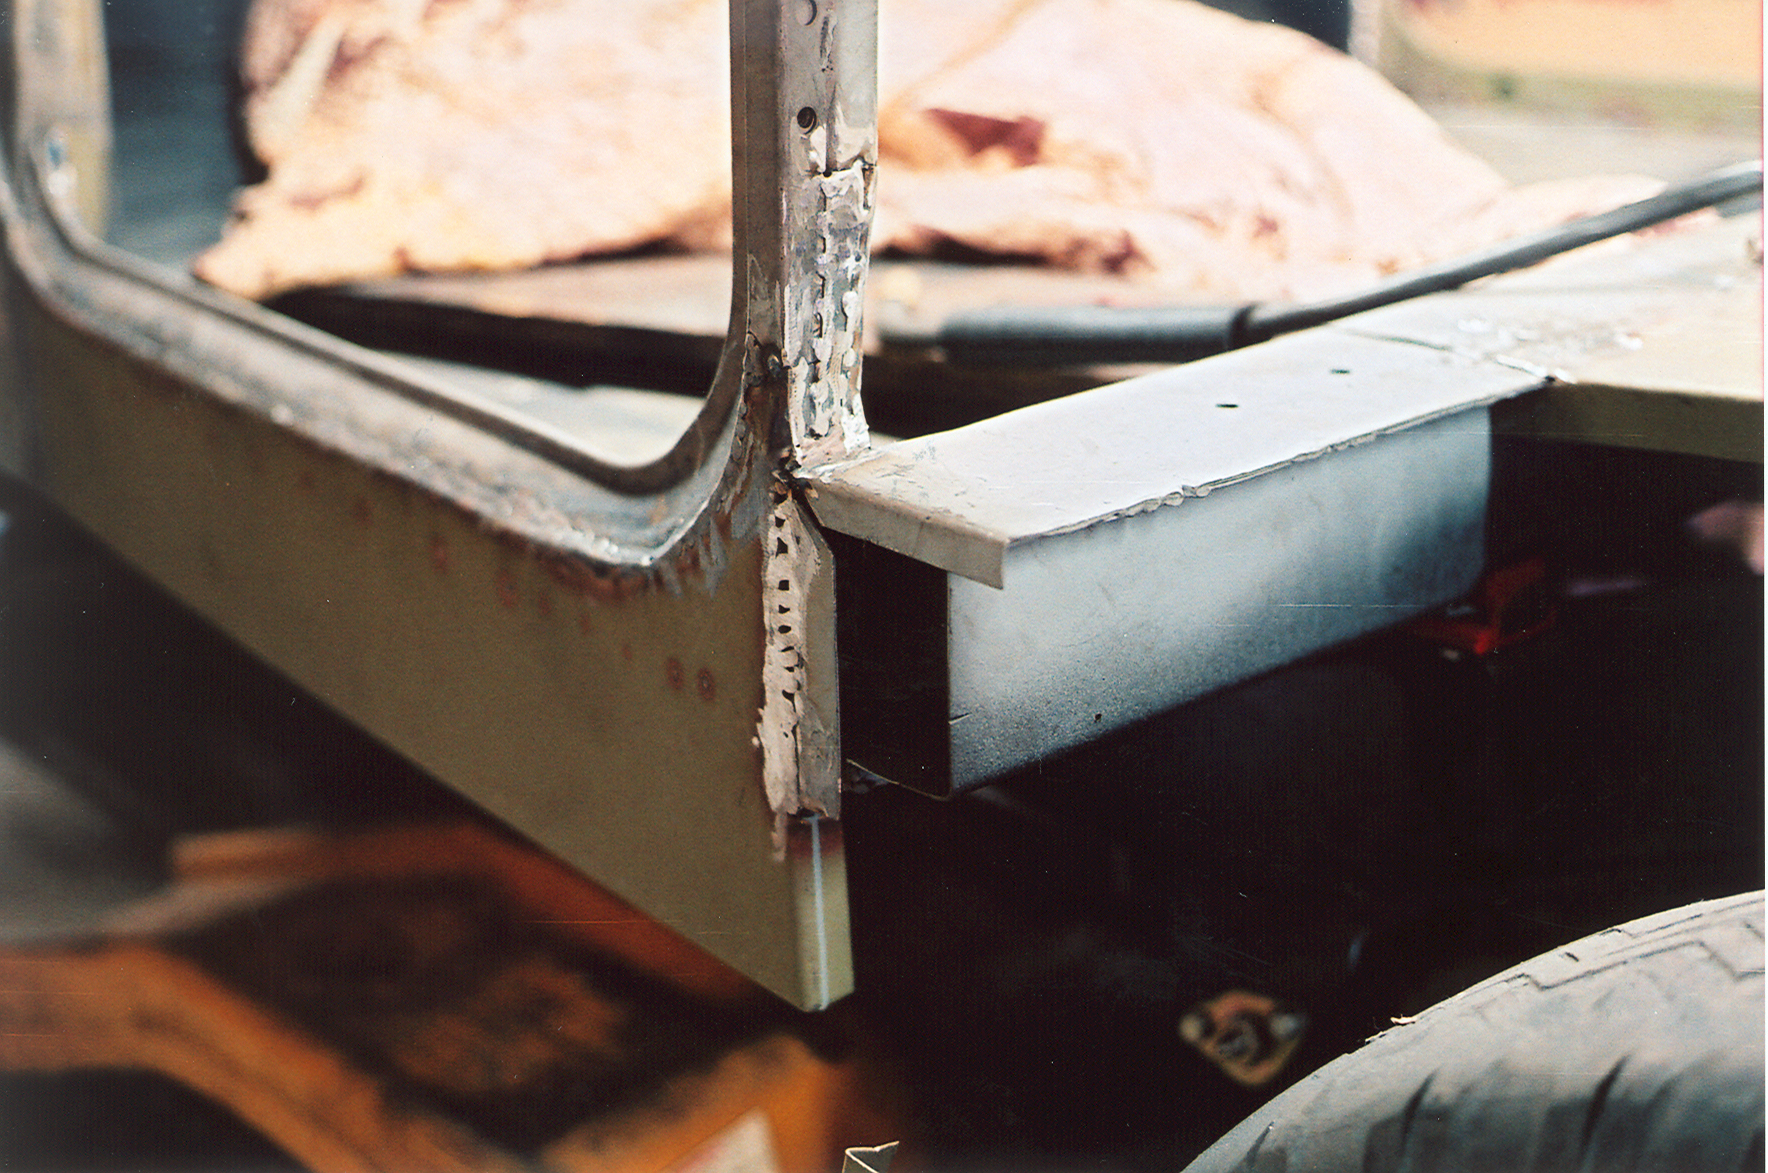
Next, I had to make a piece for the outside lip of the passenger side rocker and weld it in.

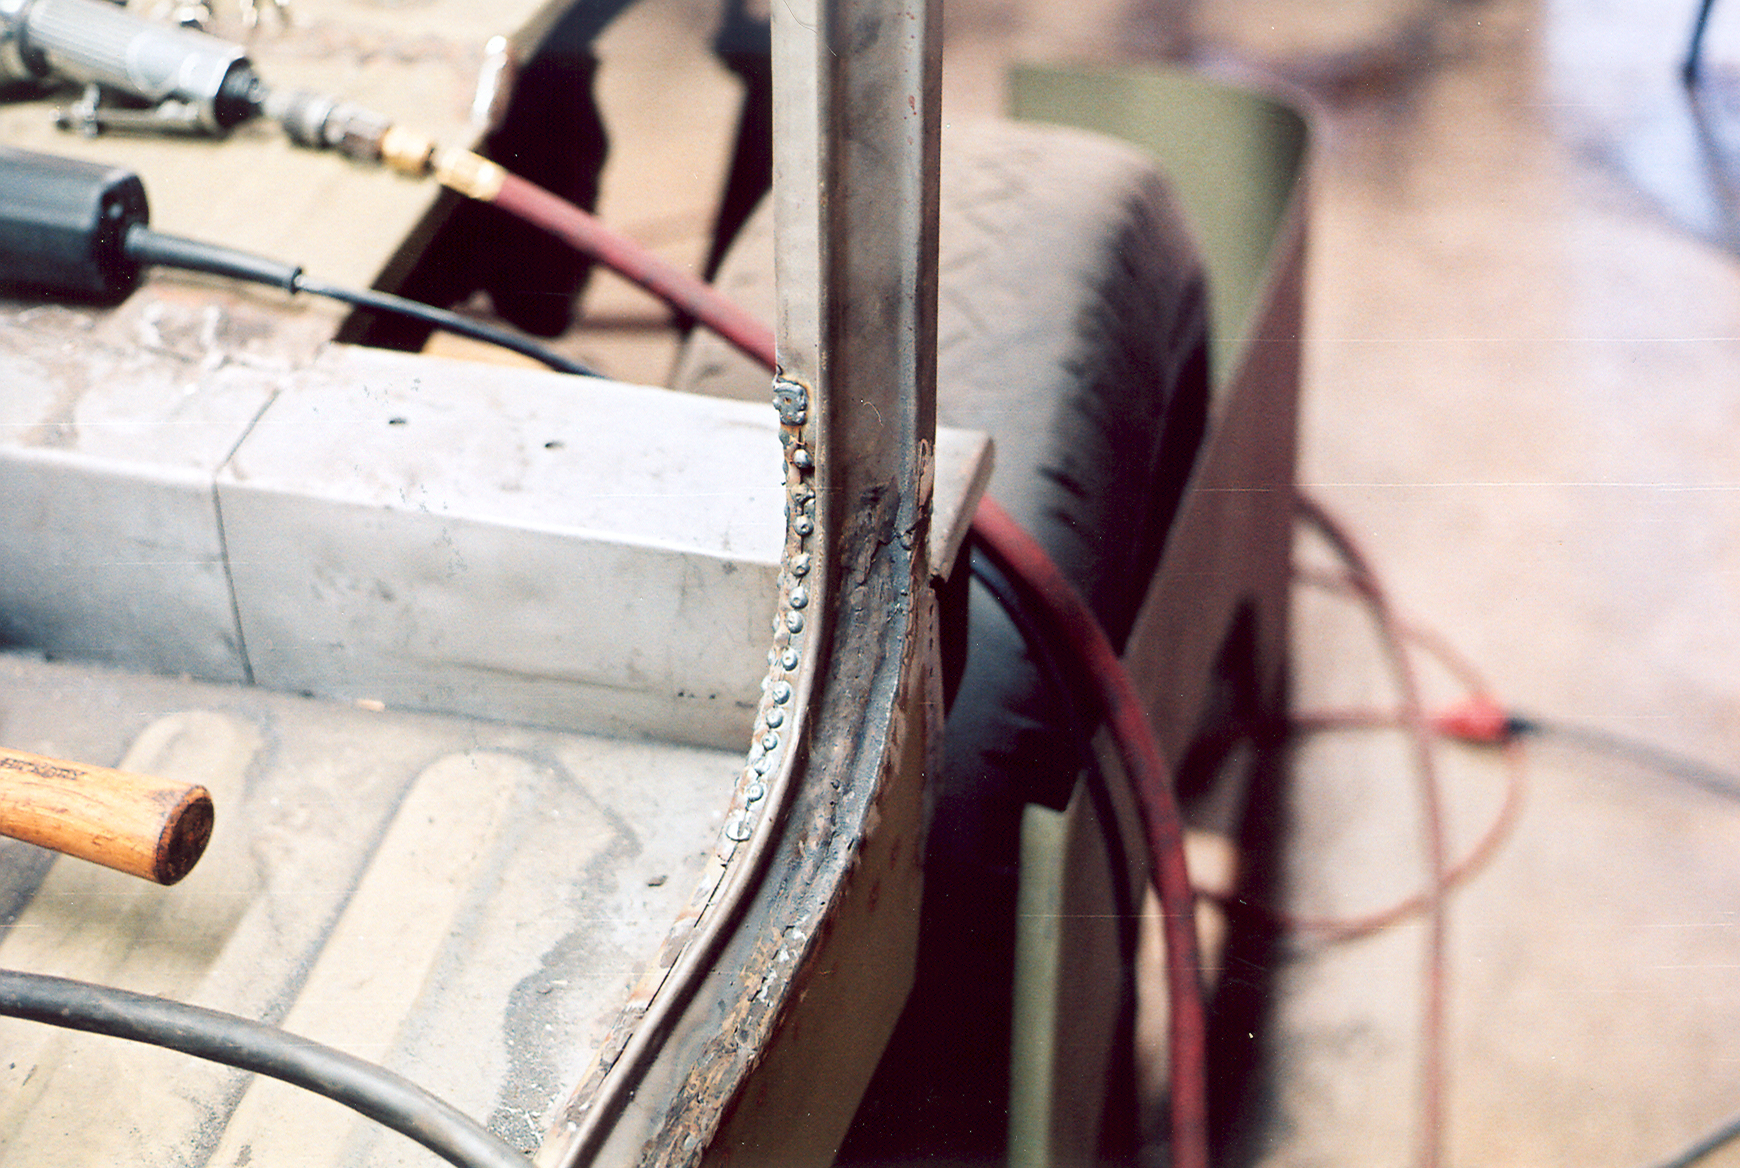
Then weld the rocker lips in.
For the rear of the B pillar, yet anothe funky shaped custom piece.

Grinding down the welds for the front of the rocker lip to the base of the A pillar was a tricky task.
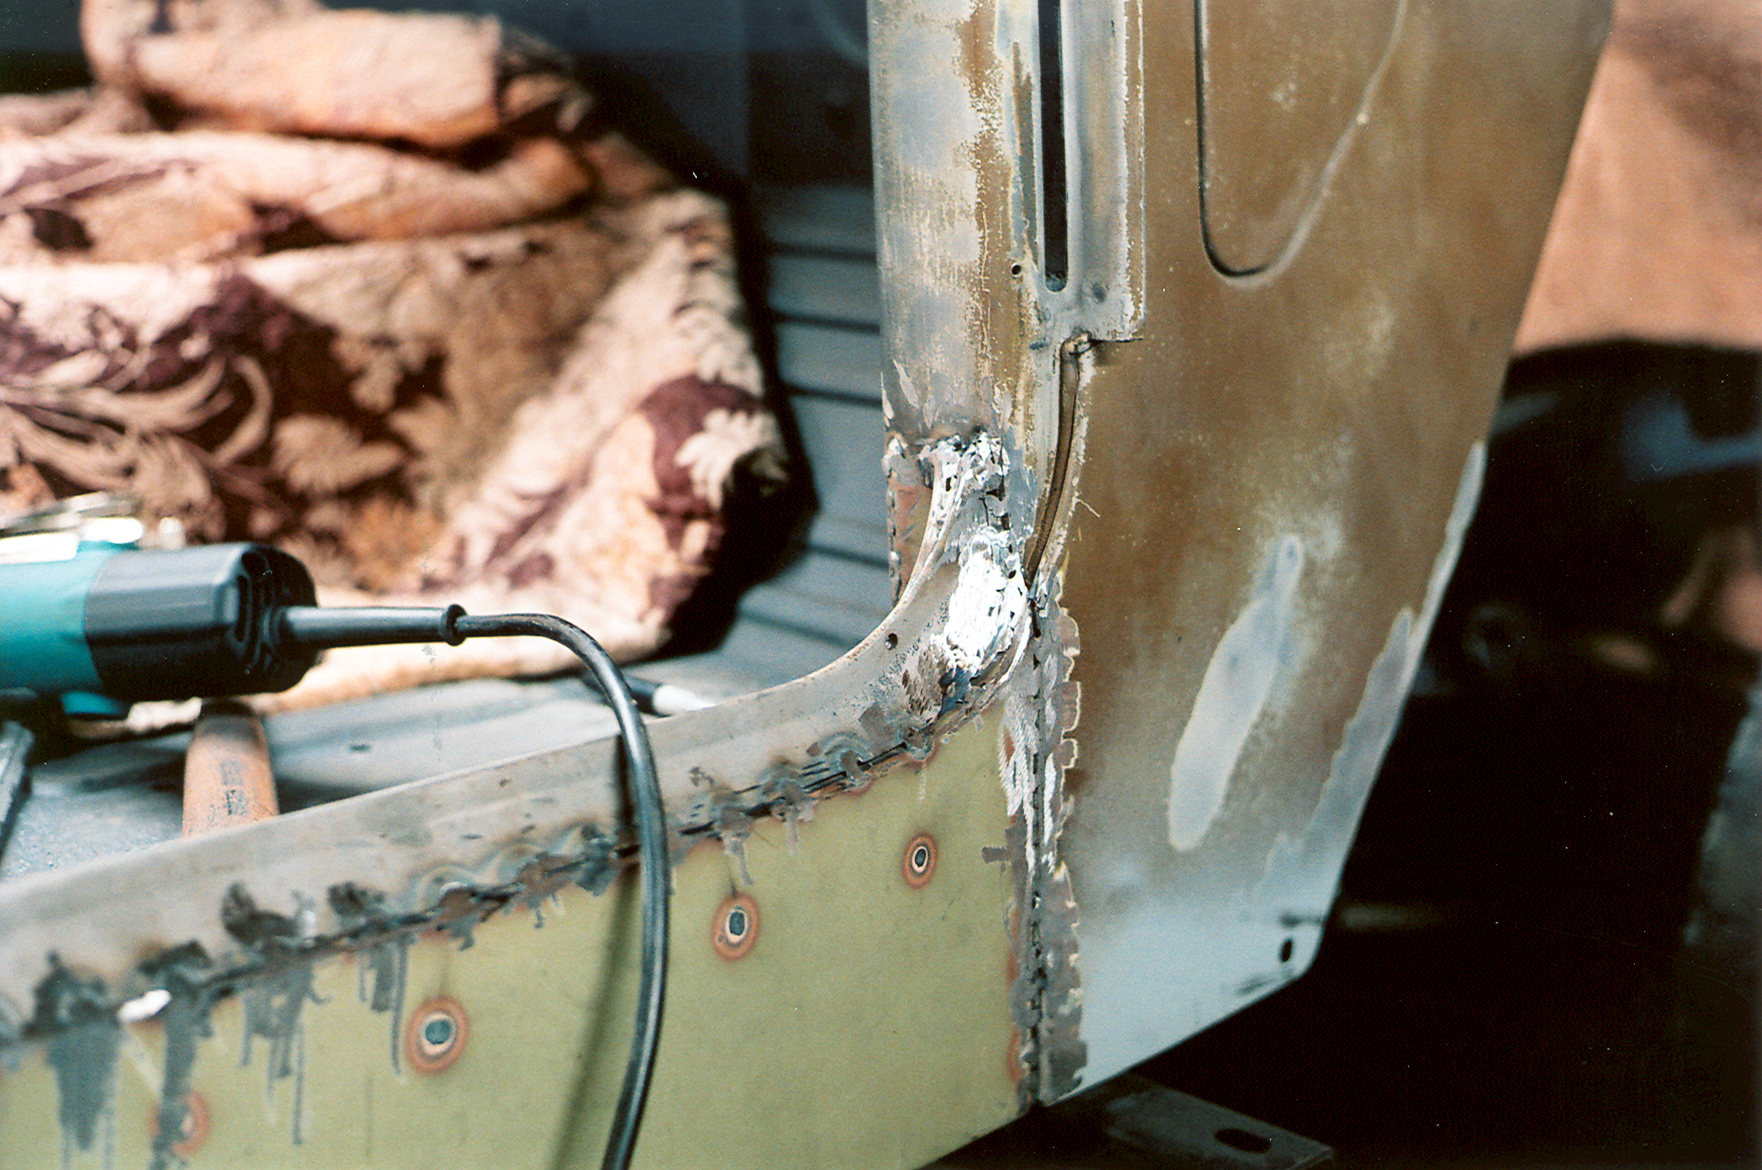
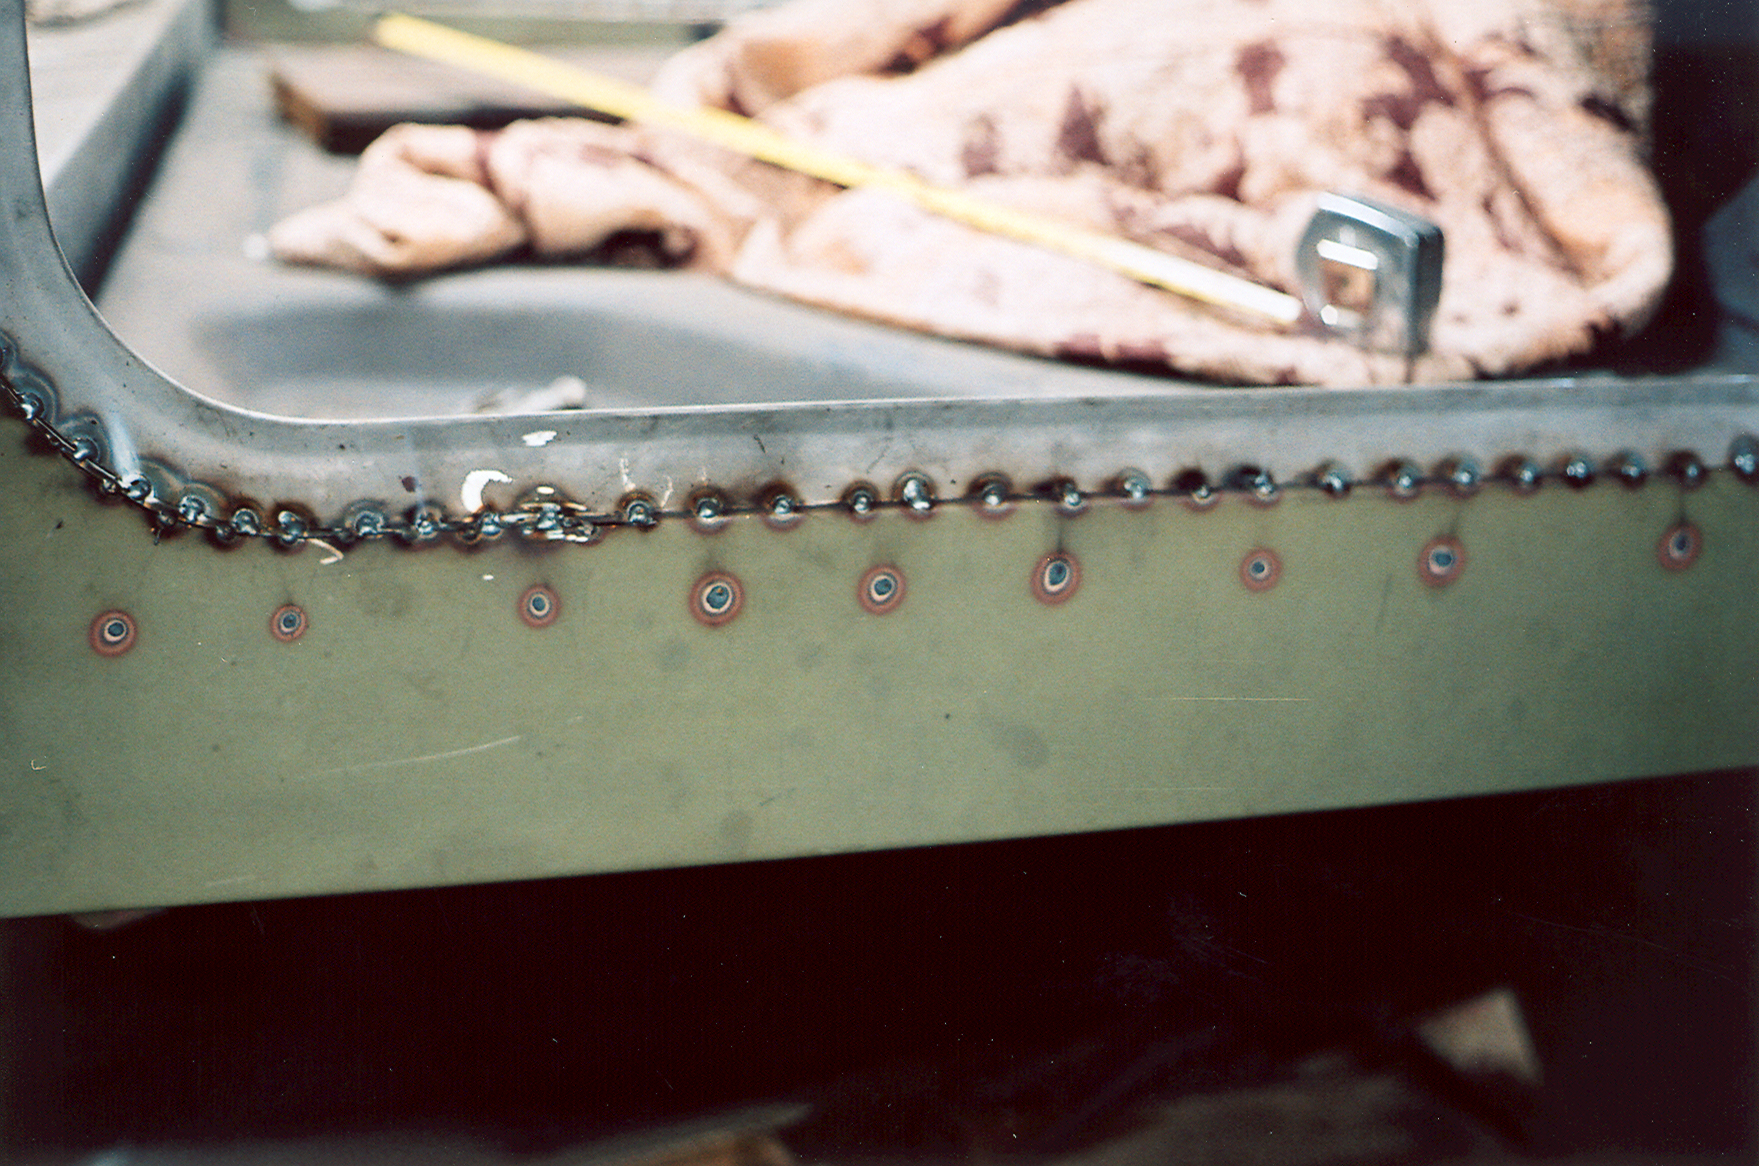
With the rocker lips finally finessed and installed, now the quarter panels could be installed.
Page 1 2
3 4 5
6 7 8
9 10 11
12 13 14
15 16 17
18 19 20
21 22 23
24 25 26
27 28 29
30 31 32 33
home what's new
cruiser links trail
reports cruiser sightings
land cruiser tribute tech
tips photos maps
band links misc links
profile email