Page 1 2
3 4 5
6 7 8
9 10 11
12 13 14
15 16 17
18 19 20
21 22 23 24
25 26 27
28 29 30
31 32 33
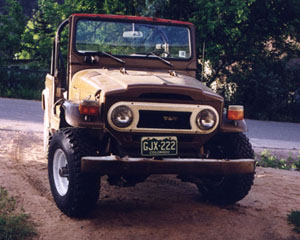
The Land
Cruiser Restoration Project
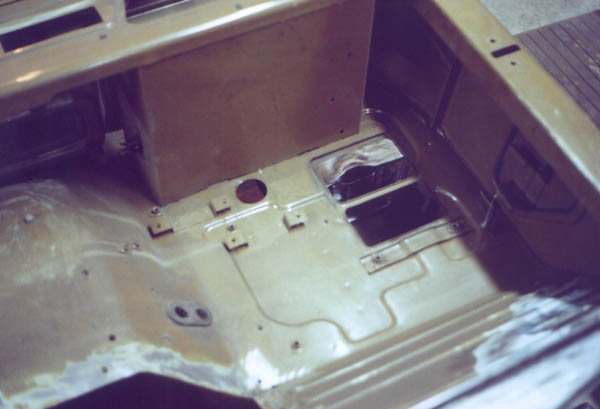
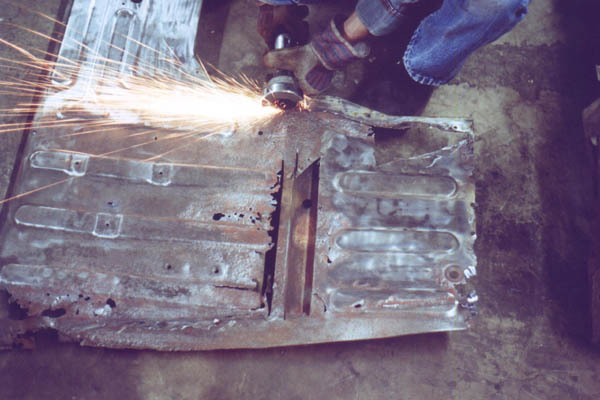
Now that the floor pans are cut off from the firewall/cowl, I can really get to work on it. To the left is the underside, on the right is the passenger compartment side. Some spots are rotted, others are good. My strategy here is to retain as much of the original metal as possible. This will help keeping things aligned when it is put back together. Of particular interest are things like the nuts welded on the underside for mounting various components.


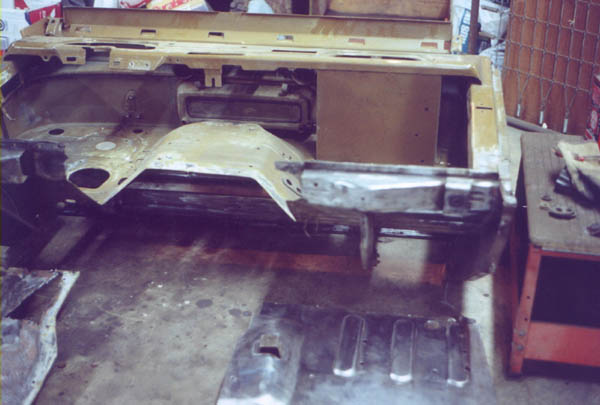
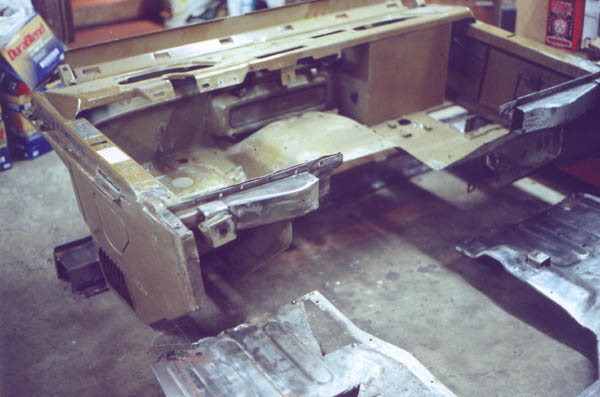
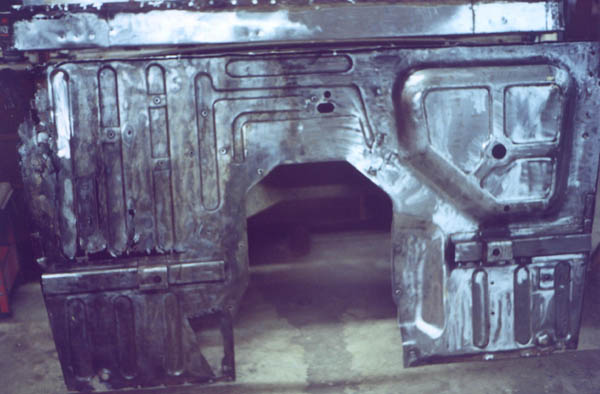
I also took a number of photos of the firewall/cowl. With the components that bolt to it removed, these photos are of limited use to me, but they may help someone trying to restore a hack job back to stock.


The floorpans are pretty well cleaned up. I will still have to sandblast to get at the deep pitting, but between the 3M abrasive wheel and the wirewheel most of the crust and all of the old paint is off.
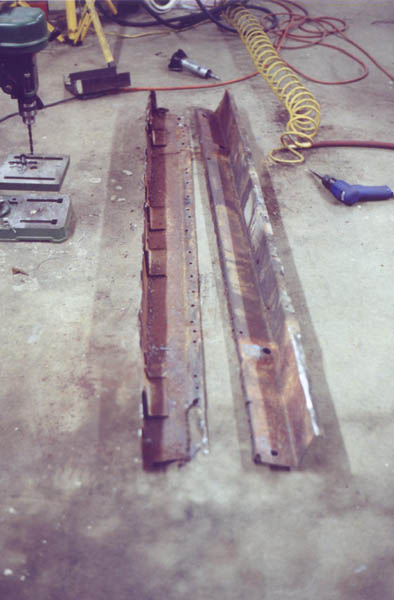
I find that using the drill press is much quicker and easier than a hand held drill, and drill out the spot welds that hold the "box section" together. After these are removed from each other, I can get at the rust inside.
Now the box sections are separate, and sanding the rust off is straightforward. As with the floorpans, I will still have to come back with the sandblaster to get into the nooks and crannies.

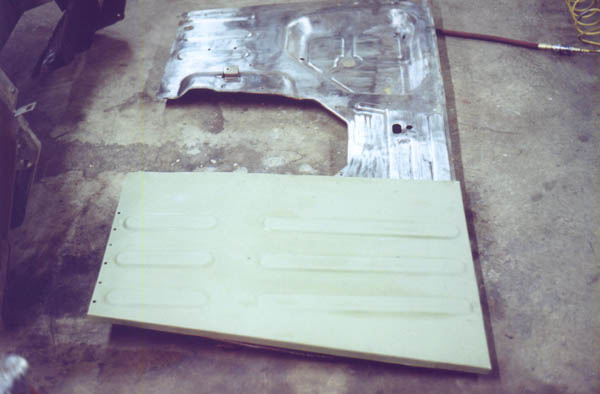
A test fit for the new CCOT floor pan. It fits like a glove over the old section.
Now I remove the new section and start cutting out the rotted section. Again, I am trying to save as much as I reasonably can of the old metal.
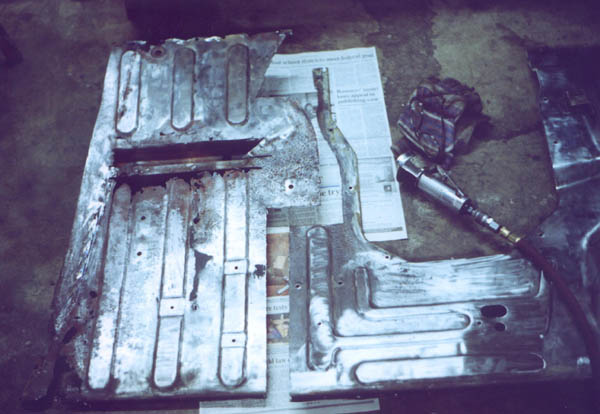
Here's what I ended up with after cutting. Note that I retained the part that the tranny hump bolts to. The shape and curve, along with the mounting bolt locations, would be hard to figure out from scratch.
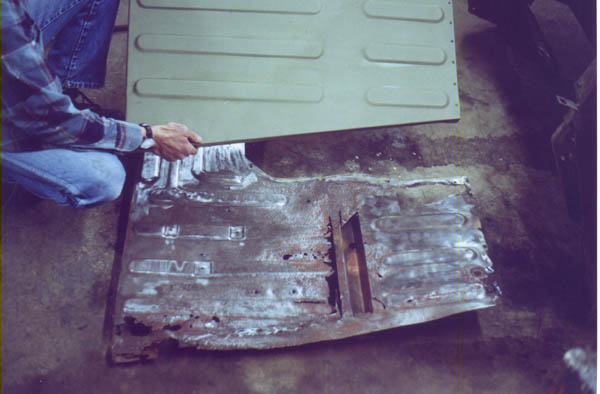
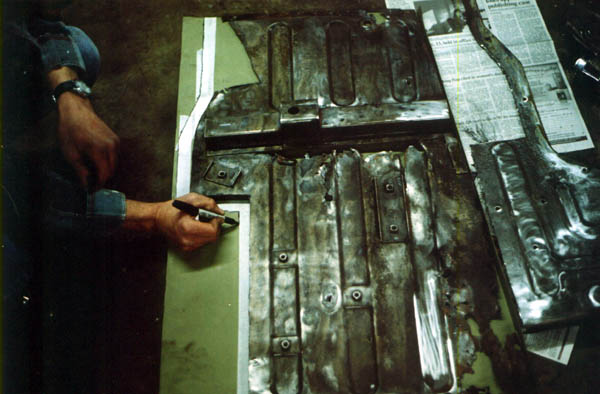
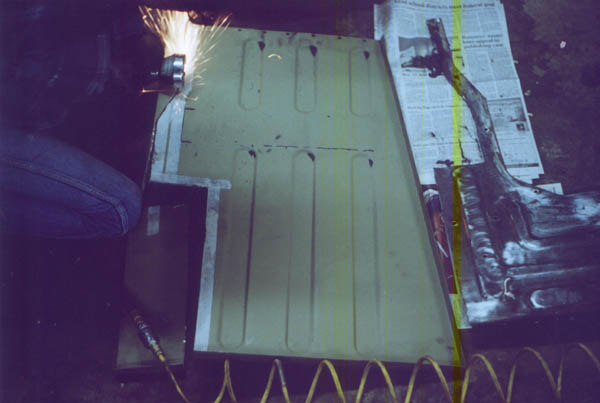
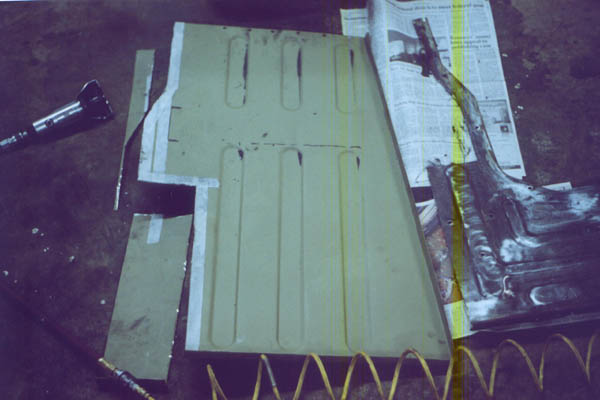
Next, I flip it over and carefully align the new and old sections. After marking with a sharpie pen, I put masking tape onto the new CCOT pan to mark where to cut. This is definitely a case of measure twice to cut once!
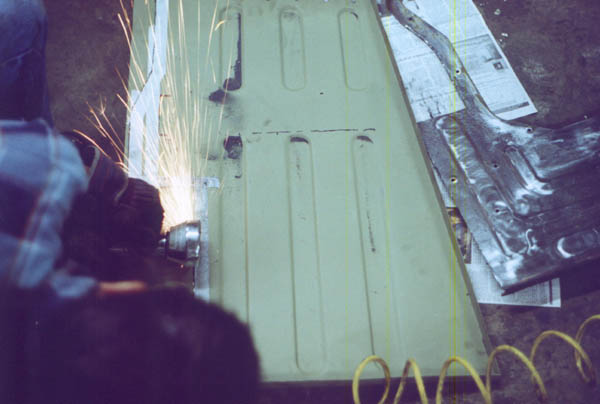
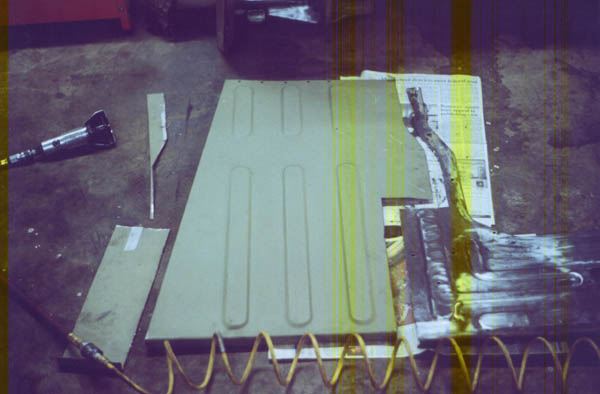
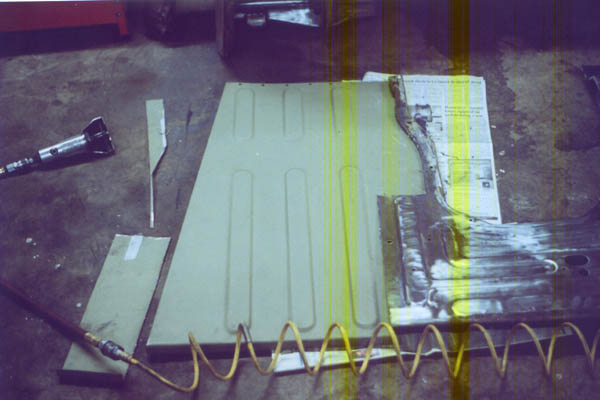
During, and after the cut. Note the yellow streaks in the scans. My scanner has been dying a slow death. These are the last photos this scanner was used for. As of this writing, I just got a new scanner, and the old one is retired. I have a bunch more photos in this series to scan and add to this series. For those who are patiently keeping up with me in this project, thank you for your patience. It takes a lot more time and effort to photodocument this and maintain this web site than it would be if I simply did the work, but hopefully this will continue to help and inspire those who wish to do their own cruiser restoration.
Page 1 2
3 4 5
6 7 8
9 10 11
12 13 14
15 16 17
18 19 20
21 22 23 24
25 26 27
28 29 30
31 32 33
home what's new cruiser links trail reports cruiser sightings land cruiser tribute tech tips photos maps band links misc links profile email