The Land
Cruiser Restoration Project
Page 1
2 3 4
5 6 7
8 9 10
11 12 13
14 15 16
17 18 19
20 21 22
23 24 25
26 27 28 29
30 31 32
33
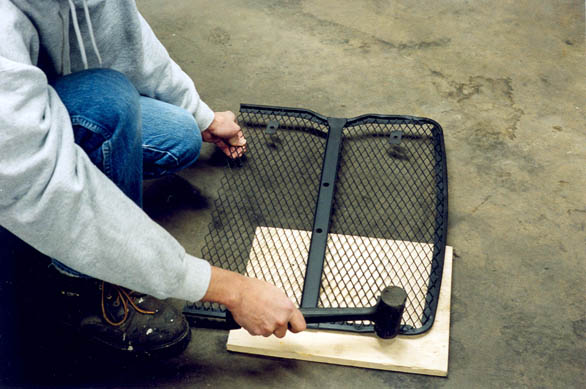
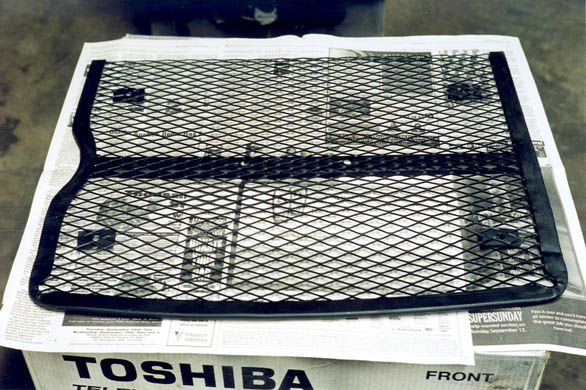
Besides all the body work, there's still plenty of detail to do. Below, I had to tap the bent radiator louver back into shape with my shot filled rubber mallet on a piece of flat wood. Then it is painted.
I made new rubber cushions for the bottom of the radiator frame by cutting out some pieces of old bicycle inner tube. Then I cut a hole in the middle of them with a utility knife to put them over the mounting studs on the underside of the radiator frame.
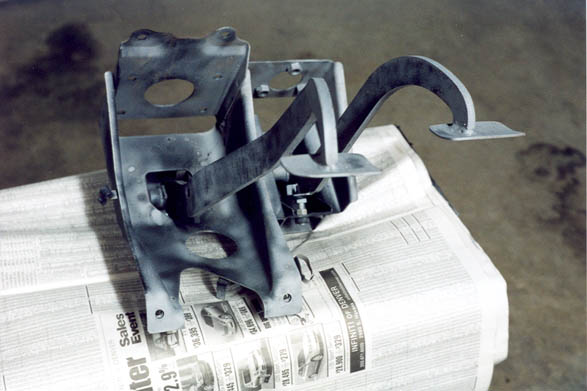
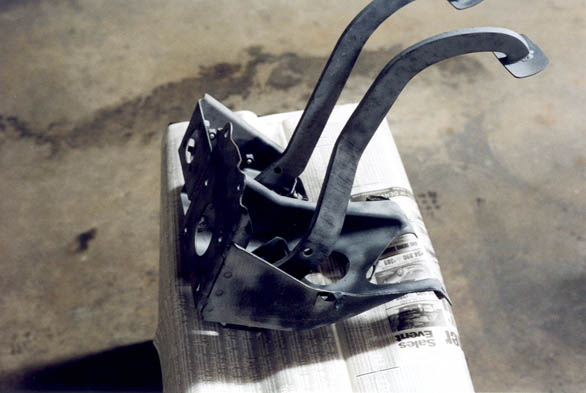
The pedal frame and pedals are sandblasted and ready to paint.
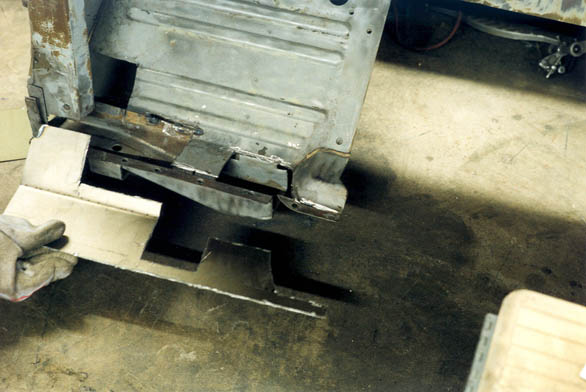
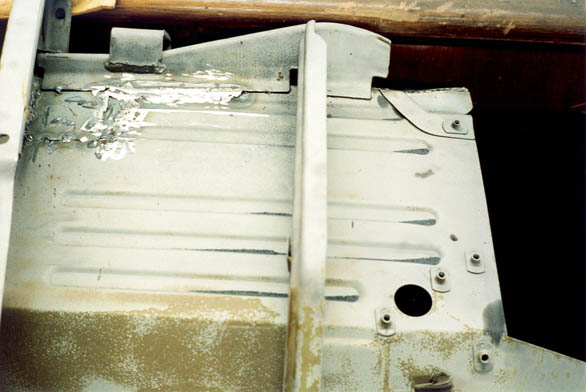
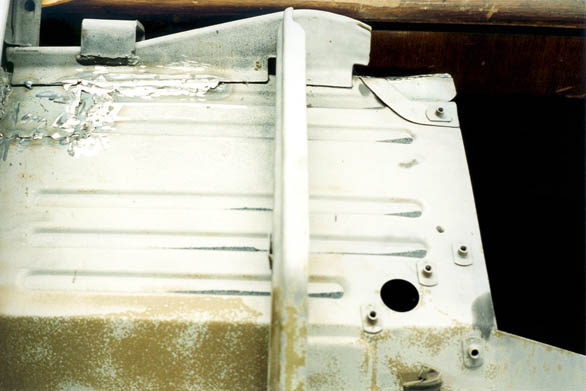
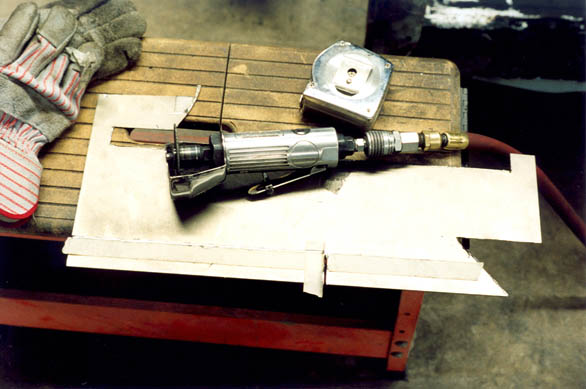
I cut the rotted sections out from the lower left of the driver's side of the bottom of the firewall.

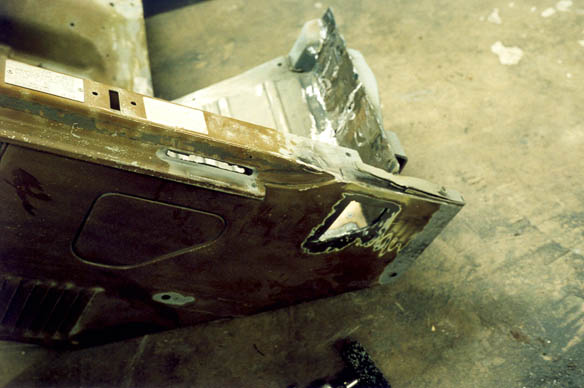
Below, you can see the fairly complicated piece of new metal I cut and bent to replace the section I cut out.
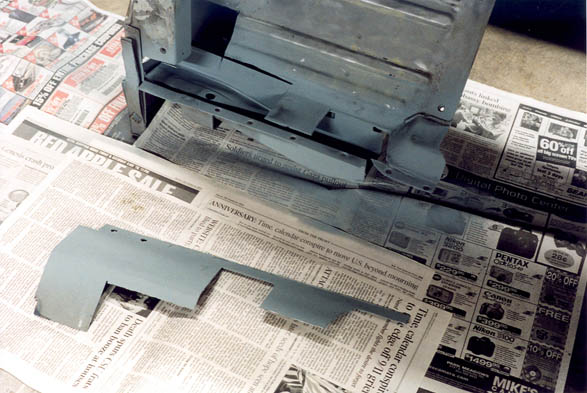
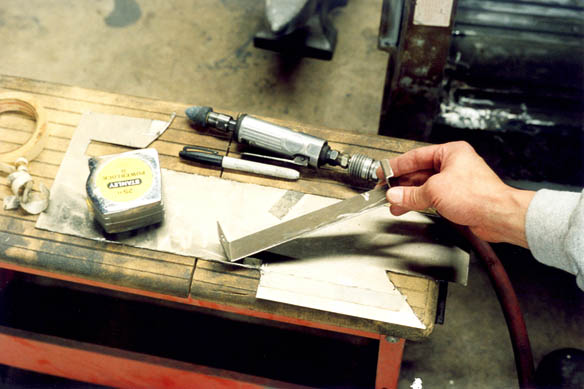
Both sides of the new piece, along with the entire area where it will be welded are painted with the zinc paint.
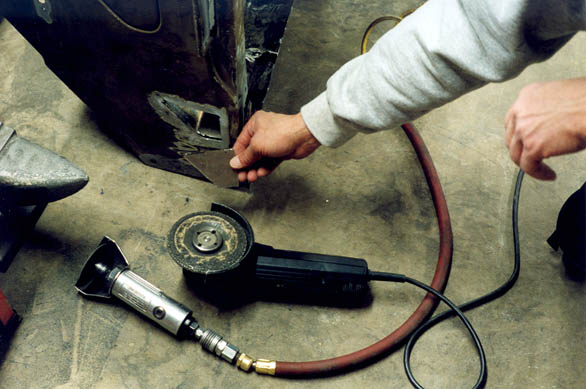
After welding the piece in, I flipped it over and welded some areas from the bottom, then ground down the excess weld.
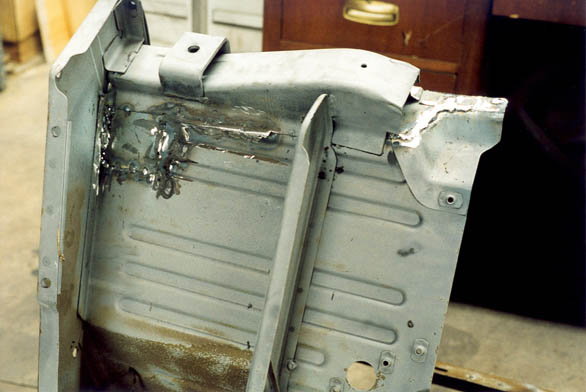
Then I flipped it back right side up and ground the welds from the top.
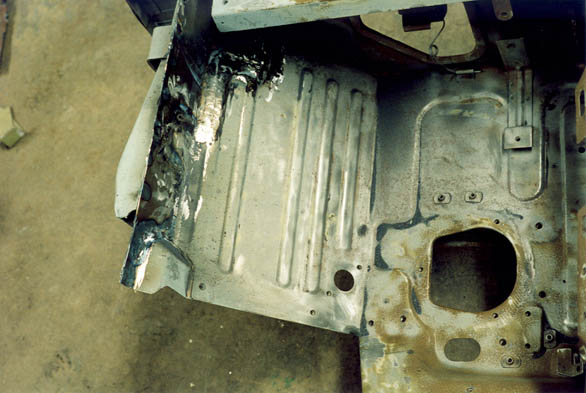
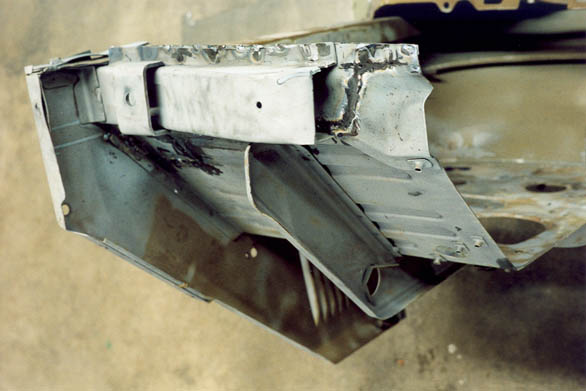
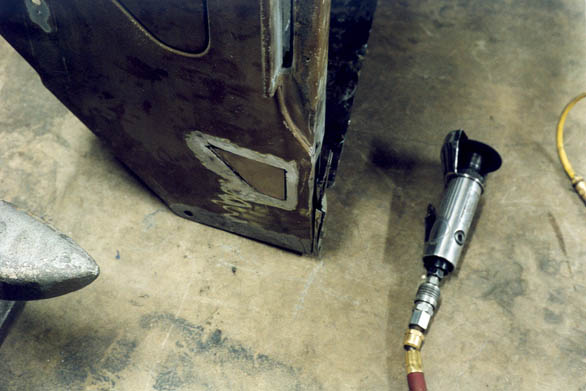
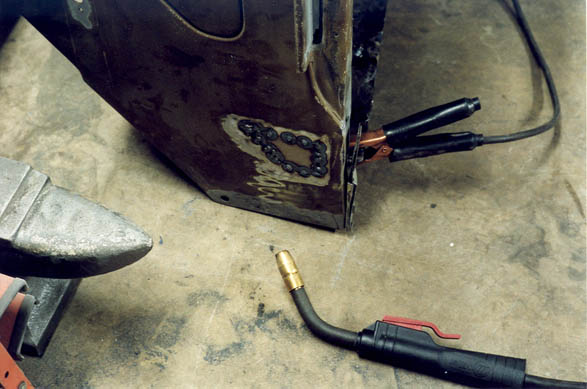
There was some cancer on the outside too, near the bottom. In fact it was this section that had originally led me to take the firewall off to begin with. So I cut that out too, then measure and cut a new piece to go in there.
The piece is held in place for welding with magnets from the back side.
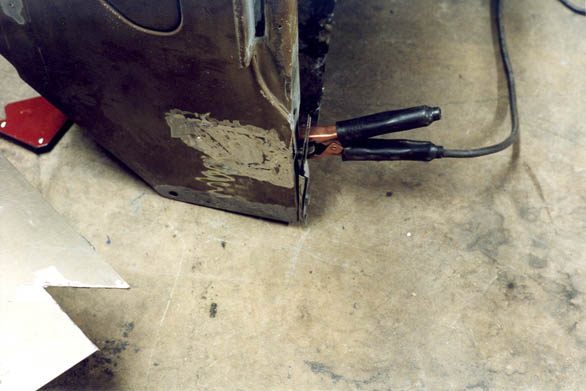
Next butt welds are spotted all around the seam.
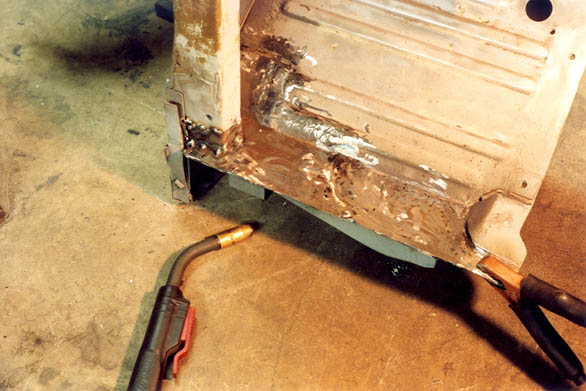
Last, the welds are ground down flush. I come back later with some body filler to smooth it out. Fill, sand, fill, sand, repeat until you can't tell it's there.
I had to add a section in at the bottom of the A-Pillar too.
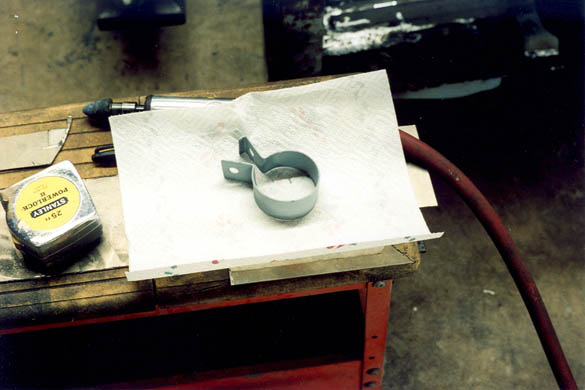
You can no longer buy the exhaust pipe clamps from Toyota, so I cut, drilled, bent and painted a replica to hold the tailpipe.
Page 1 2
3 4 5
6 7 8
9 10 11
12 13 14
15 16 17
18 19 20
21 22 23
24 25 26
27 28 29 30
31 32 33
home what's new cruiser links trail reports cruiser sightings land cruiser tribute tech tips photos maps band links misc links profile email