Early-mid summer 2000, the decision is made to go ahead and remove the cowl and firewall. Unexpected rust is found under the kick vents and it is decided, that it's this far, might as well do it up right.

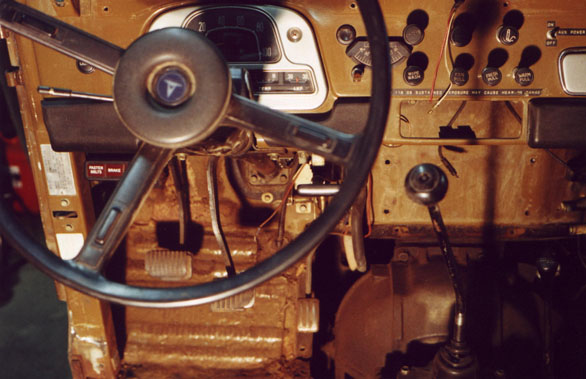

Before dismantling the dash and firewall, photos are taken to remember how everything is supposed to go back together.
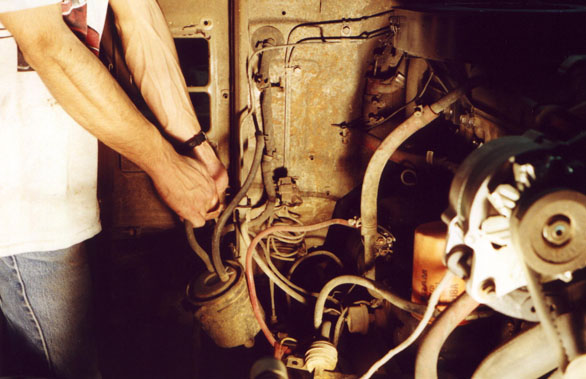
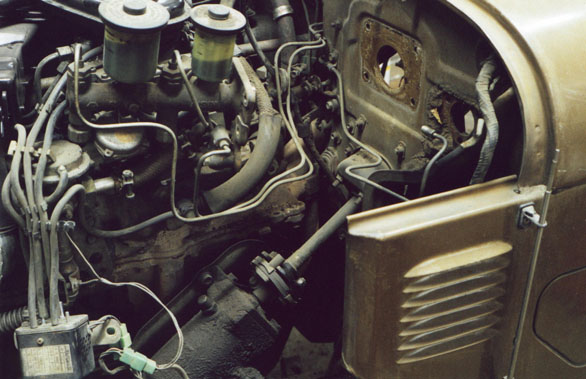
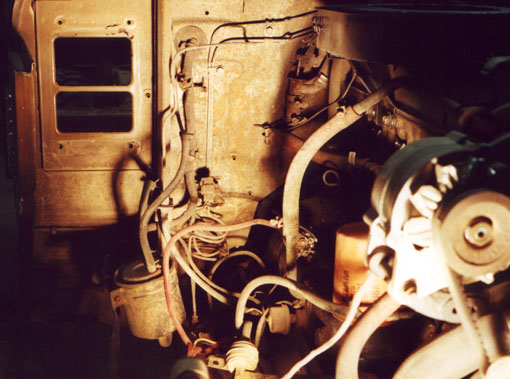
Another shot, this one of the driver's side front firewall. I sure hope I remember where everything goes back on!
With everything removed from the dash, the underside is next. Note all the ends of the harness have been labeled with markings on masking tape so I can figure out how to hook it back up.
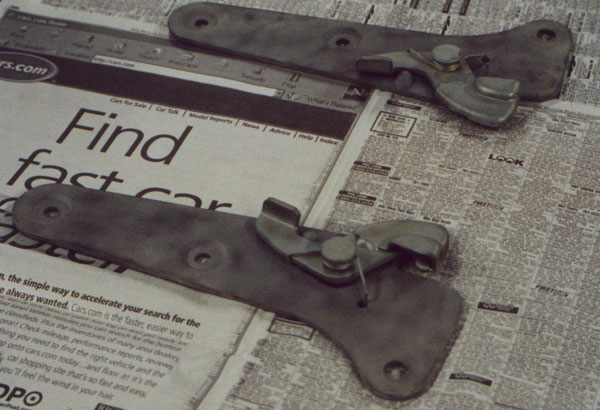

The seat brackets are refurbished. Top left is bare white metal after sandblasting. After a coat of zero rust, the bracket is masked off leaving the levers, top center photo. Top right is after painting the levers in silver. Bottom is finished product. These parts look brand new now.

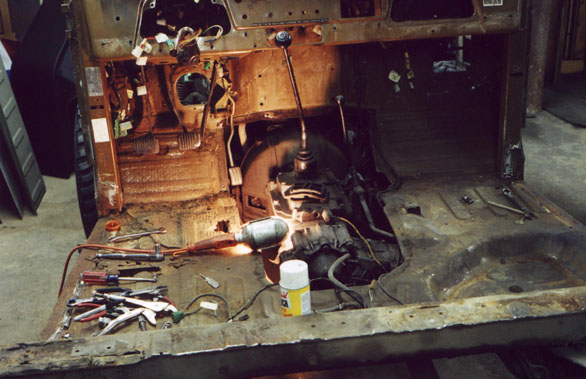
Front view after the cowl has been removed.
Cowl-less rear view.

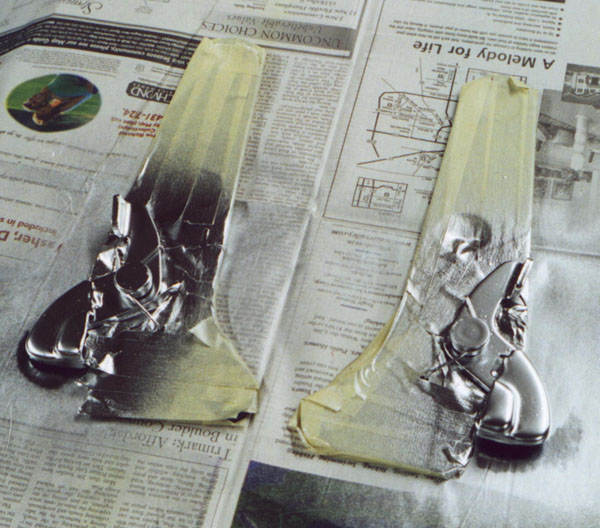
The Rancho RS5000s were used when I bought them from a junkyard over a hundred thousand miles ago. They were completely shot, no resistance to extension or compression whatsoever.
The rubber boots had been in place for however many years that was, and contrary to common "wisdom" the boots did not cause excessive rust by being installed. They have little drain holes in the bottom that seemed to do their jobs. The two in the middle that had a little more rust under where the boots were came off the front. I would have expected more from the rears, but that's what I found. Included in the complete OME kit I got are new OME shocks, so these are going in the trash.
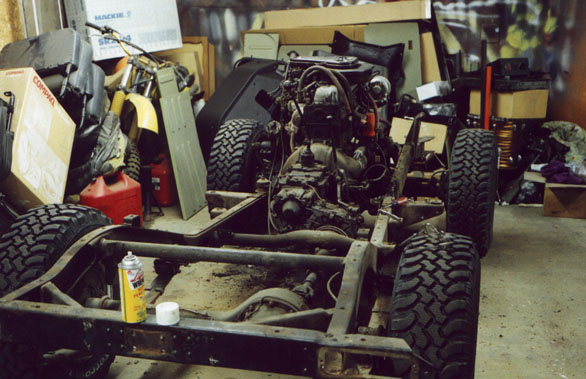
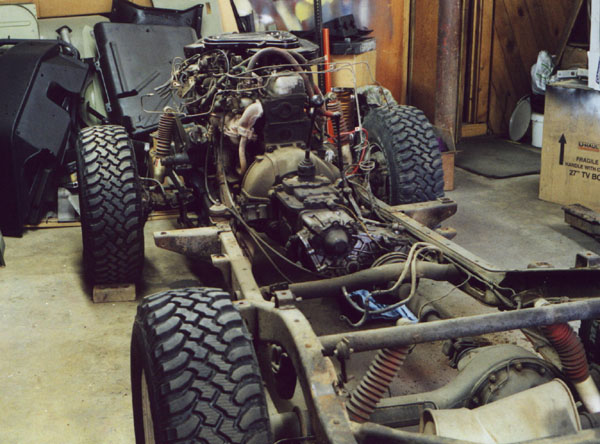
In this last photo of this series, the exhaust system has been removed, and the brake lines are next. The openings where the lines attach to fittings will be plugged up with rubber boots. After that will be the driveshafts, e-brake, t-case, tranny and finally the engine. These steps were completed during the latter part of summer, 2000.
Page 1 2 3 4 5 6 7 8 9 10 11 12 13 14 15 16 17 18 19 20 21 22 23 24 25 26 27 28 29 30 31 32 33