The Land
Cruiser Restoration Project
Page 1 2 3 4 5 6 7 8 9 10 11 12 13 14 15 16 17 18 19 20 21 22 23 24 25 26 27 28 29 30 31 32 33
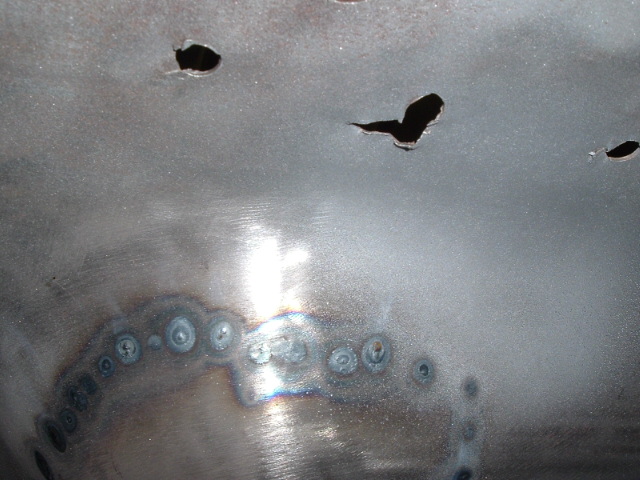
After grinding down the welds, it actually turned out pretty good. The welds had good penetration and once ground a bit, looked halfway decent. This was good practice. If these didn't turn out so good, at least no one can see these, being on the floor pan and all.


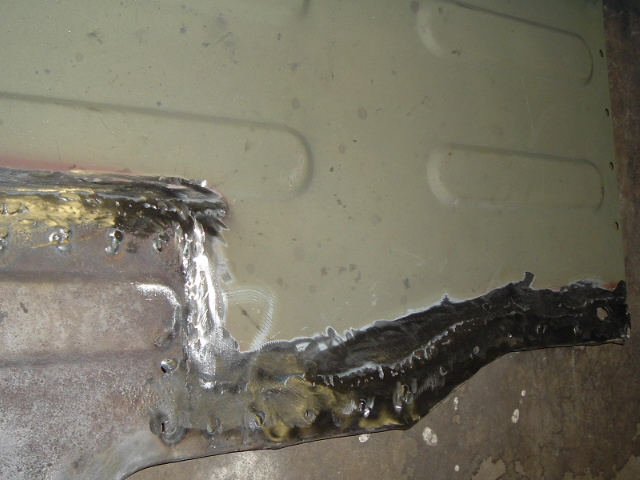
A view of the penetration from the underside. Not too much, just right.
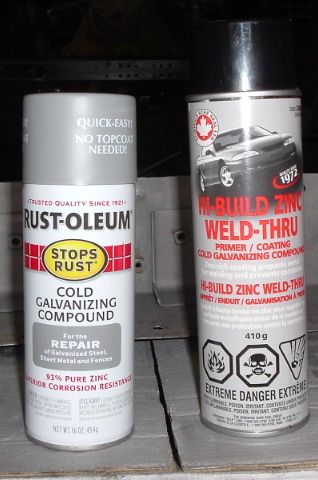
My body shop friends had suggested "weld-thru" primer to coat the inside surfaces of lap joints. Turns out it is almost the exact same stuff as regular Rustoleum zinc cold galvanizing compound. The Rustoleum cost half as much, and is available from the hardware store. Now that I have used both, including welding through both coatings, I can recommend either one.
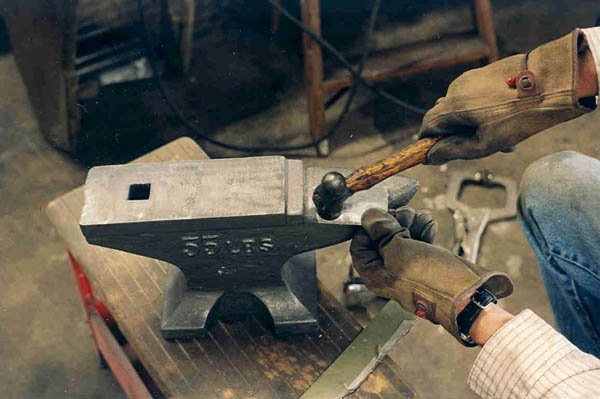
I feel like a true blacksmith here, except of course I'm not using heat. I knew I would need compound curves in the sheet metal to repair the inside corner whee the fuel tank sits, so I got an anvile on sale at Harbor Freight. After eyeing the shape of the repair, I decided to give it a go with three pieces. A few taps with the ball pien hammer and I start to shape the first piece. You can see it fits pretty well.

A view of it after tacking the first two pieces in. It's kinda ugly at first, but it gets better. And it's structural.

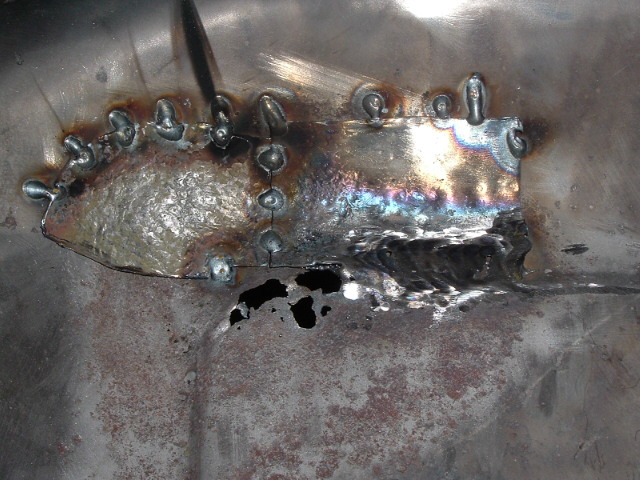
After the third piece is welded in:
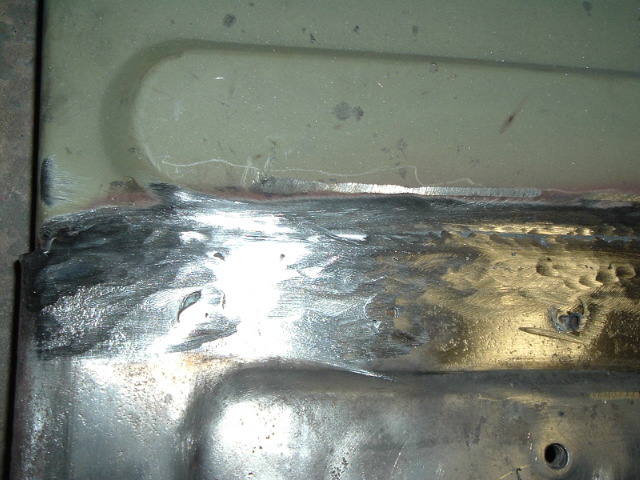
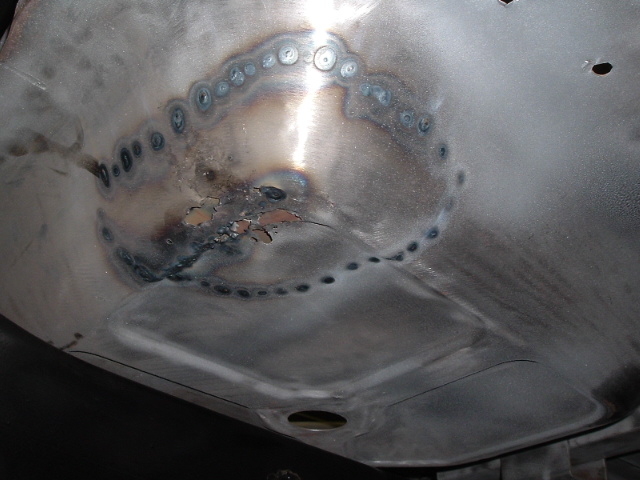
A close up. Note that instead of running a bead, I have been learning to make a number of smaller tacks. This reduces heat and warping, and once ground down, the gaps are easily filled in with body filler. This is then sanded down for a smooth finish. Final results of this will be shown on page 27. The bottom piece was made from some leftover 16 gauge from the CCOT floor pan, and still has their primer on it, sans where I tapped on the anvil. It looks a little ugly, but once ground down and filled, really works well.
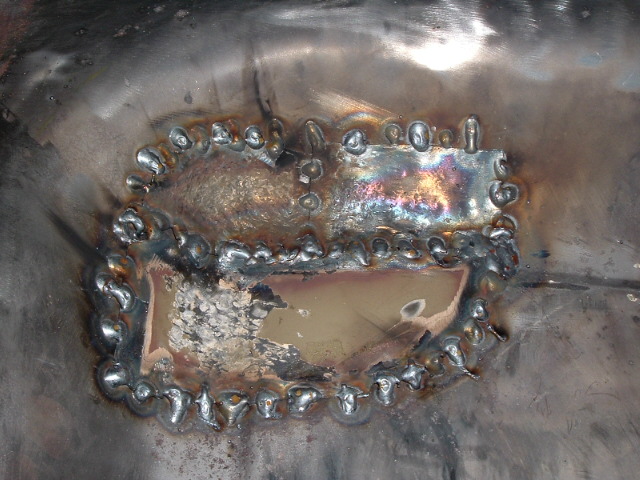
A view of the underside shows good penetration, but I have finally learned how not to blow holes through the underlying sheet metal. The perforated part of the underside in the photo on the right was left deliberately, so I could get the proper radius for the new parts above. Now that they are installed, the holes will be filled with body filler and sanded smooth, for a factory finish above and below. The other holes you see are from where I drilled through the factory spot welds for the rocker panels. When the new rocker panels are installed, I will use these holes to weld up through them, much as I did when I welded the new floor pan section on.
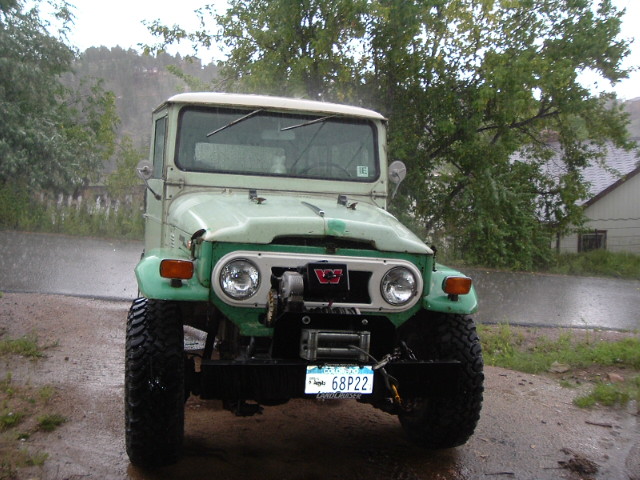
While I was doing this, my poor 71 had to be parked outside in a driving thunderstorm. Good thing they are Land Cruiser tough!
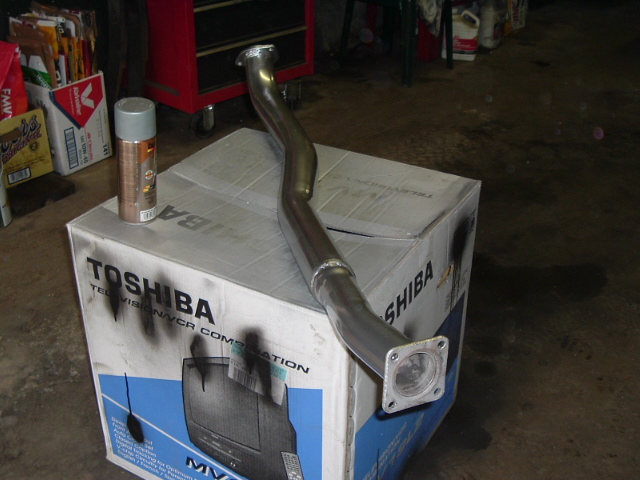
And somewhere in all this, I managed to put a couple coats of high temperature ceramic paint on my downpipe. The double walled pipes are made of unobtainium, and after I found out I couldn't replace it with either new or aftermarket, I sandblasted it and then painted it.

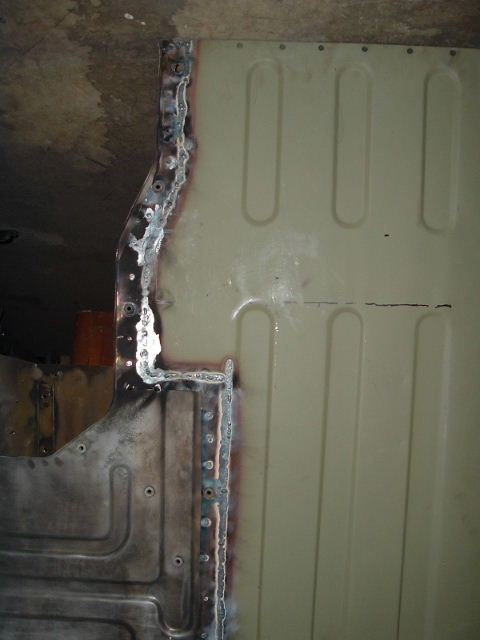
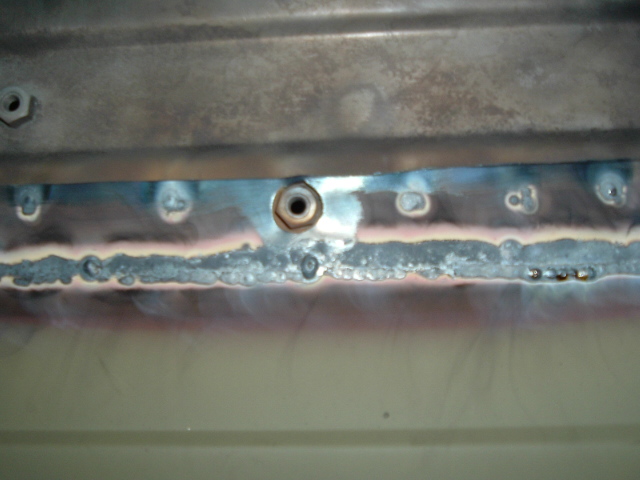
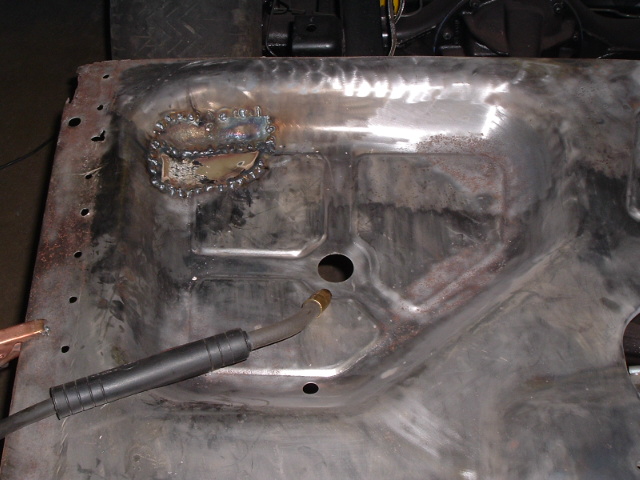
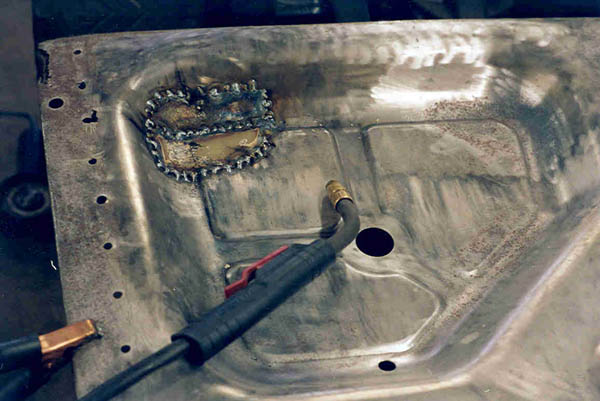
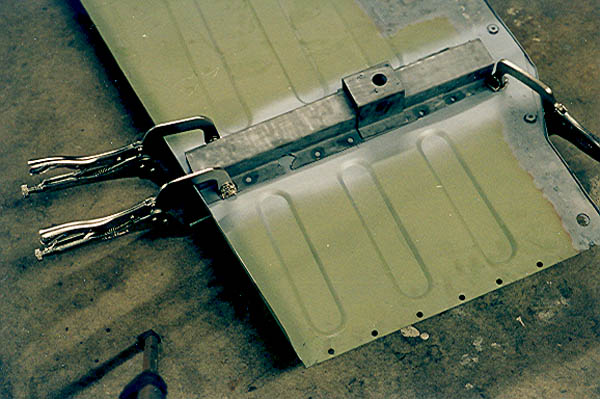
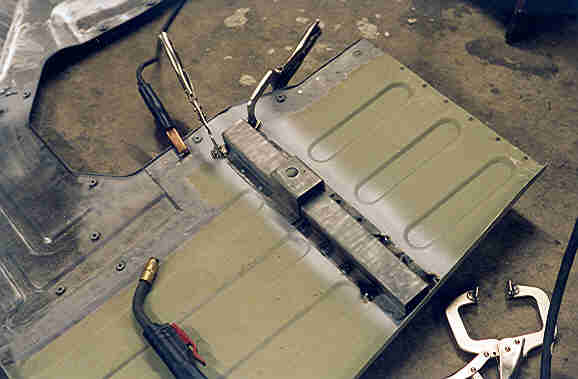
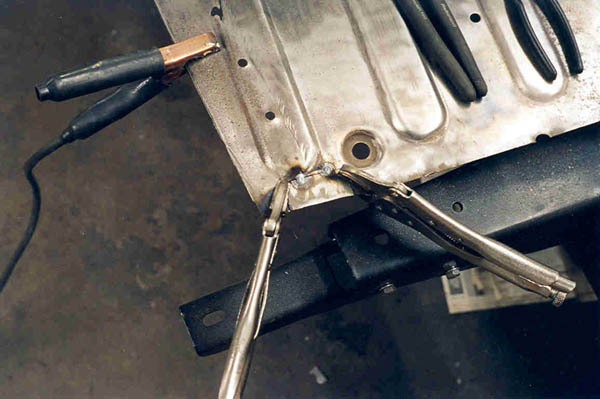
The next step was to double check the alignment of the body mount onto the underside of the new CCOT panel, clamp it and weld. Did I mention double-check? It seems to me that this is a VERY important alignment, and if I screw up I will either have to live with the consequences of cut it off and weld it back on right. So far so good!

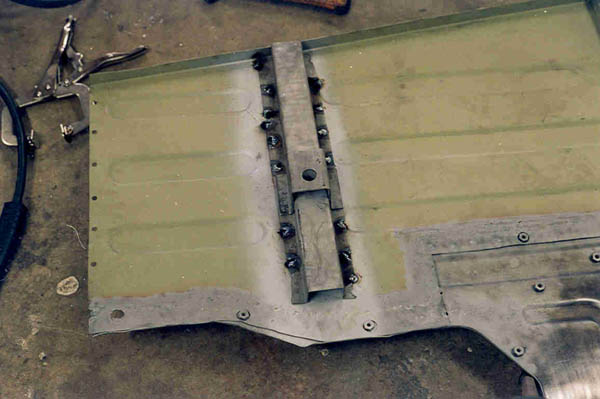
Below you can see the finished welds. This time I didn't get carried away, and only welded where the holes were. No warpage, good structural weld.
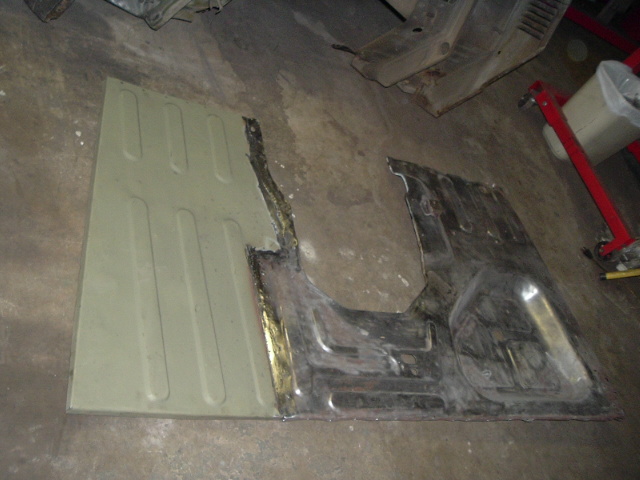
Next up is one of the rotted corners. I cut the old section out, then cut a new, matching piece from some leftover metal from the CCOT floor board. I sanded off the paint where I knew I'd be welding, then clamped it up with the vice grips. One the right hand side of the right photo below, you can see where I have ground down the beads from the previous patch in the corner.

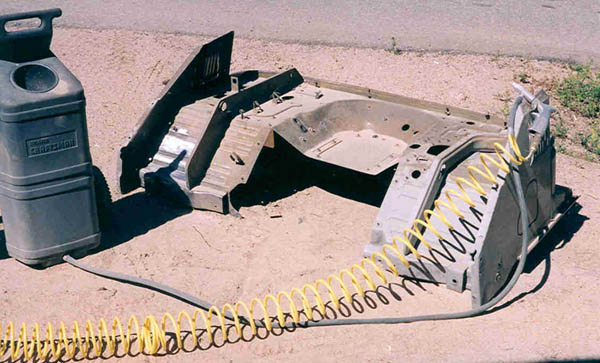
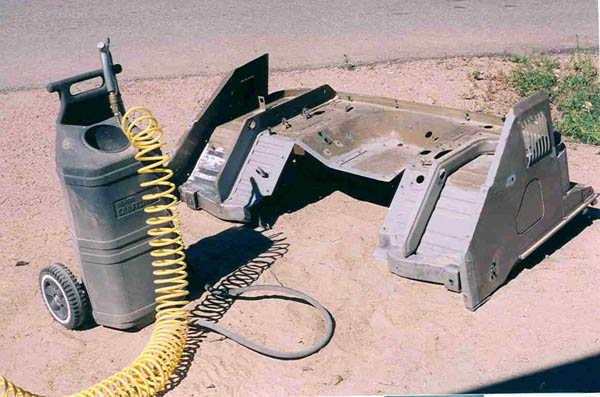
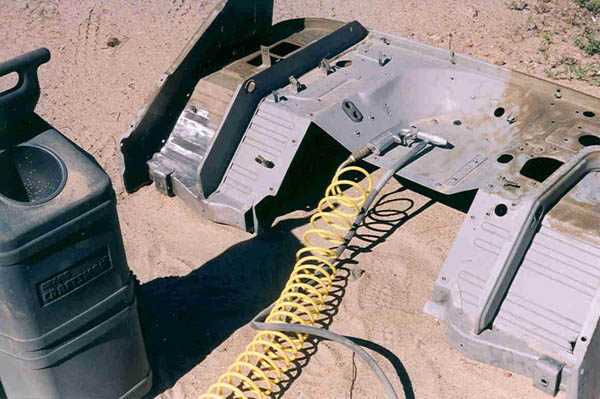
Over the following weekend, the weather cooperated and I was able to do some sand blasting on the underside of the cowl. While when I started this project I hadn't imagined getting into here, I am glad I did. This Land Cruiser is going to be as good as or better than the day it rolled off the assembly line at the Araco plant in Japan!
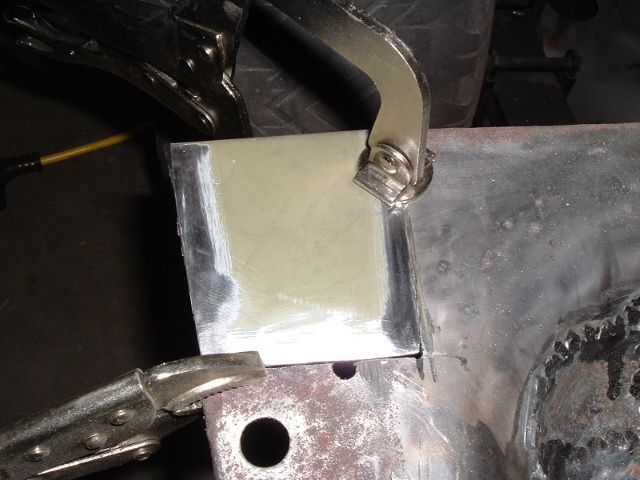
Another patched corner is below. This is the front, passenger side corner. This actual area would be invisible with the rocker panels installed, but it was rotted so I replaced it. The photo one the left is clamped up, ready to go and on the right is after putting a couple well placed welds on it.
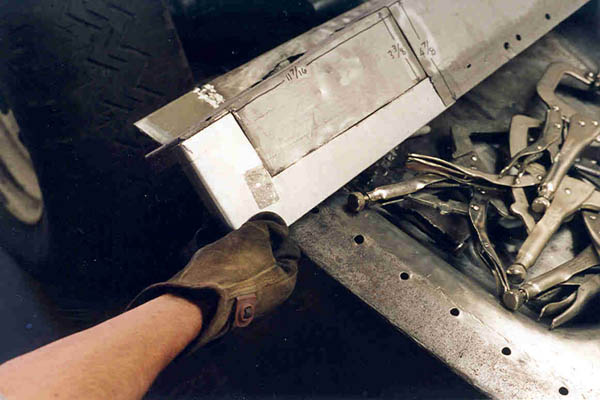
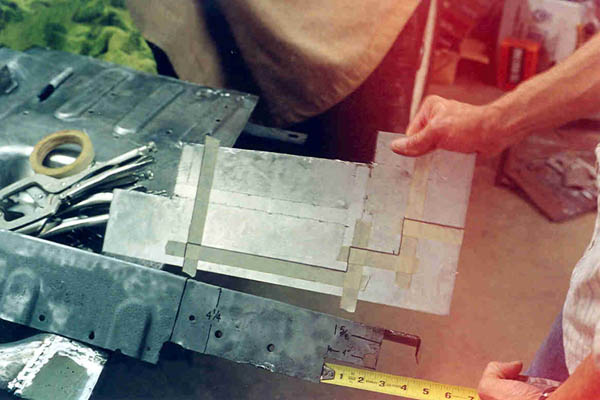
Next up is the parts of the box section. First, with masking tape I mark where the rotted part will be cut off. The tape helps make a straight line, and is easy to see through the goggles, even when they're gummed up with grime and debris.
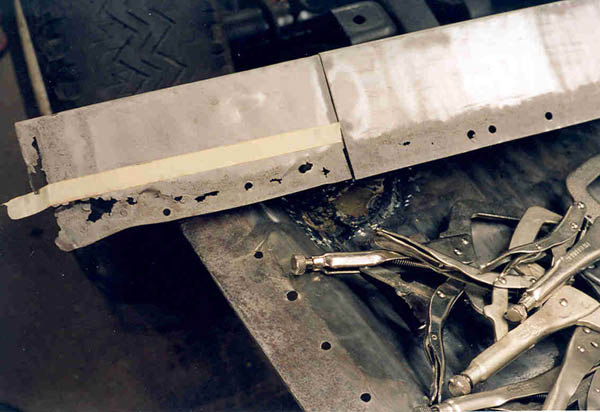
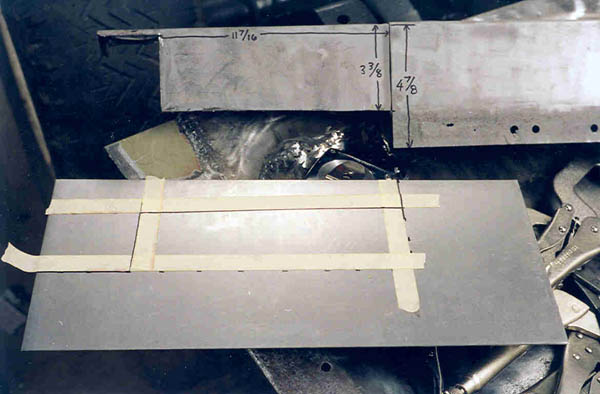
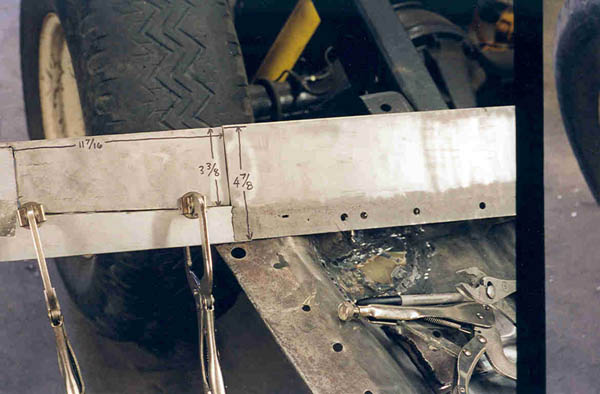
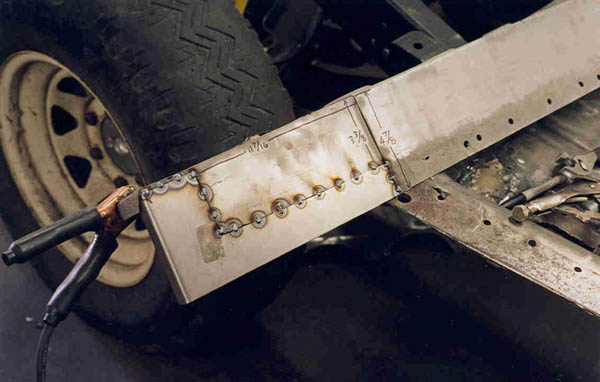
Careful measurements are taken, both of old and new dimensions, so that the replacement panel can be cut to fit. Then the new sheet metal is measured, marked and taped for cutting.
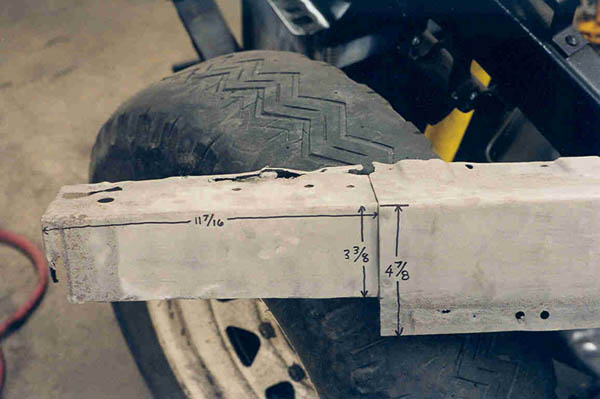
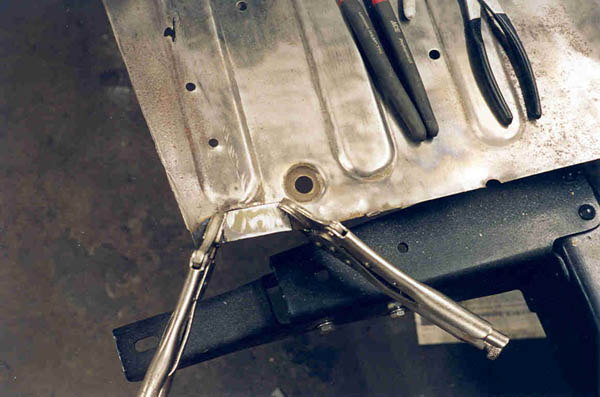
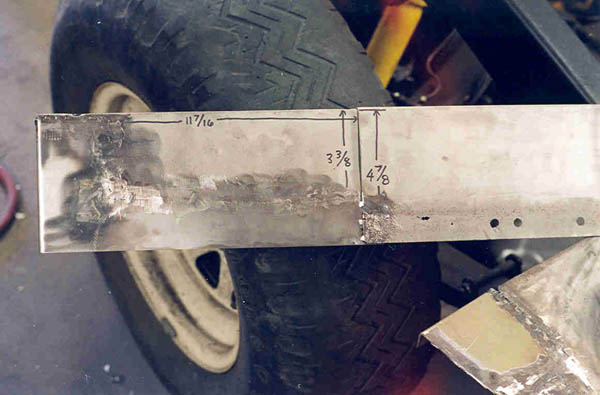
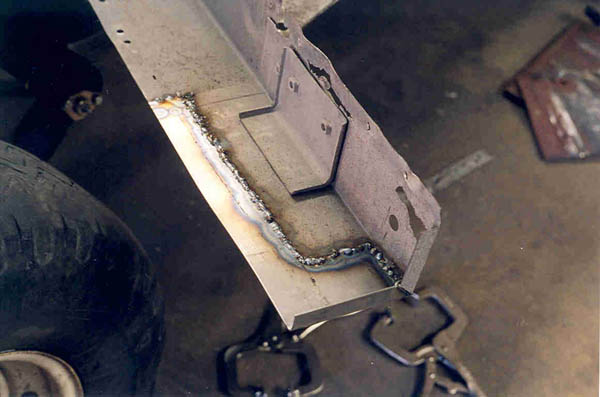
After making sure that the new piece fit perfectly, it is clamped up with the c-clamp vice grips. Note the 90 degree bend on the end which matches up with the original factory bend perfectly. After it is clamped, I carefully welded spots at intervals along the butt edge. I alternated where I welded so no one spot would get so hot as might cause any warping like I did with the floorpan. Eventually the entire edge is welded.
After a little work with the angle grinder, the spot welds are ground down flat and it will be ready for priming.
Here's what that piece looks like on the back side. Since this is on the inside of the box section and will never be seen, I left the welds as they were and didn't grind them down.
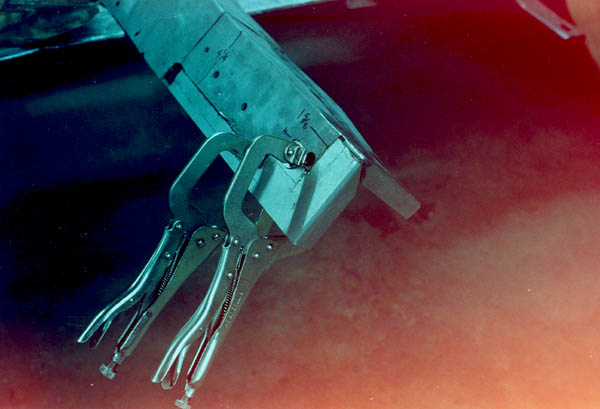
The next piece is a little more complex, with several diferent cuts and measurements. Once again, after cutting measuements are double checked, then it is clamped up for welding.
Page 1 2
3 4 5
6 7 8
9 10 11
12 13 14
15 16 17
18 19 20
21 22 23
24 25 26 27
28 29 30
31 32 33
home what's
new cruiser links
trail reports cruiser
sightings land cruiser tribute tech
tips photos maps
band links misc links
profile email