Page 1 2 3 4 5 6 7 8 9 10 11 12 13 14 15 16 17 18 19 20 21 22 23 24 25 26 27 28 29 30 31 32 33
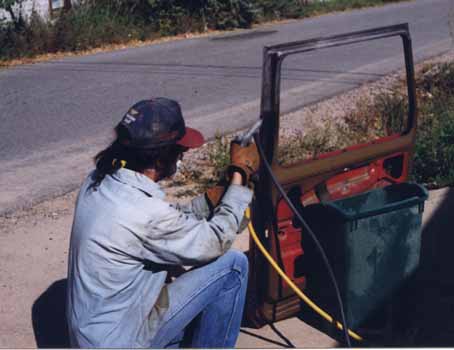 There's a heck of a lot of sandblasting involved with this project. This is the driver's side door. My driveway is starting to look like a beach!
Hint: I found that the gummy adhesive used for the rubber weatherstrip is VERY difficult to scrape off. So I discovered that if you torch it, it turns to carbon and can be easily sandblasted.
 Here are a few parts that were sandblasted and are ready for painting. Actually the headlight bezel has been sanded and finished with a wire wheel after blasting, and that's why it looks shinier. Also on that box are hood hinges and hold downs, front license plate holder, heater hose cover, just a whole slew of stuff. As of this writing all that stuff has been primered. I found that bare, white metal rusts really fast, so it's important to get a coat of paint on it quick. If you look closely at the enlarged full sized image, you can also see some of the parts in the background that have already been painted, such as the center console and fuel filler cover. The pea-green parts are the Tremco-primered parts from CCOT.
 Before I totally disassembled the tub I thought it might be a good idea to measure the locations of various mounting holes. Everything from seat brackets to rear heater to fuel tank cover. There's a LOT of parts in a Land Cruiser! I figured anything more precise than +/- 1/8" was a waste of time, so that is the precision in this hand drawn picture.
 Using an air powered high speed cutoff wheel, the quarter panels are cut just below the lip at the top, 1/8". The top lip will be reused and welded to the new quarter panels from Cool Cruisers of Texas. Most of the complex lips will be reused also, such as the top of the rocker panels.
 After the cut is done on both sides.
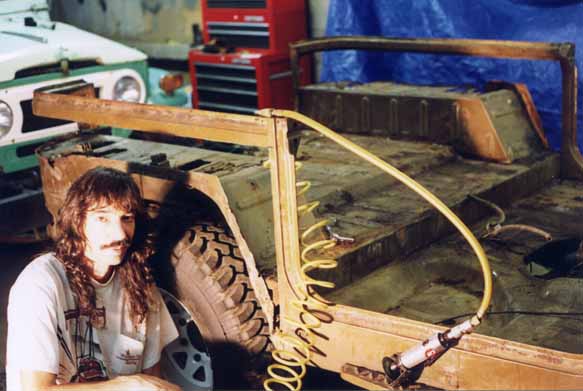
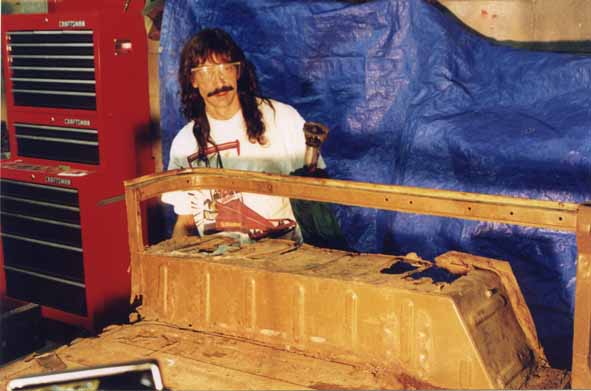 Mugging for the camera...hey, I worked hard on this thing! And there's still a heck of a lot of work to go too!
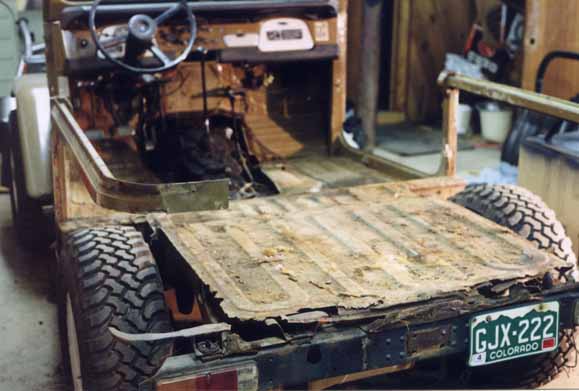 After the fender wells are out. They weren't held on by much, but the last little bit had to be cut with a cold chisel. Probably could have used an air hammer...you can see how bad the rear bed is rusted in this shot too.
 Here's a close up of the quarter panel lip.
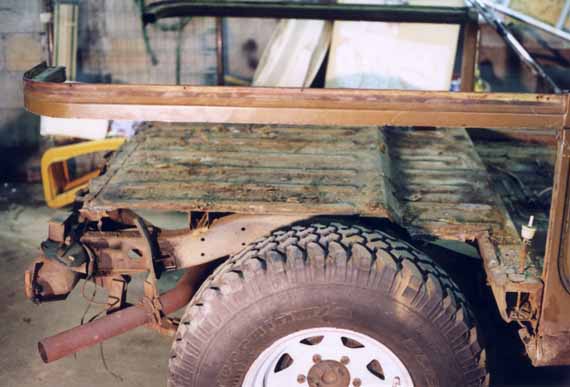 Side view with the wheel wells out.
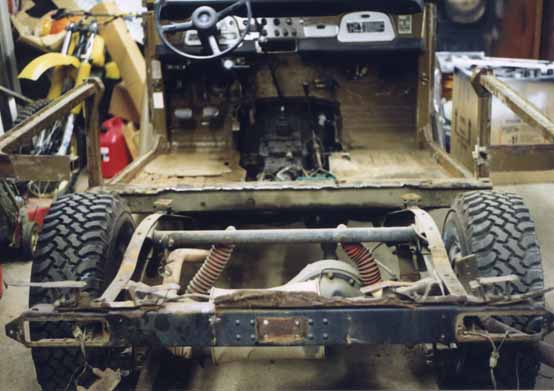 Finally got the rear bed off, revealing the rear portion of the frame. One of the two bolts for the body mounts refused to budge and had to be cut off.
Page 1 2 3 4 5 6 7 8 9 10 11 12 13 14 15 16 17 18 19 20 21 22 23 24 25 26 27 28 29 30 31 32 33