Page 1
2 3 4
5 6 7
8 9 10
11 12 13
14 15 16
17 18 19
20 21 22
23 24 25
26 27 28
29 30 31 32
33
The Land
Cruiser Restoration Project
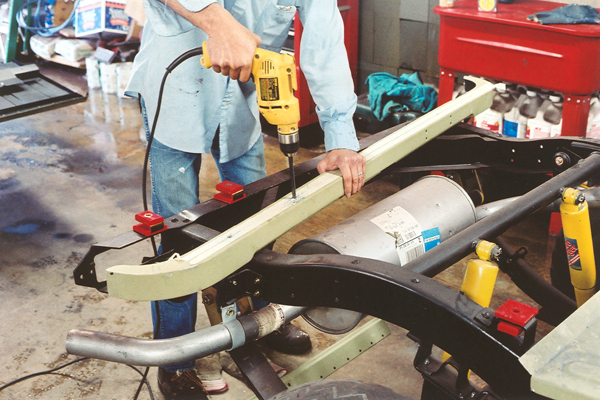
Below, after welding in the channel, I drilled the two large holes through the bed where the body mounts will go.
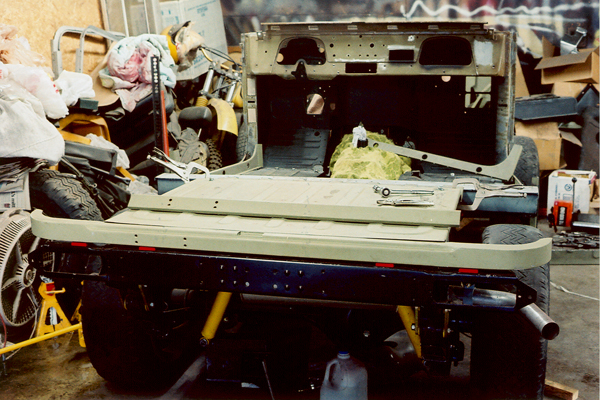
Next, a test fitment with the mid bed and the rear sill.
After sand blasting the old rear channel, I painted it with weld through primer. On the box, drying in the background are the heat shield mounting brackets, also sand blasted and coated.
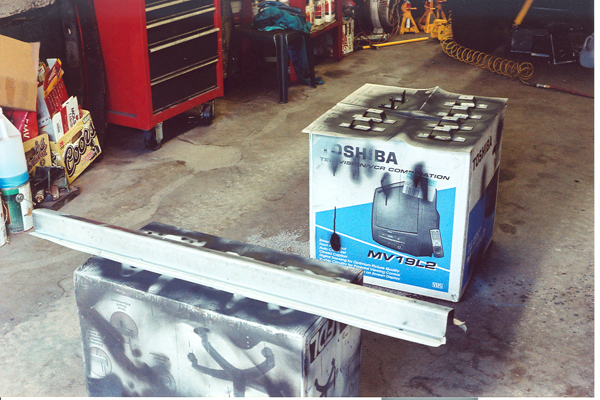
After drilling holes for the welds, the channel is lined up and welded to the rear bed. Note that this channel doesn't actually mount to the frame, it simply rests on thick canvas-like pads on pads on the frame rails.
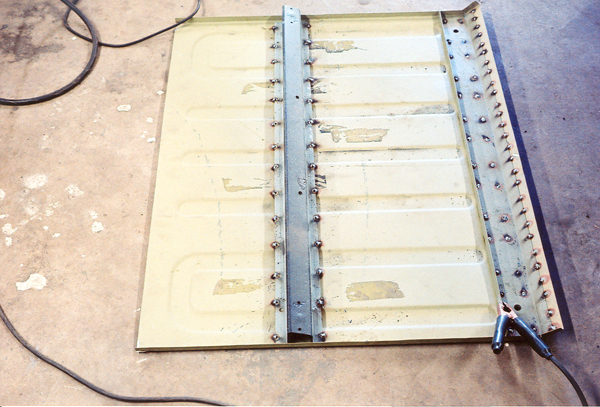
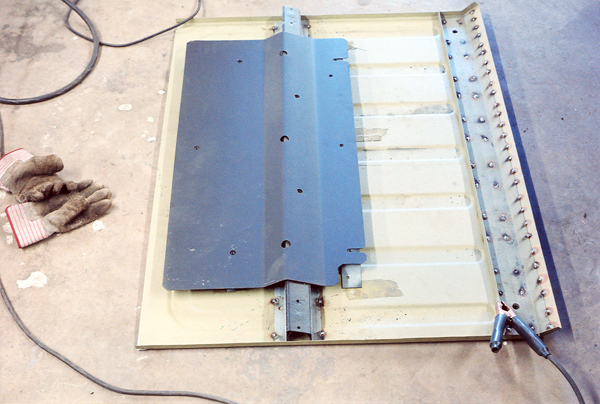
Next was a little tricky: The 6 heat shield brackets needed to be welded on in precise alignment with the mounting holes in the heat shield. This photo shows the alignment process. AFter they are lined up, I used a marker to mark the position and orientation of each one so when the moved a alittle when the heat shield is taken off, they can be repositioned for welding.
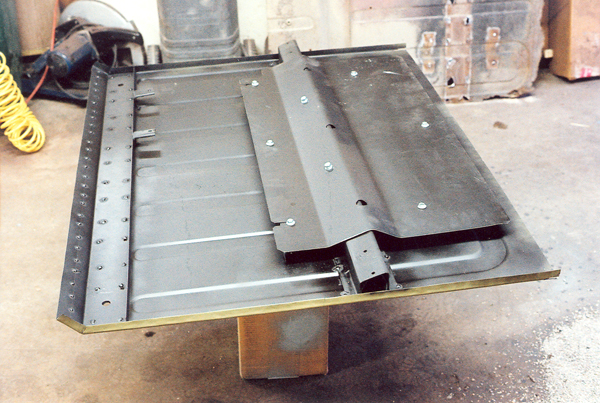
After welding:

Next, the entire underside is given a thick coat of zero rust and the heat shield is bolted on.
The 4 rear body mounts are lined up on the rear frame crossmember and then the rear sill is marked and drilled for the body mounts. Then the rear channel is bolted to the body mounts and the rear bed is laid carefully on the channel and lined up with the mid bed and clamped for welding. At this point the mid bed is not yet welded to the box secion, I wanted to make sure everything lined up with each other and with the body mounts.
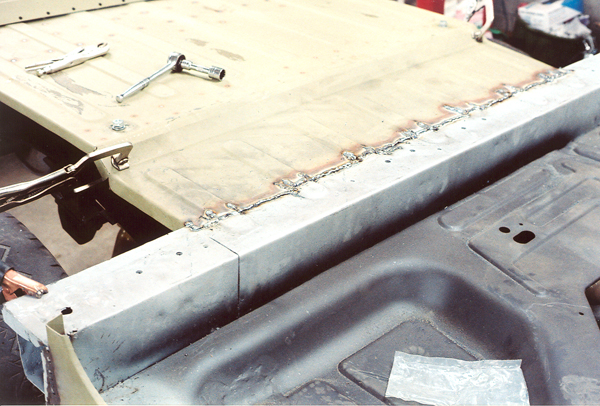
After bolting the rear bed to the body mounts, the mid bed is aligned and welded to the rear of the box section. After that, the rear bed is welded to the mid bed.
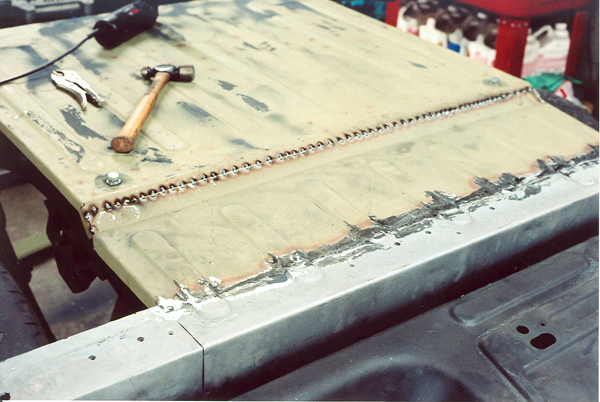
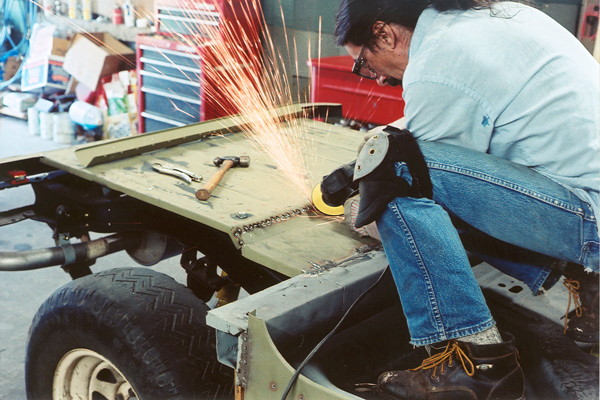
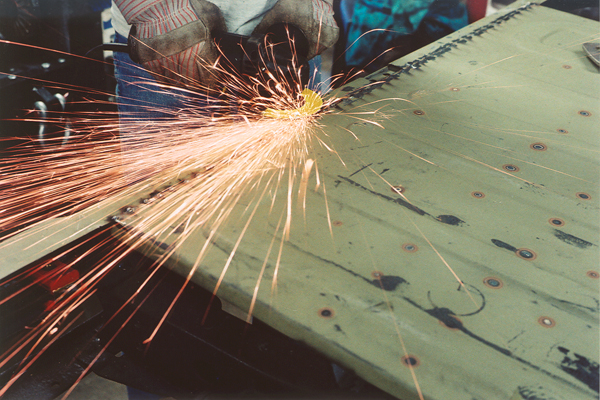
There was a lot of grinding to get all the spot welds ground down flush. Prior to paint, all the gaps will be filled with body filler and sanded down flat.
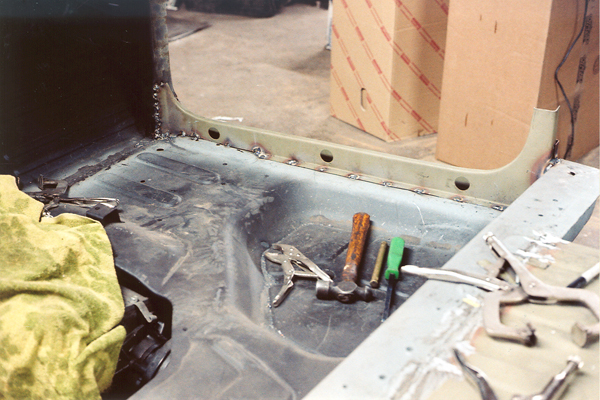
Another view of the inside, passenger side rocker panel.
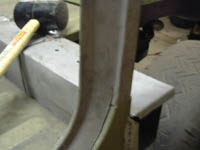
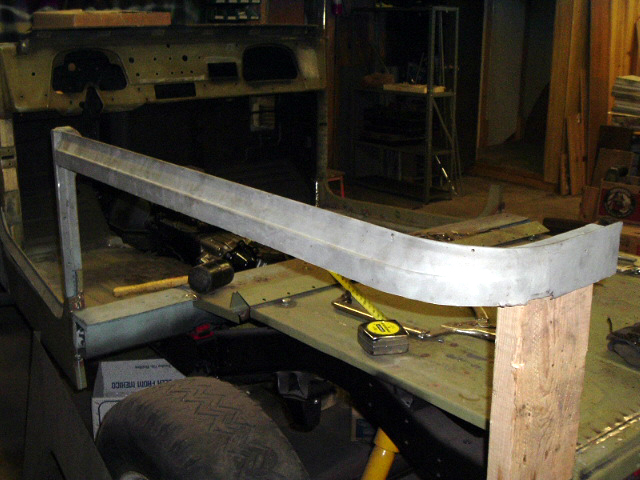
Almost a year later, after a number of fairly significant projects on both my 71 FJ40 and my 78 FJ45, I resumed work on the 76 resto. I had consulted with CCOT, and they advised that the next step should be installing the lips to the rocker panels along with the b-pillars to the top rear of the rockers. Since the location of the b-pillars relative to everything else was rather critical, I took my time and great care in making sure everything fit and lined up. It *looked* pretty good, with the bottom of the b-pillars lining up with the top rear of the rockers.

Almost as an afterthought, I decided to cross check the location of the b-pillars relative to everything else, with my 71 FJ40 parked directly behind the 76. The vertical measurement was perfect, but to my shock and horror, the distance from the a-pillar was too short by at least 3/8"!!
So I moved it back until it had the proper distance from the a-pillar, and what you see below is the result.
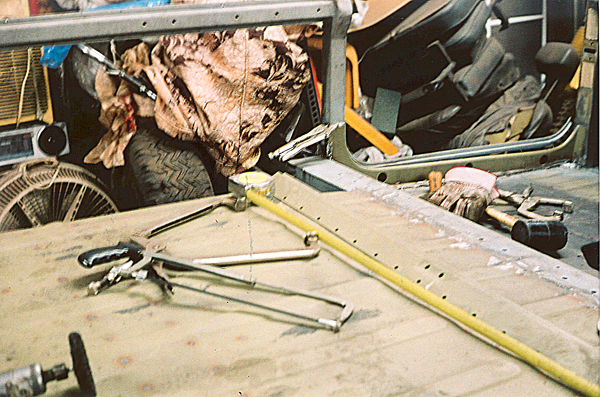
I spent a lot of time fooling around with the alignment: clamping, measuring, unclamping, adjusting and re-clamping. I used a pieces of scrap 2x8 wood to hold up the rear of the lip above the rear sill.
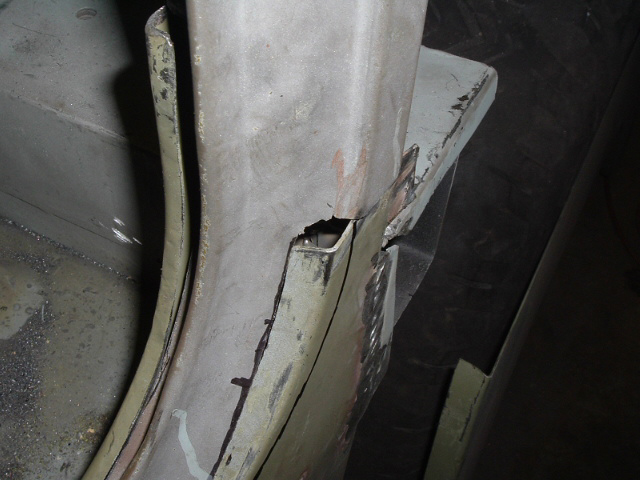
When I lined it up, it fit perfectly, but it was just too short. I even measured the door that came off it, then measured the door of the 71, thinking they might be a little different, but they had identical dimensions between the a-pillar and b-pillar.
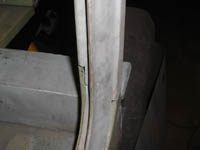
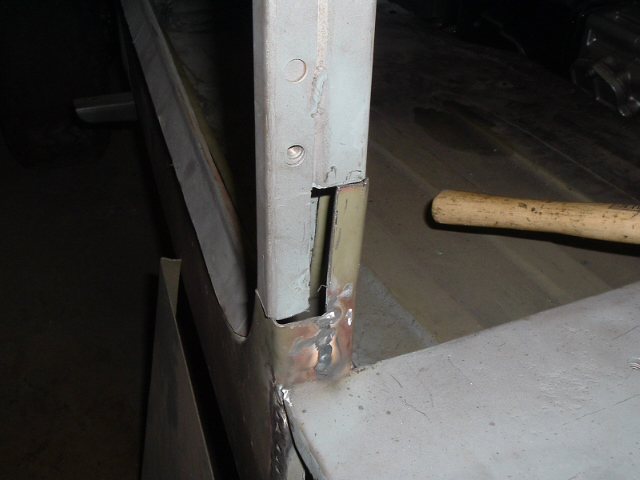

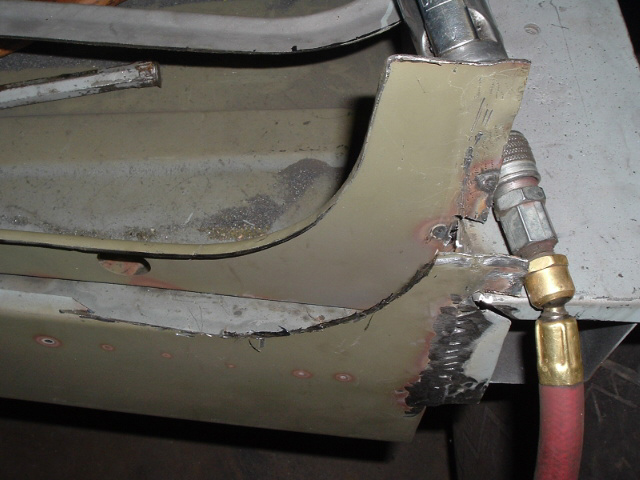
In order to maintain the proper vertical dimension for the b-pillar, and yet keep the bend in the rear outer rocker, I cut and ground the lower rear of the lip, resulting in the fitment you see below. In order to get the proper contour for the door weatherstrip to seal properly, and the door to close proper, I will have to cut a cresent shaped piece out of the rear of the outer rocker, and then graft in a piece that has the proper angle. This part of the project has suddenly become much more complicated than any of the previous parts. But I think I have enough metal fab experience by now to figure out what to do and how to do it.
Below is what the inside looks like. This will be much easier to deal with, as it won't have the door weather strip sealing up against it. I will fab a small tranistion piece and weld it in once the outer section is dealt with.
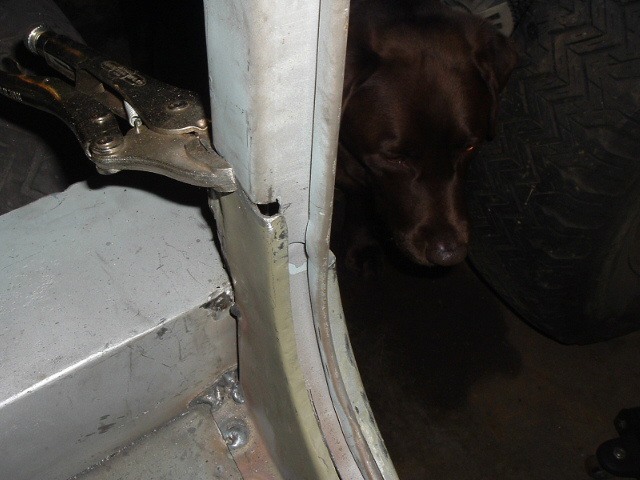
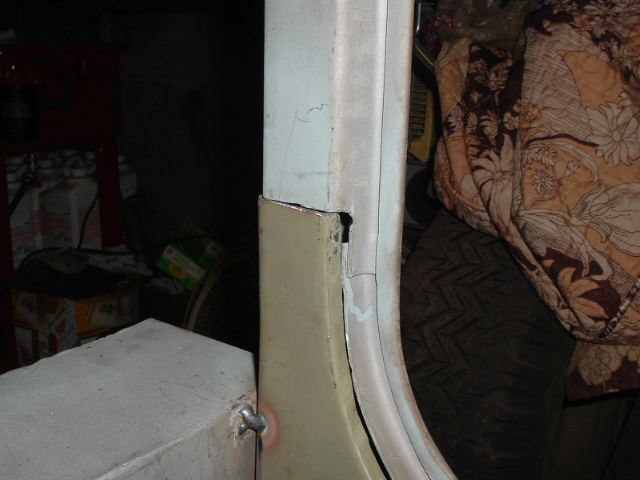
Below, you can see where I've marked with a sharpie where I will cut. The line follows where the angle for the door closure needs to be.
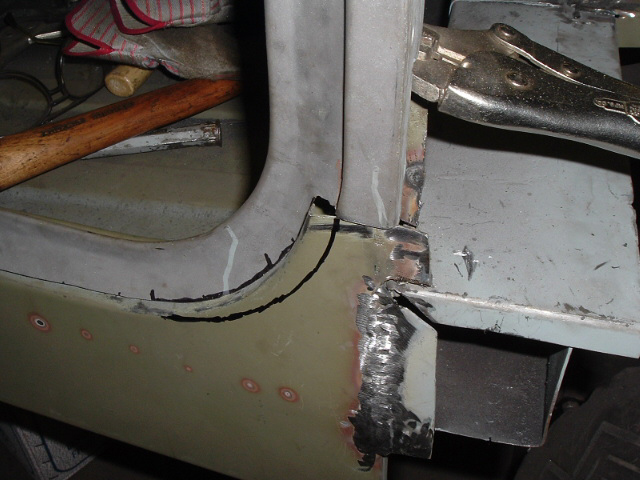
Below, I took the piece I cut from the rocker and pound the angle out on the anvil. My hope is that I can use this piece to weld back in for the angle part of the outer rocker.
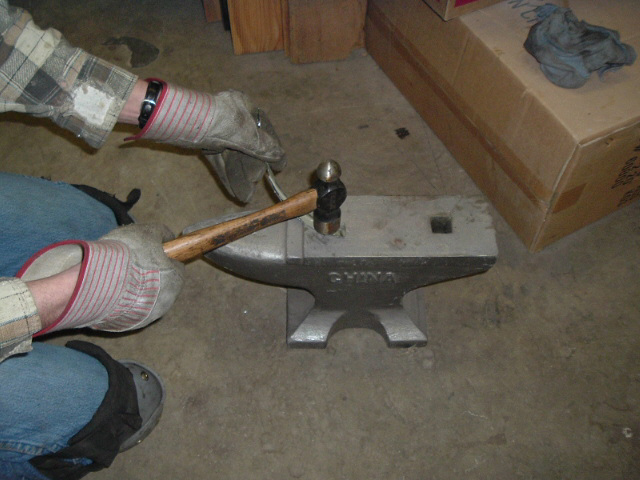
Unfortunately, after the angle is pounded out, the curve doesn't match up so I'll have to cut a custom piece with a little smaller radius, then weld it in. Rats! I was hoping to get the lips all welded in before Cruise Moab 2007, but it wasn't meant to be. The project halts again, as it does every year just before Moab, to get the 71 ready: it will get new brakes and a knuckle rebuild. I also had to modify the 3 speed skid plate to fit under the 4 speed bellhuosing dust cover before it would fit properly.
Page 1 2
3 4 5
6 7 8
9 10 11
12 13 14
15 16 17
18 19 20
21 22 23
24 25 26
27 28 29
30 31 32 33
home what's new
cruiser links trail
reports cruiser sightings
land cruiser tribute tech
tips photos maps
band links misc links
profile email