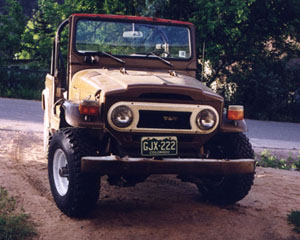
The Land Cruiser Restoration Project
Resto Home Page
Page 1 2
3 4 5
6 7 8
9 10 11
12 13 14
15 16 17
18 19 20
21 22 23 24
25 26 27
28 29 30
31 32 33
On the last page of this knuckle rebuild series, I also continue to work on the differentials. This is more than a knuckle rebuild, this is a complete frame up, and I work on the rear axle too, since I am swapping the front (less worn) diff into the rear, installing a lock right into it, and moving the rear diff into the front.
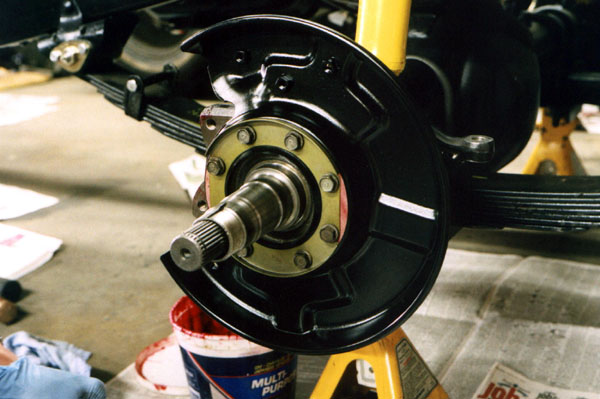
In the photo below, I tighten the bolts on the backing plate retainer. As the last photo of the previous page shows, I use a pin punch to align the holes of all the parts and gaskets that must be aligned for the bolts to go through. After the first couple bolts, the pin punch is withdrawn and the rest of the bolts are installed.
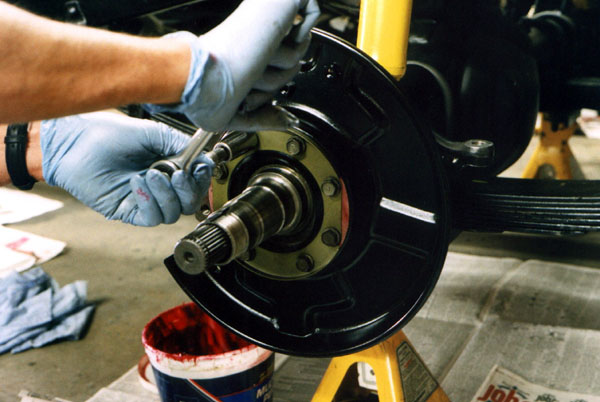
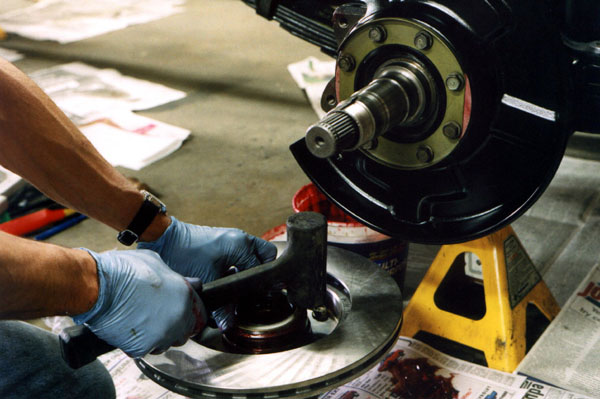
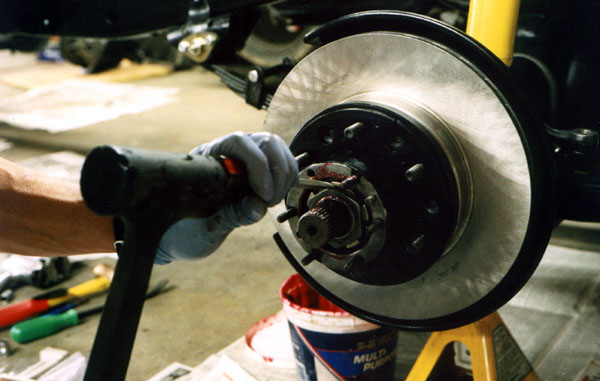
In the photos below, you can see how I forgot to reposition the camera to show the work I was doing at the lower left of each shot. Not shown well but but described here are are showing off the nice new OEM rotor, then packing the inner wheel bearing with grease, then bolting the rotor on to the hub with the torque wrench.
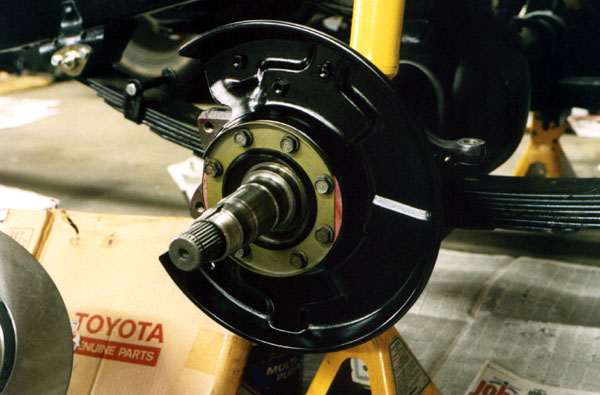
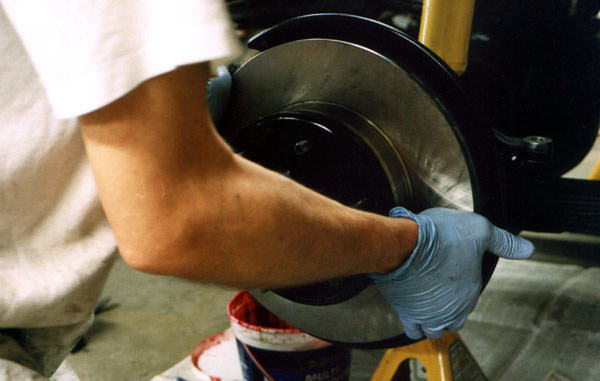
Next, below, I drive the new inner grease seal into the hub with my soft face lead filled rubber mallet, mount the hub/rotor assembly onto the spindle and then pack the outer wheel bearing with grease.
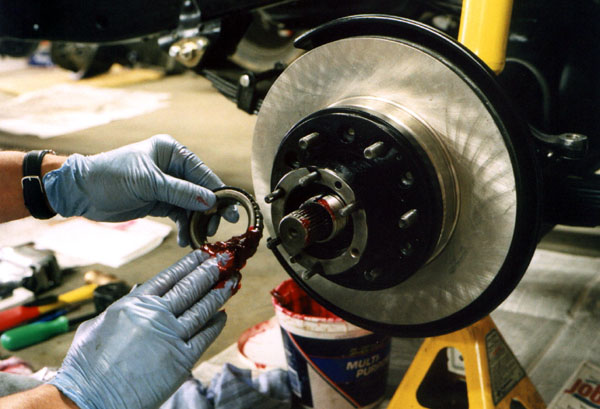
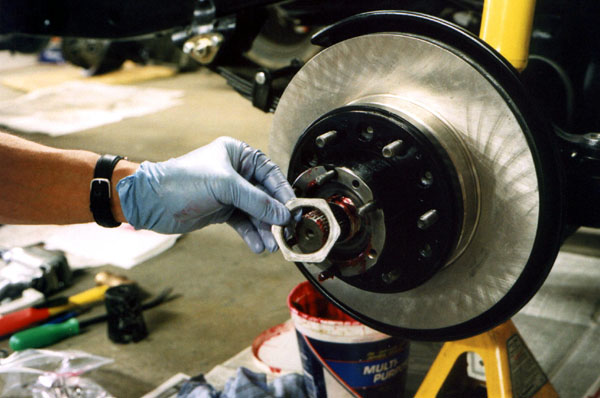
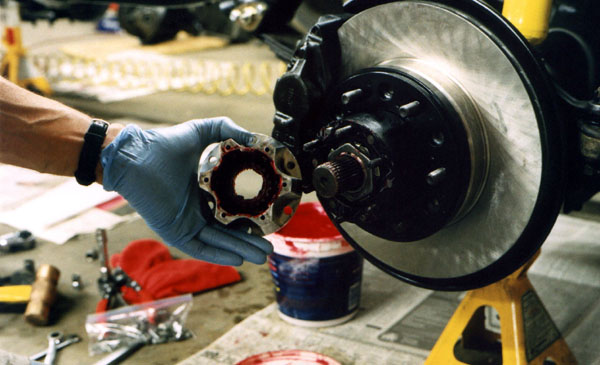
The keyed bearing retainer goes over the spindle up against the outer bearing race. Next the adusting nut threads onto the spindle.

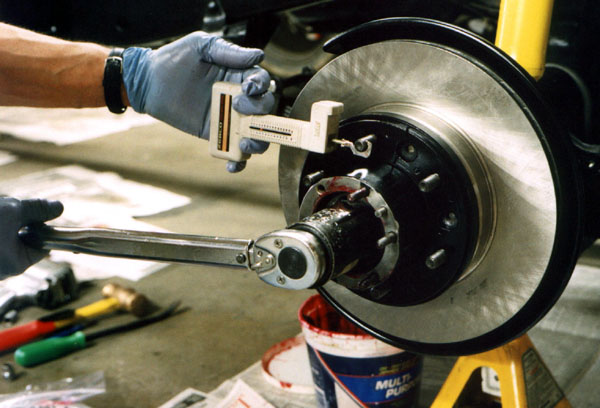
Below, you see how the torque wrench and fish scale are used together to gain proper preload for the wheel bearings. I have learned a couple of pointers from pros over the years, that add to the good advice and technique described in the Factory Service Manual. One of the fundamental things about this procedure is that the preload is more important than the torque of the adjusting nut, although it is best when both are in spec.
The preload is measured from the wheel lugs, perpendicular to an imaginary line drawn from the axis of the axle and the center of the stud. The factory manual says this should be between 6.2 and 12.6 pounds with the fish scale. It says to get there, you should tighten the adjusting nut to about 43 foot pounds, then back off and then retighten to 2.9 to 5.0 foot pounds, then measure for preload. Haynes says to "tighten the adjusting nut to snug the bearings" then back off 1/8-1/4 turn or so, then retighten. After talking to pros about this and done it myself a few dozen times, my own take on it is that you need to be sure the bearings are snug but not over tight. Over tight would lead to premature wear, maybe overheating and failure. Too loose would be wobbly and probably also result in premature failure.
So when you need to do this procedure in the field (as in birfield repair), remember that you want to be able to tug on the wheel stud and feel about 6 and 12 pounds of resistance to hub rotation. You need to keep turning the hub while you snug the adjusting nut, this makes sure that you are displacing all but a microscopic film of grease between the bearing rollers and their races. Once you get to this preload, back off on the adjusting nut an eight turn or so, then tighten back down about the same amount while turning the hub. This makes sure that the bearing preload will hold up properly under all expected temperatures and driving conditions, and the bearing preload will still be within specifications. After you have done a bunch, you get a pretty good feel for how much force it takes to turn the hub and where to stop and then back off and back on the adjusting nut.
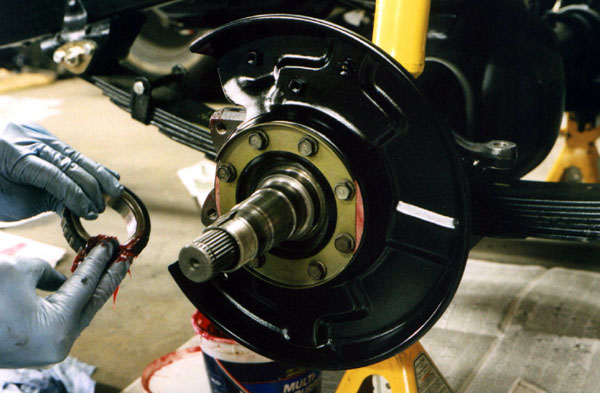
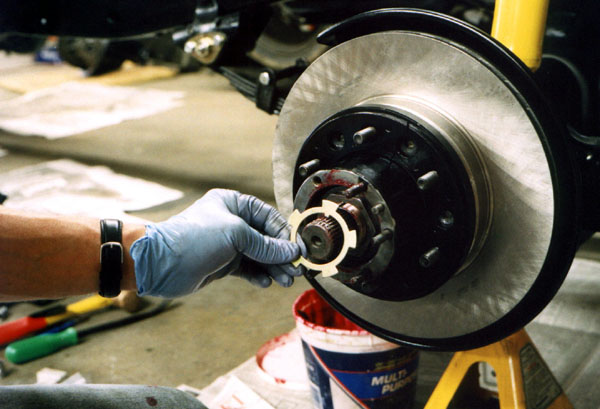
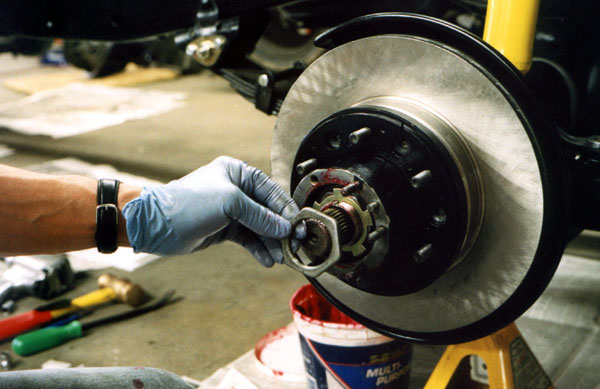
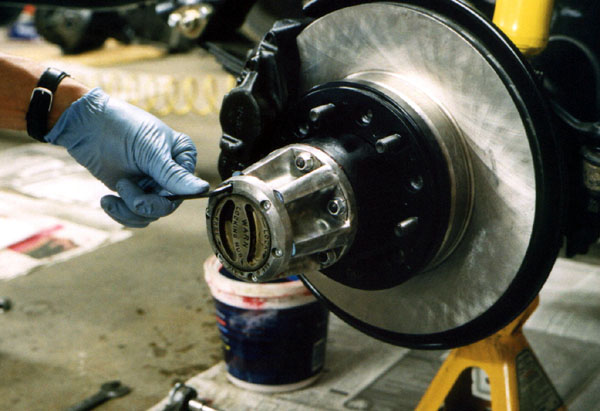
Next, put on a fresh star washer. It has a tab in it's inside diameter to line up with a groove in the threads of the spinde, and with one tab bent over a flat of the adjusting nut on the inside and another bent over the flat of the locking nut, serves to keep either nut from working loose. The locking nut goes over the star washer, and is torqued down to 58 to 72 foot pounds. In the real world, just honk that sucker down as hard as you can. After it is tightened, bend the tabs of the star washer back over the adjusting nut and front over the locking washer with a big old screwdriver as shown.
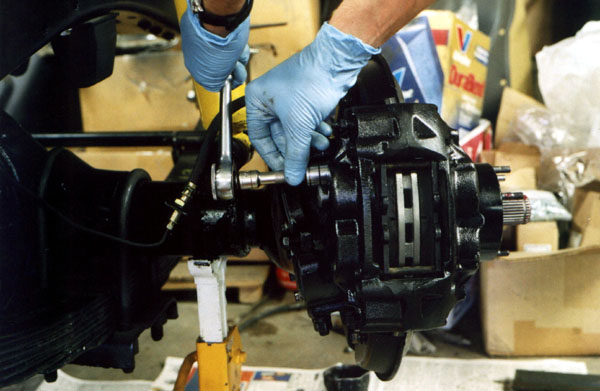
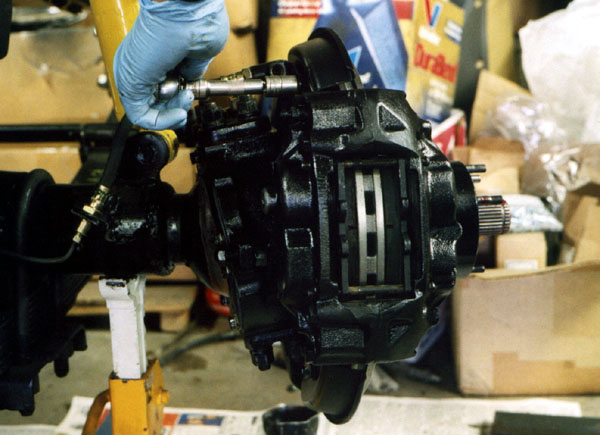
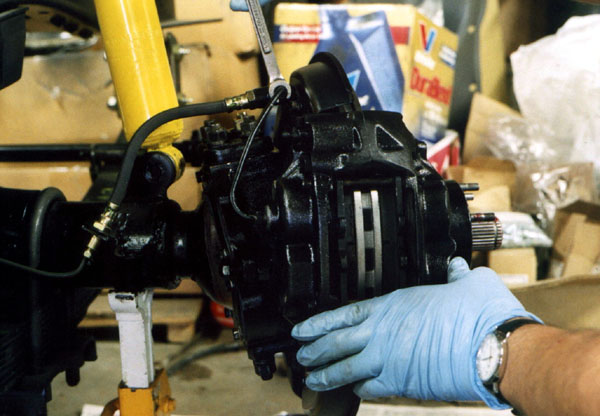
With the hubs and rotors installed, the calipers can be bolted up along with the brake line brakets. I had already loaded these calipers with new OEM pads and they are ready to go. The lower right shot shows the proper use of a flare wrench on a brake line. The flare wrench reaches a little more than half way around the fittings and prevents the flats from rounding off when you turn the wrench.
The final step is to put the front, locking hubs back on. I had already cleaned and rebuilt these with new parts. A light coat of grease is smeared over all inside surfaces. Unlike bearings, hubs are greased for free movement, but don't have to handle a large dynamic load. The photo in the middle shows the proper type of snap ring pliers used for the outer birfield circlip, along with a spare 8mm x 1.25mm bolt to pull the stub out enough to expose the groove where the clip goes on to the birfield outer splines. Finally, the cap is installed over the end of the hub. I used aisin locking hub gaskets on this job and they don't fit perfect, but they do seal properly.

Page 1 2
3 4 5
6 7 8
9 10 11
12 13 14
15 16 17
18 19 20
21 22 23 24
25 26 27
28 29 30
31 32 33
home what's new cruiser links trail reports cruiser sightings land cruiser tribute tech tips photos maps band links misc links profile email