When I got my FJ45, it came with a winch mounting plate for an 8274 that mounted across the frame rails above and behind the bumper. I got to keep the 8274 from my HZJ75, so I mounted the plate on my 71 and stuck the 8274 on it. When I drove to Moab, I discovered that the winch mounting plate had the winch mounted so high that it was blocking air flow to my radiator, and I ended up with overheating problems going to and returning from Moab. This only occurred at highway speed, and even replacing the radiator made no difference, so I knew it was an air flow problem.
The existing front bumper on my 71 was made of a chunk of 6" c-channel. 6" is too tall for the stock frame rails, and whoever made it and installed it had used shims and who knows what else to jury rig it on there. It was pretty well dinged up from rocks and whatnot, so I decided to build a new one of the proper size, that mounted the winch down lower so as not to obstruct air flow. I looked at the commercial offerings and they were all pretty similar, and it looked like a simple project that I could build on the cheap.
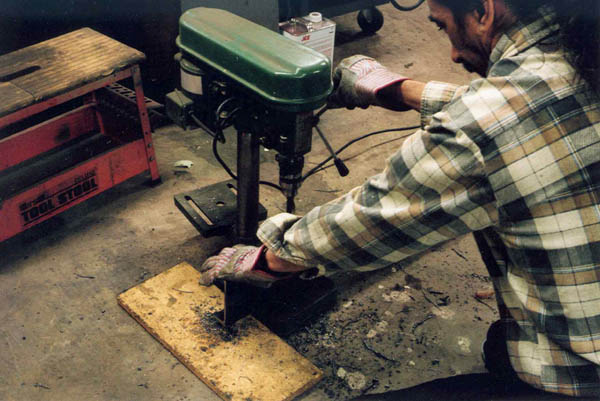
I got a 20 foot stick of 5" c-channel, cost was about $60, so a five foot wide bumper would take about $15 worth of steel. Not bad. One of the trickiest parts was measuring where to drill the mounting holes for mounting it to the frame. I measured my 1971 FJ40, my 1976 FJ40 and my 1978 FJ45 and came up with three different sets of measurements! I took my best guess as to what the correct dimensions were. First I cut the entire thing square, to a width of 48". Then I measured where the center was, to pull all my measurements off the center rather than an edge. Then I marked where the mounting holes would go, centerpunched them and drilled out 1/2" holes with the drill press. The press is so much easier than a hand drill! Don't forget to lubricate as you go. They make special cutting fluids, but I have had good success with marvel mystery oil.
Next, I measured, marked and drilled the holes for mounting the fairlead. In this bumper design, the winch rope and fairlead will come out from the center of the bumper, as opposed to coming over the top like the previous winch mount on this rig. These are also 1/2" holes, and are marked from center.
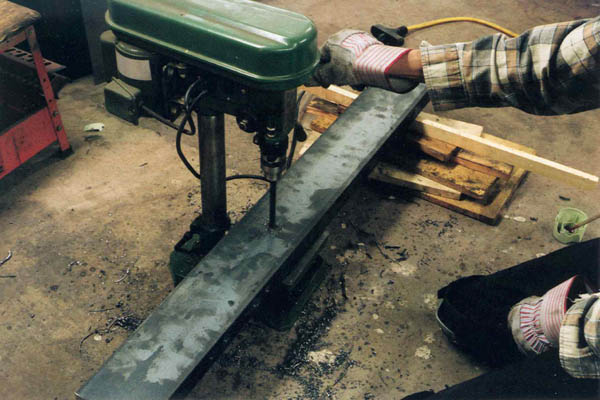
Using masking tape, I marked the rectangular place to cut the opening for the winch rope to come through the bumper. I have found that masking tape is easy to see with grimey safety glasses on, and is easy to make very straight lines. Not shown, after the cut I carefully ground the cut edges smooth and beveled so they can't nick the winch rope.

The next step was a LOT of grinding. If I had known that the Bridgeport mill at work had a big enough throat to handle this I would have brought it in there and milled it instead. In any case, the c-channel is not parallel, and as it angles in toward the inside, it gets narrower. Where the bumper will be mounted to the frame rails, it needs to be parallel (square) and needs to clear about 4-1/2 inches. It only needs this where the frame rails are, the rest can be left as-is.
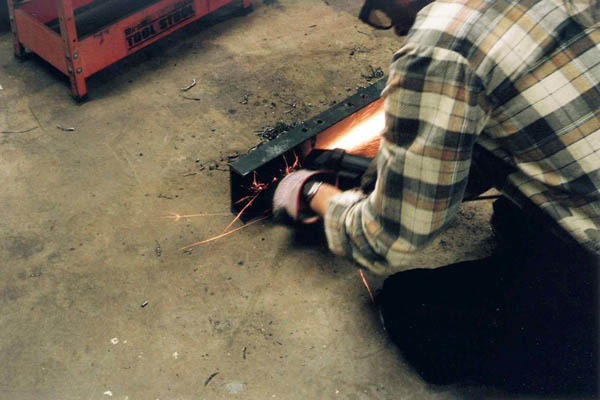
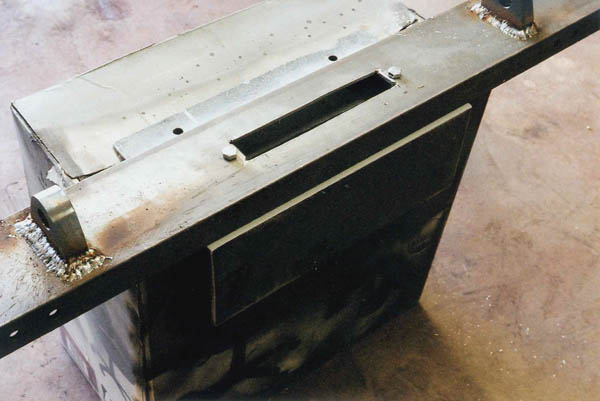
Below you can see where the inside was ground down to be flat and parallel. You can see that there are four mounting holes on the underside, and eight on the top.
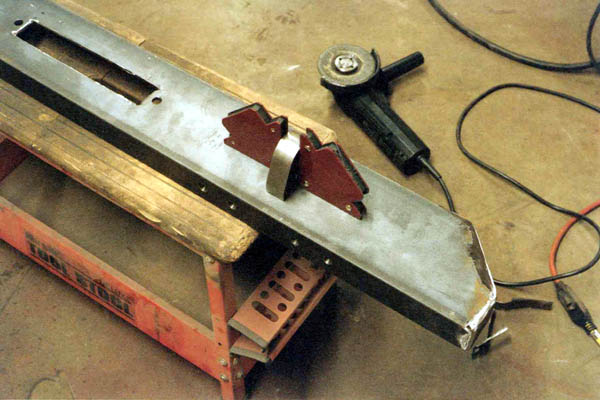
I decided to cut an angle off each end with the chop saw, and to box the ends. I used scraps from previous cuts for the box pieces. The photo was taken after I welded the box pieces in, but before I ground them down.
While I could have fabricated D-ring mounts, I decided to buy pre-made laser cut ones. They were the most expensive parts of the entire project at $20 each. I use right-angle magnets to postition them prior to welding.
For this project, I am going to reuse part of the old winch mount plate that I had removed. I will be welding it to the back of the bumper, and after it is welded it will be difficult to get to in order to paint. So I masked off just the tape width from where the weld beads will go, and paint with zero-rust. Not shown, after the zero-rust is applied, I then paint the sections that were masked with zinc weld-through primer.
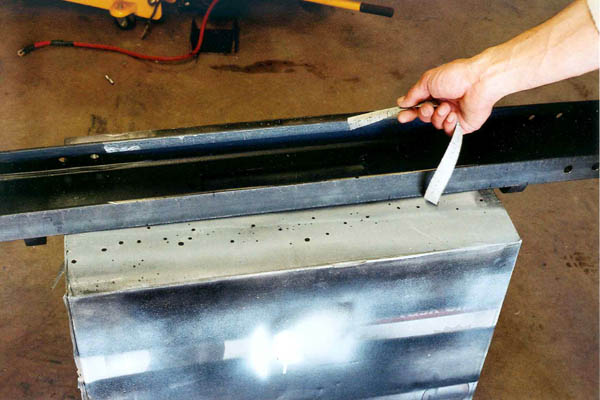
I have already cut down the width of the old winch mount plate. Here, I have ground the old paint off where it will be welded to the back of the new bumper.
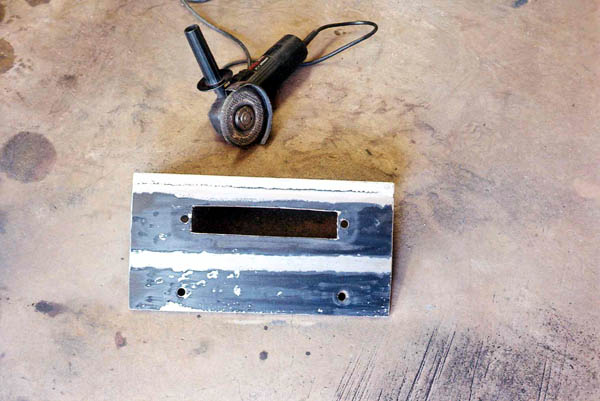
I used bolts through the fairlead mounting holes to clamp the plate to the bumper prior to welding. Not shown, I subsequently ground those D-Ring mount welds down to a nice, smooth fillet. That's one type of job where it would have been nice to have had a 220V welder. But I am sure those welds will hold! You could see the good penetration by the color of the back side.
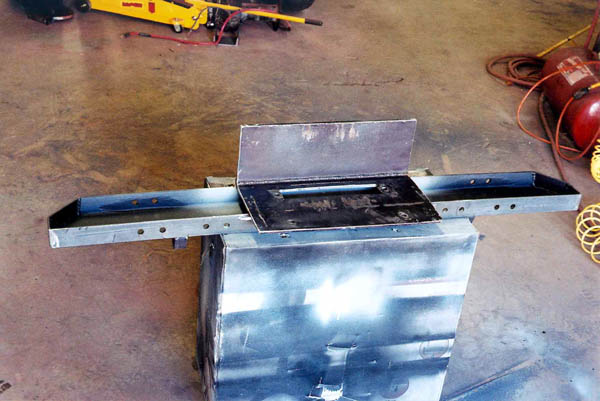
After the mounting plate is welded on, the assembly is flipped over to finish painting the back side. All surfaces are given two coats of zero rust, and then a top coat of Ace epoxy enamel.
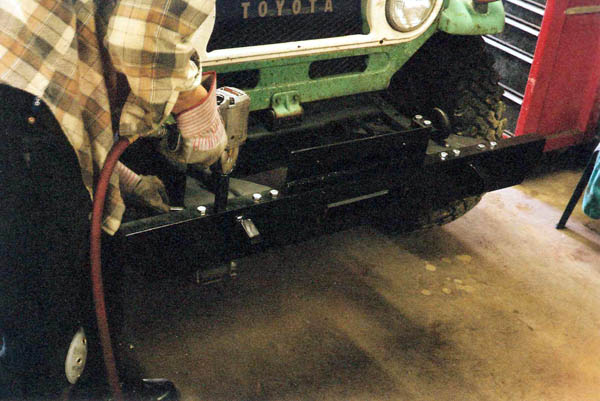
I used all new M12 bolts to mount it. Note that the two stock triangular shaped bumper mounts, as well as the two lower mounts, should be loose when starting the bumper mounting bolts. Once the all bolts are through and the nuts are started, all the fasteners can be torqued down.
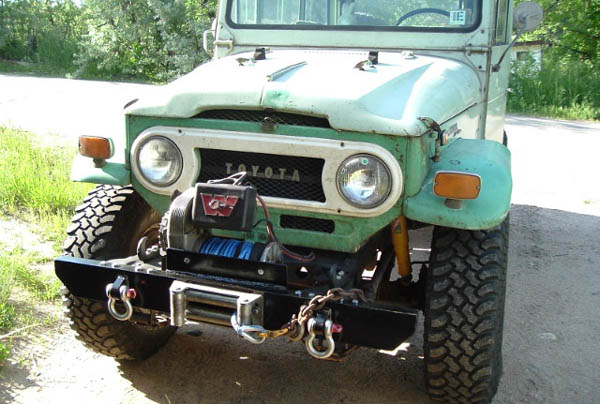
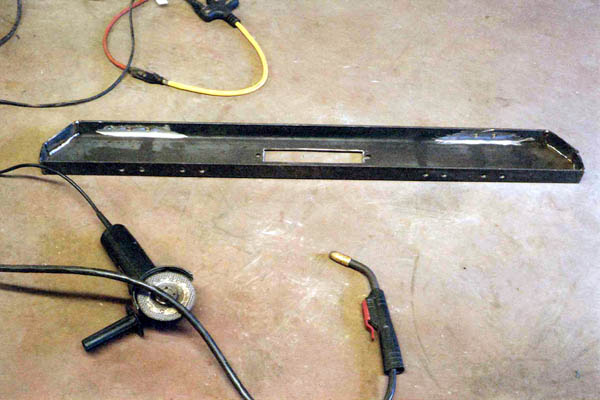
It looks pretty nice even before the winch is mounted up. This was an easy project that was fun to build!
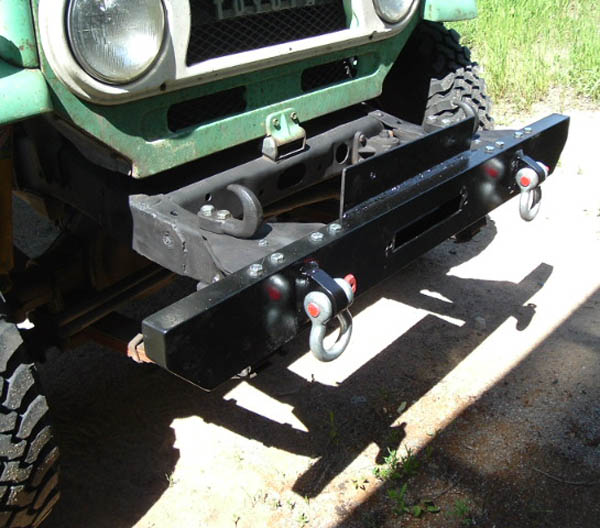
I rewound my winch with 150 feet of 3/8" UHMW magic blue winch rope, and mounted it up. I really like the synthetic rope, it's a lot lighter and easier to handle than regular GAC. You can see that the new mounting keeps the winch drum well below the air flow to the radiator, with the only obstruction being the solenoid pack. Since building this bumper to mount the winch mounting lower than it was before, I have had no issues whatsoever with cooling at highway speeds. I've also broken the bumper in on some pretty stout rocks, and hardly scratched the paint.