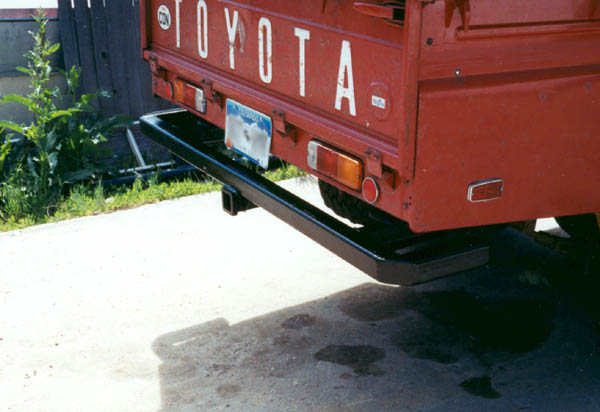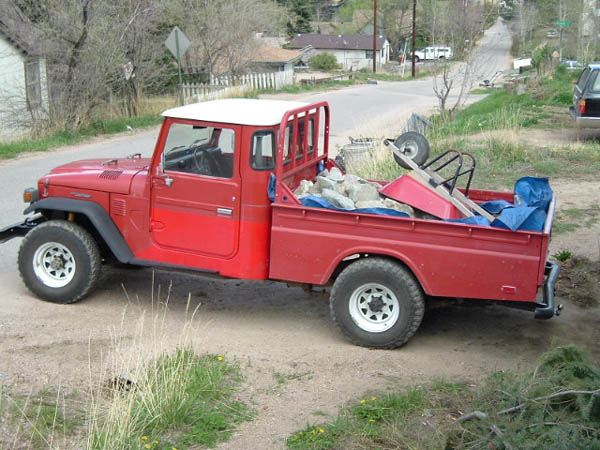
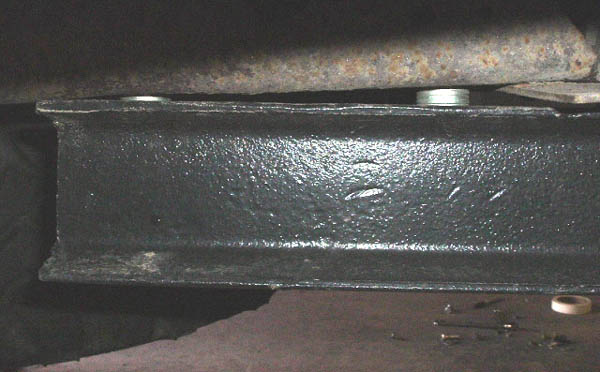
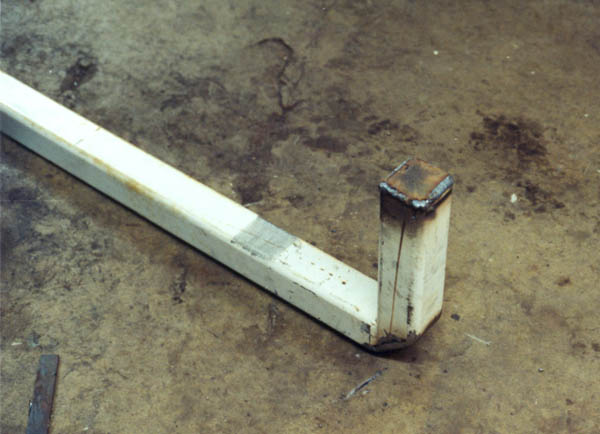
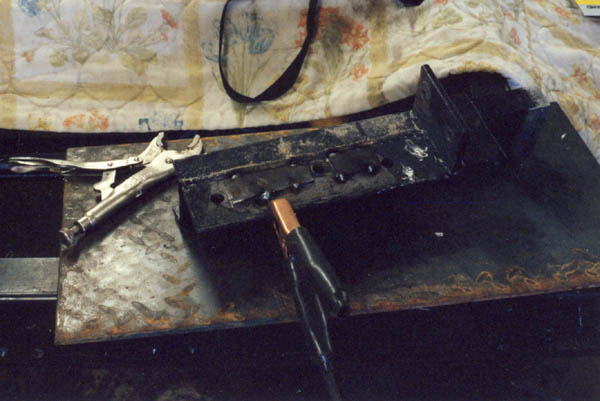
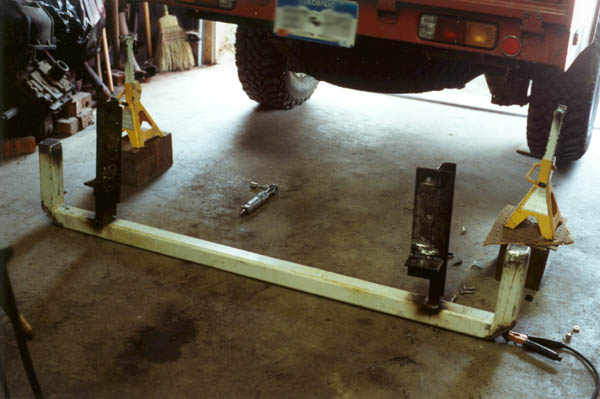
This whole thing started when I put a ton and a half of rocks and dirt into the back of my new-to-me 1978 FJ45. I never really liked the way the tow hitch hung down. I backed up into my upper driveway, it dug into the ground and I tweaked it. You can see how it's bent in the photo below:
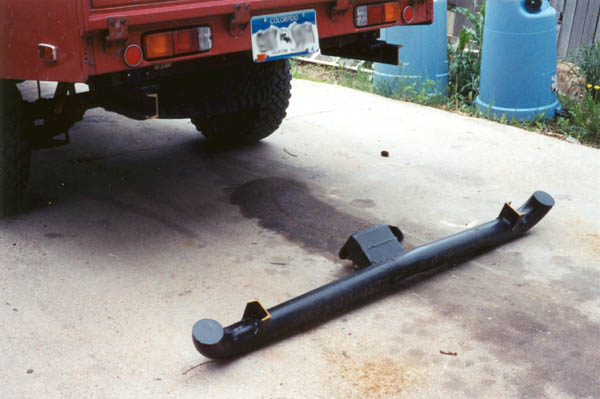
Out came the sawzall, and soon the old tube style bumper is lying on the ground. The old mounts are still attached, but soon you'll see how they will need to be modified to fit properly.
The original mounts were bolted to the frame with stacks of flat washers; I wanted to do a more professional installation. The stacks of flat washers were removed and the scope of the project was increased.
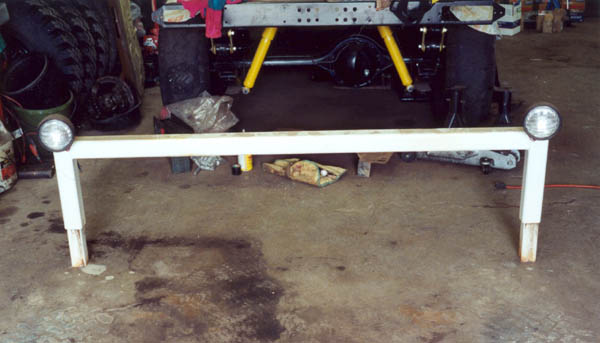
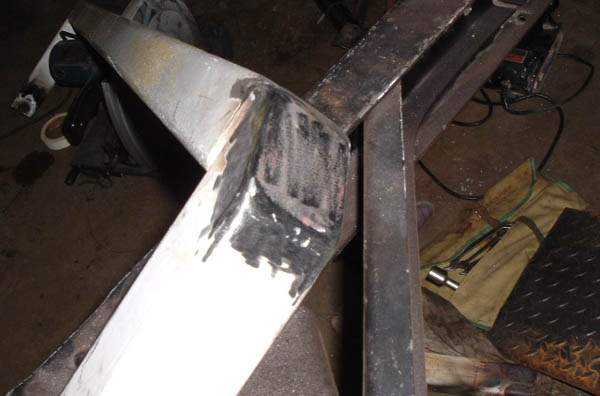
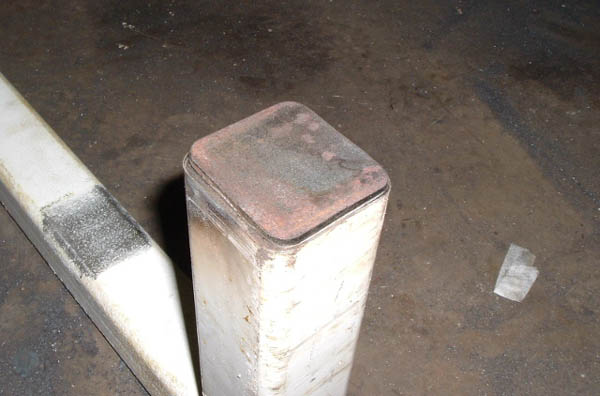
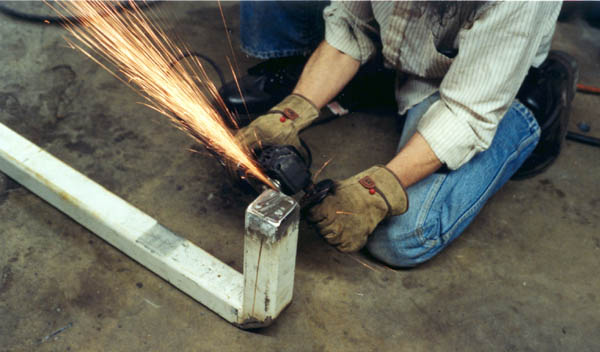
I still had the old mine-spec. headache bar I had cut off of my 1997 HZJ75. It was nice 4" square tube and was already the right width for a cruiser. I took the tractor lights off, and proceeded to cut the corners at a 45° angle, and cut off the inner tubing.
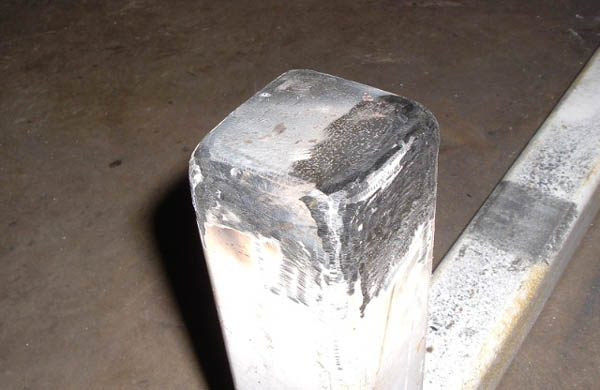
Next I cut some pieces of 1/4" thick steel to cap the ends. Cutting it a little smaller than the cut allowed plenty of surface to get a nice bead with the MIG and get very good penetration.

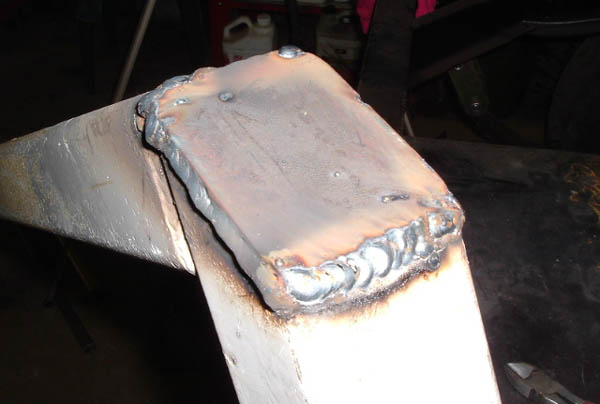
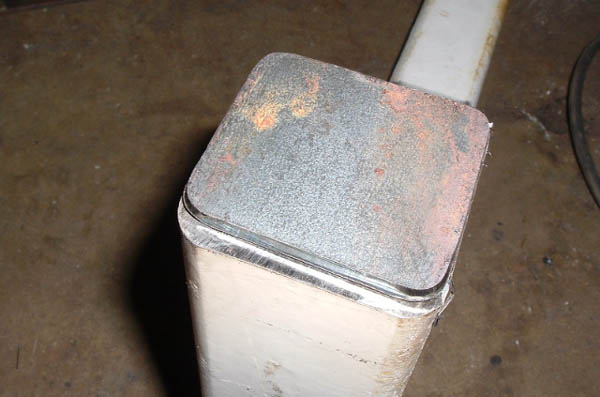
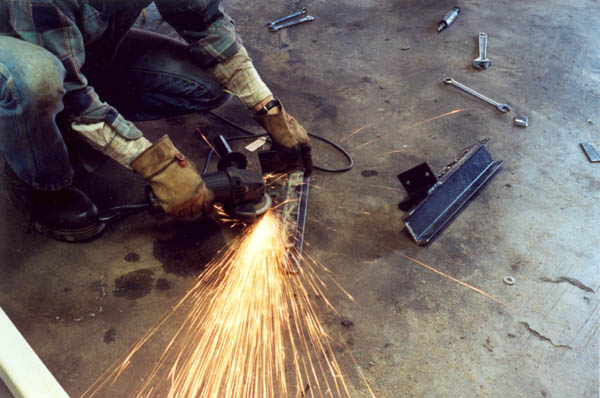
After welding, the bead is ground down to make nice smooth rounded fillets on the corners.

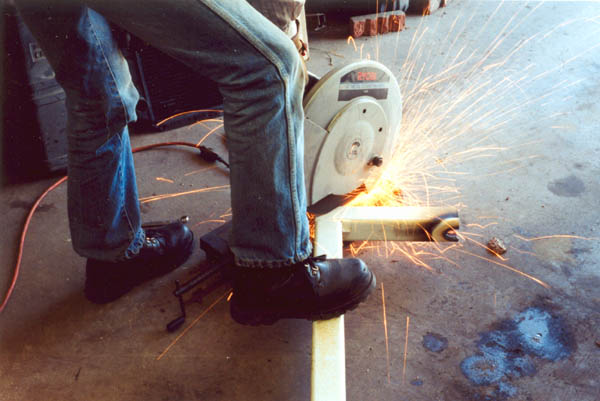
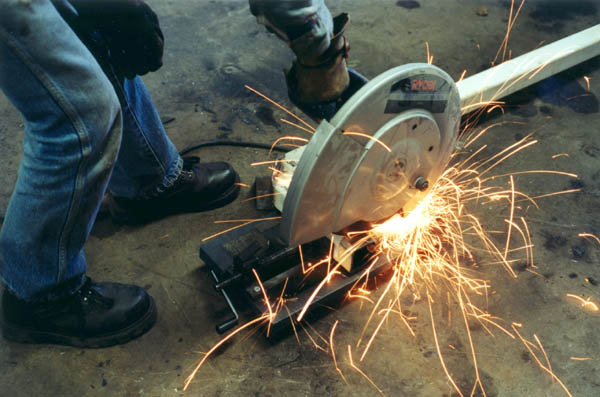
The next part was to cut the ends to length and square them up. The 14" chop saw is put to good use again!
As with the caps for the 45 degree cuts, caps were cut and ground for the ends of the tubes.
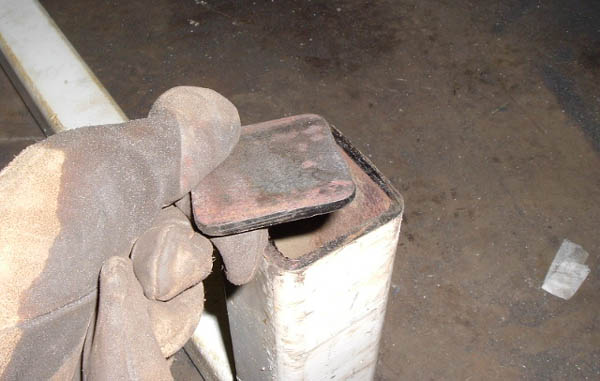
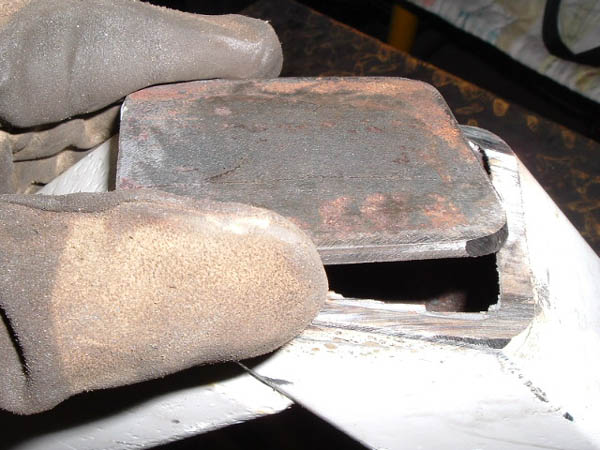
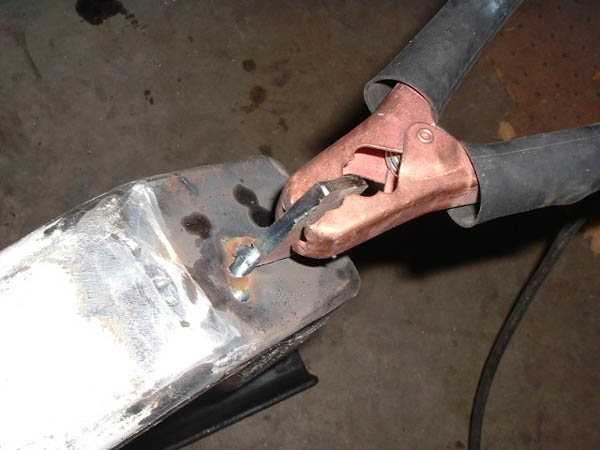
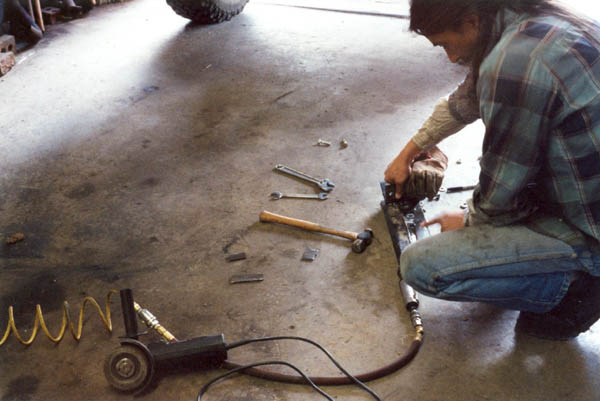
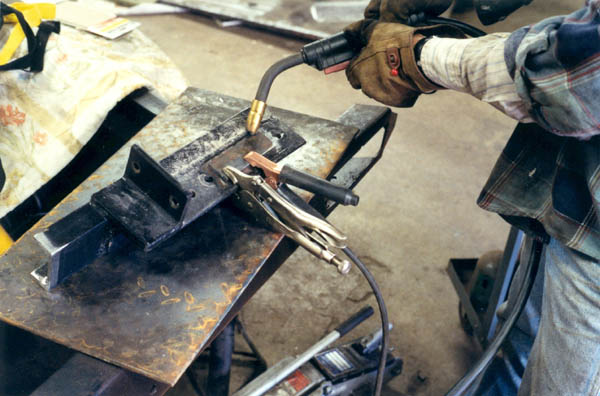
Because the metal I was working with was largely painted, except where I was welding, I ran out of spots to clamp the ground to. I ended up taking a piece of 1/4" steel and tack welding it wherever was handy, in this case the cap from the 45° end.
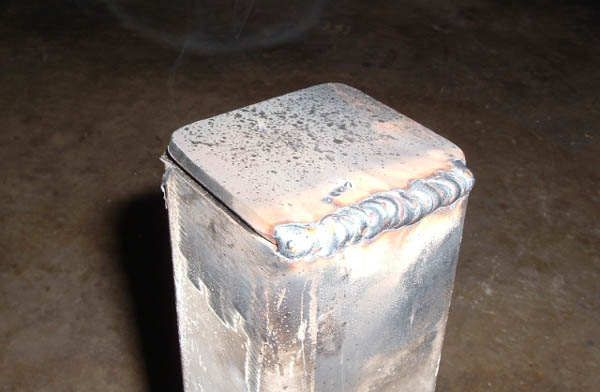
The cap for the other end is cut, ground and fitted. This Miller 130 MIG is a nice setup and with patience and the right settings can weld an amazing variety of projects. I did learn that since the garage refrigerator shares the same circuit as the welder, I needed to make sure it was turned off while crackling. I am running .023 solid wire with 75/25 argon/CO2. On these welds I had the voltage set to maximum, and the wire feed set around mid scale. Gas was running about 30 SCFM.


There is something that is just primal-fun about fabricating with steel. I have always been fascinated with fire and sparks, and between the chop saw, the welding itself, and then grinding afterward, there are always tons of cool sparks! Here, I am smoothing out the last end cap.
And there is such a wonderful sense of satisfaction when it's all smoothed out, beautiful shiny steel.
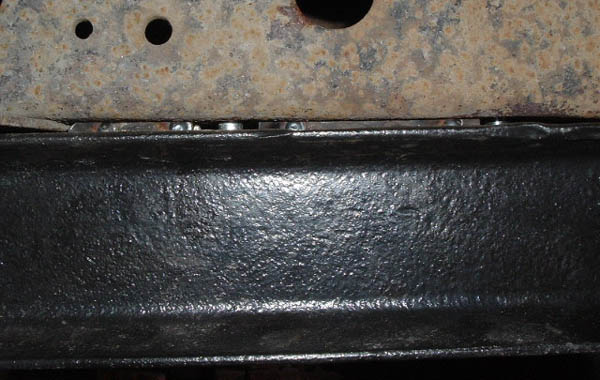
Next, I had to shim the mounts to eliminate those stacks of washers. After grinding the surface flat, I cut some pieces of steel plate and welded it on the underside to take up the gap btween the rear crossmember and the frame rails to which this would be mounted.
Welding the shim on.
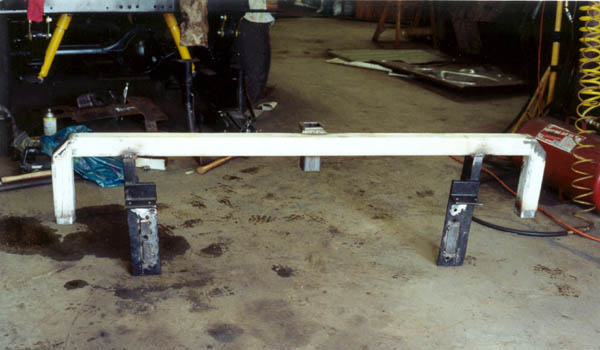
The next step was to bolt up the mounts, and the align the bumper perfectly to the mounts. Then I tack welded the bumper to the mounts. Now it could be unbolted and welded up proper.
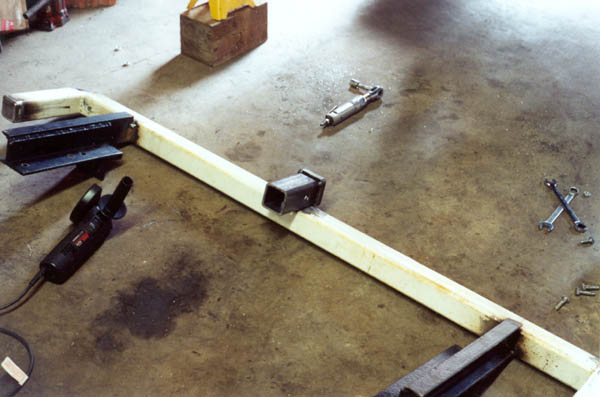
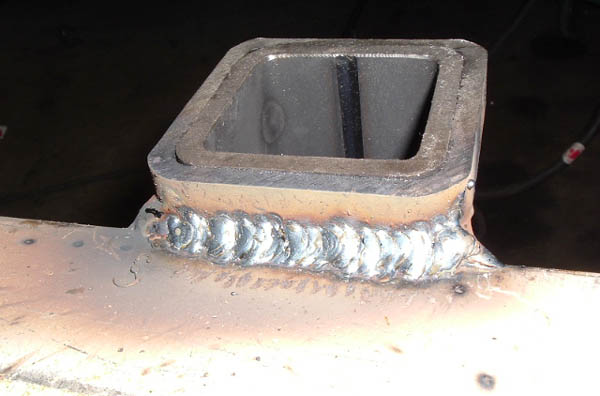
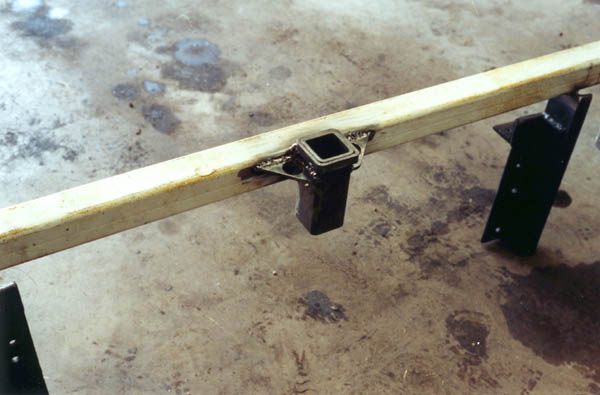
I picked up a receiver to weld on to this bumper. After measuring carefully several times, I welded it onto the center of the underside of the bumper. Then I fabricated some reinforcing plates out of 1/4" steel, and drilled holes in them to fasten the safety chain to. When it was ready for paint, this is what it looked like. I then put 2 coats of zero rust on every surface, and topped it off with a coat of Ace epoxy enamel.


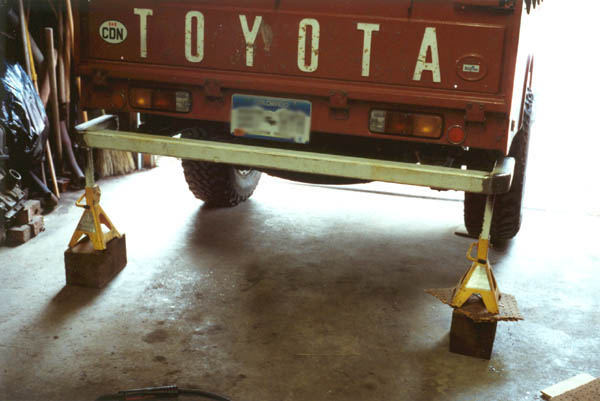
With the mounts bolted up, you can see the new shims work better than stacks of washers!
Finally done! Paint is dry and the new bumper is bolted up.